Repairing a hole in a sleeping mat

After a long adventurous day in nature, you naturally want to fall asleep on your sleeping mat. Does your sleeping mat appear to be slowly deflating due to a small hole or tear? No problem; With the Tear-Aid repair patch and this Bever repair manual, you will be sleeping comfortably again before you know it.
Supply needed

Locating the hole
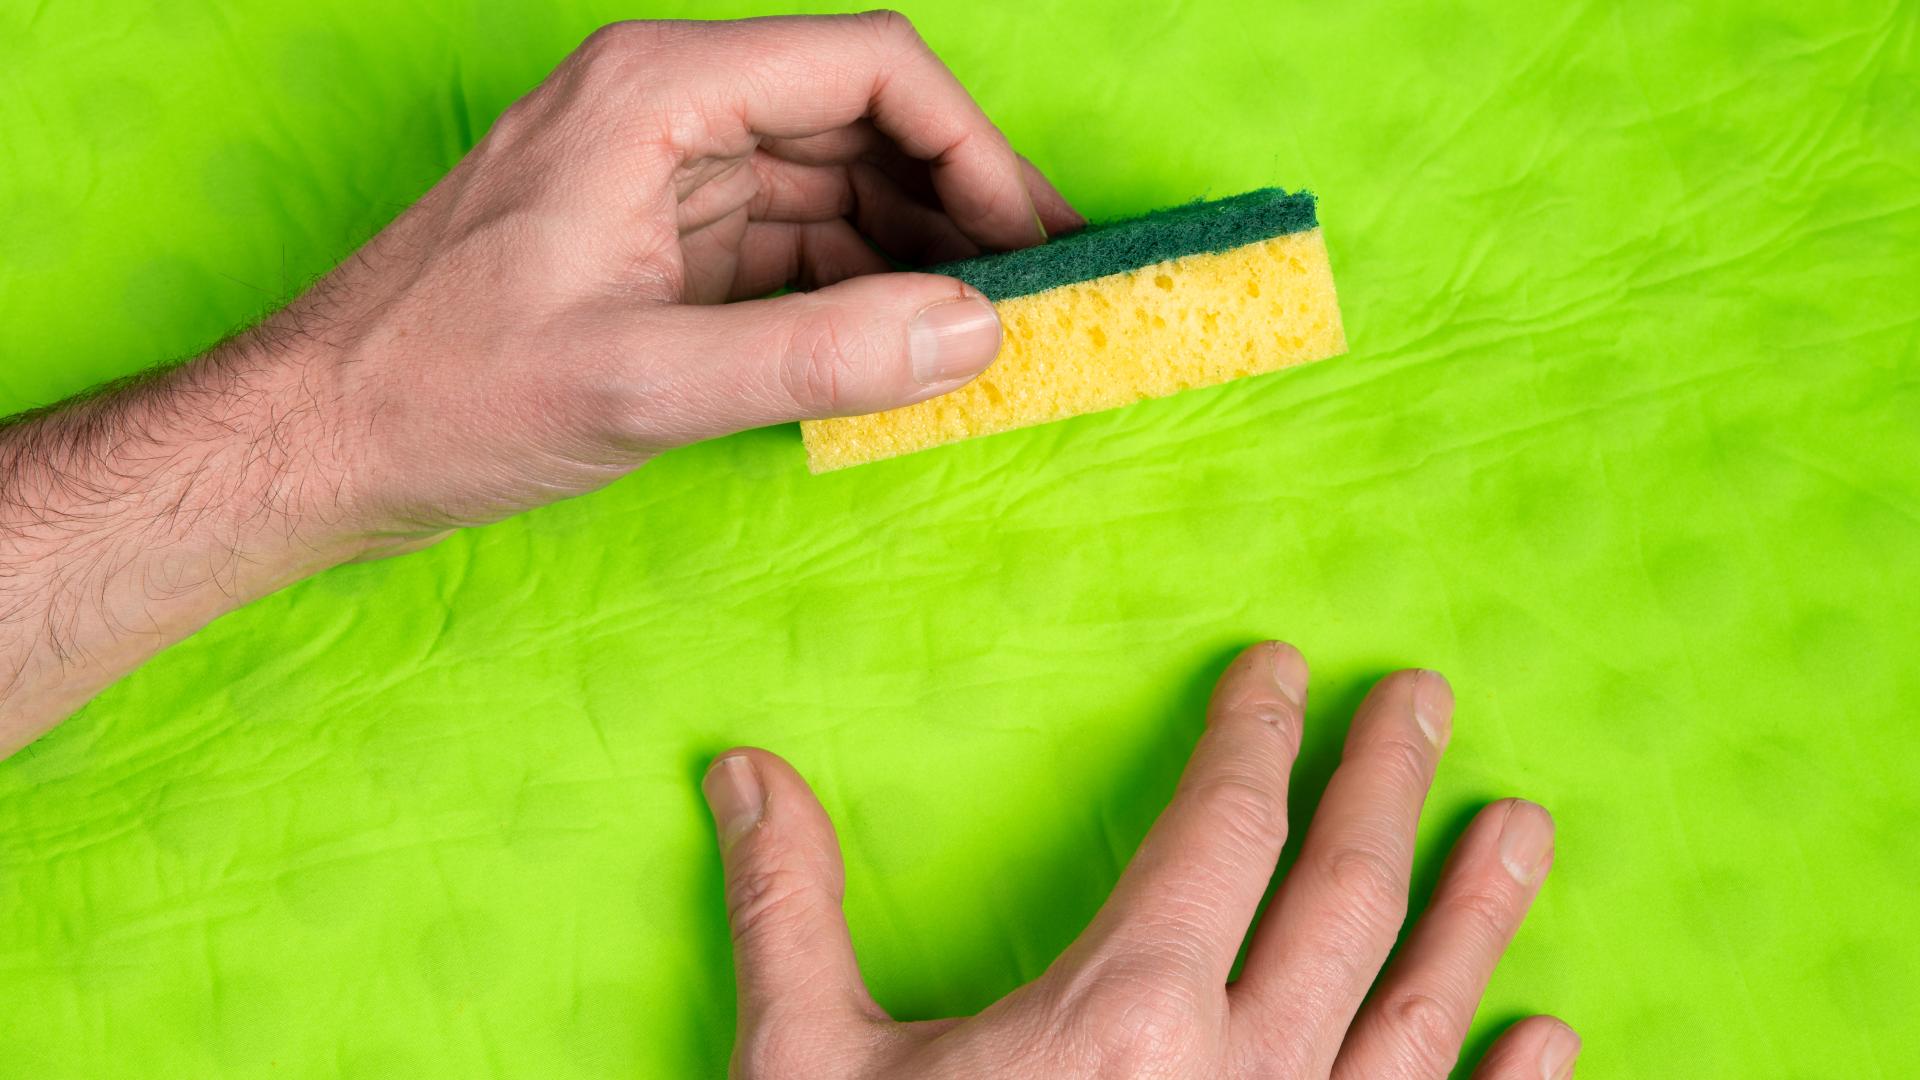
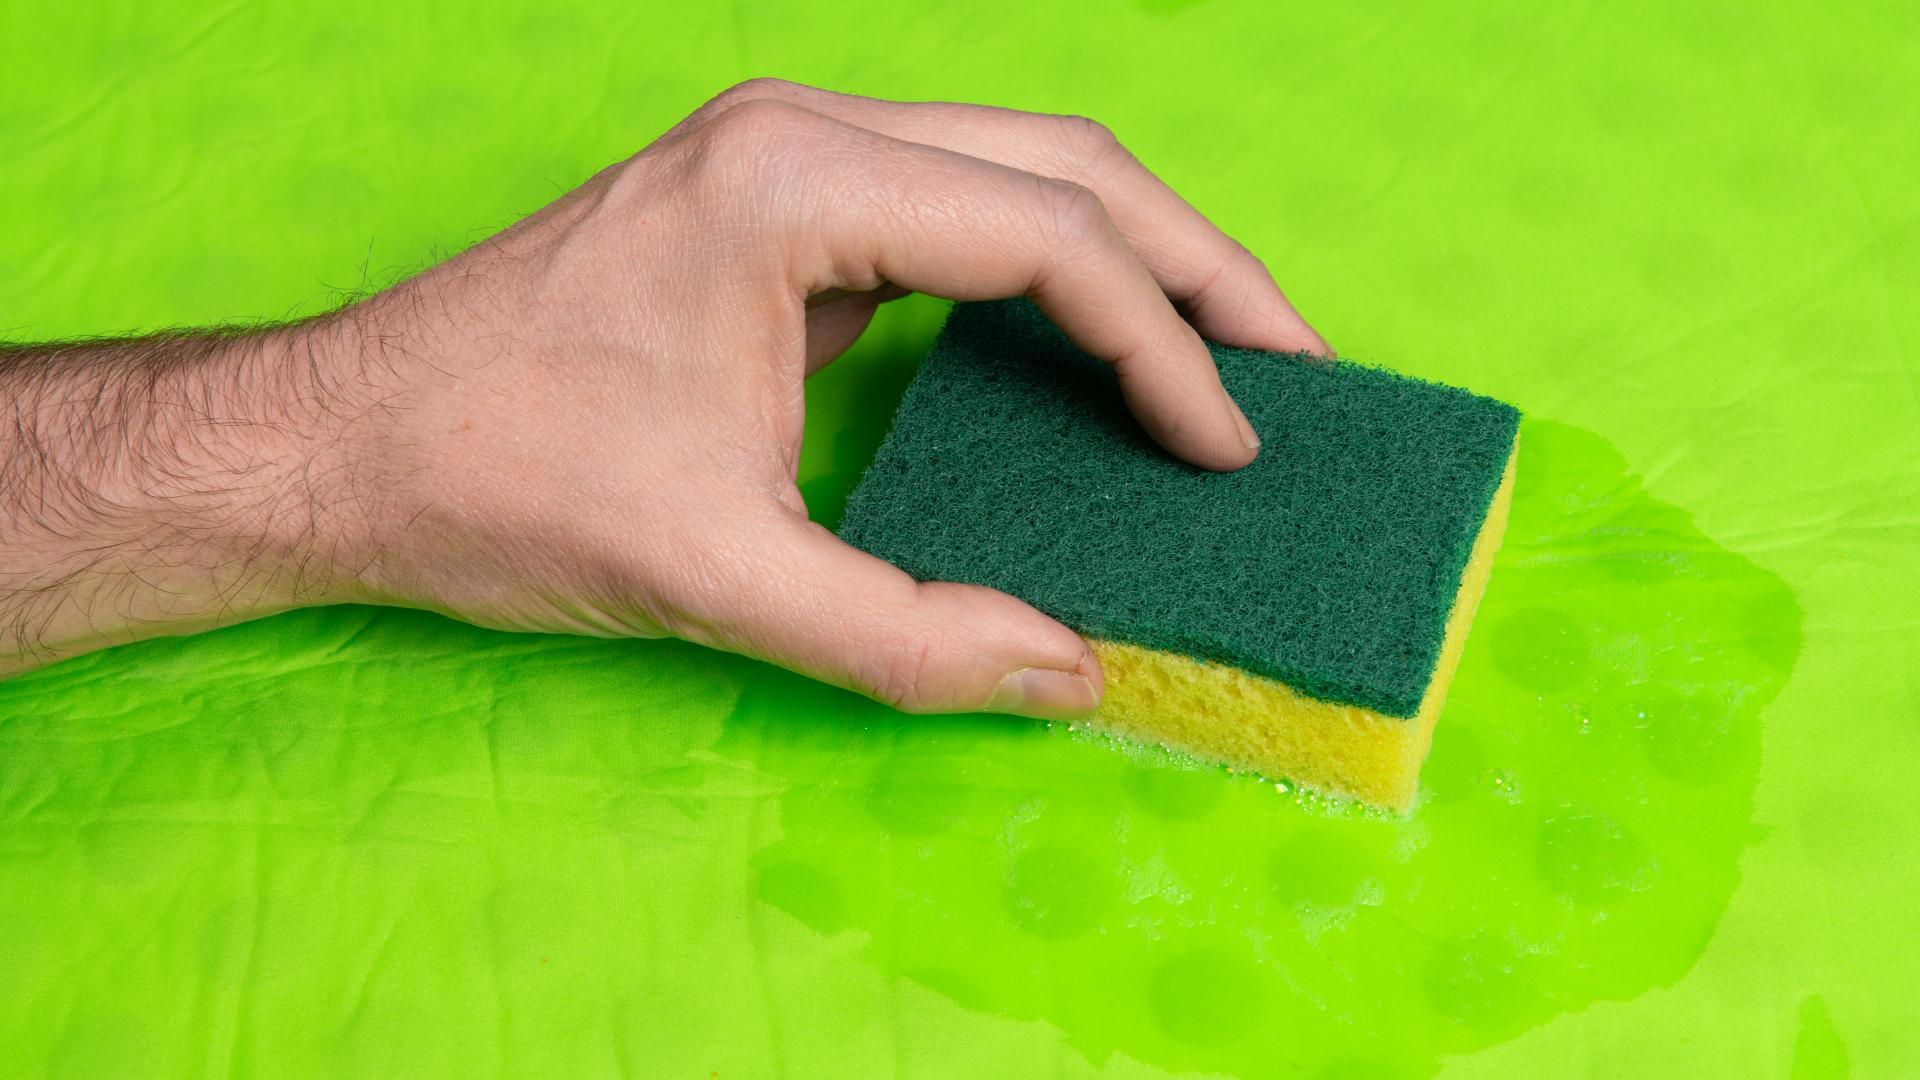
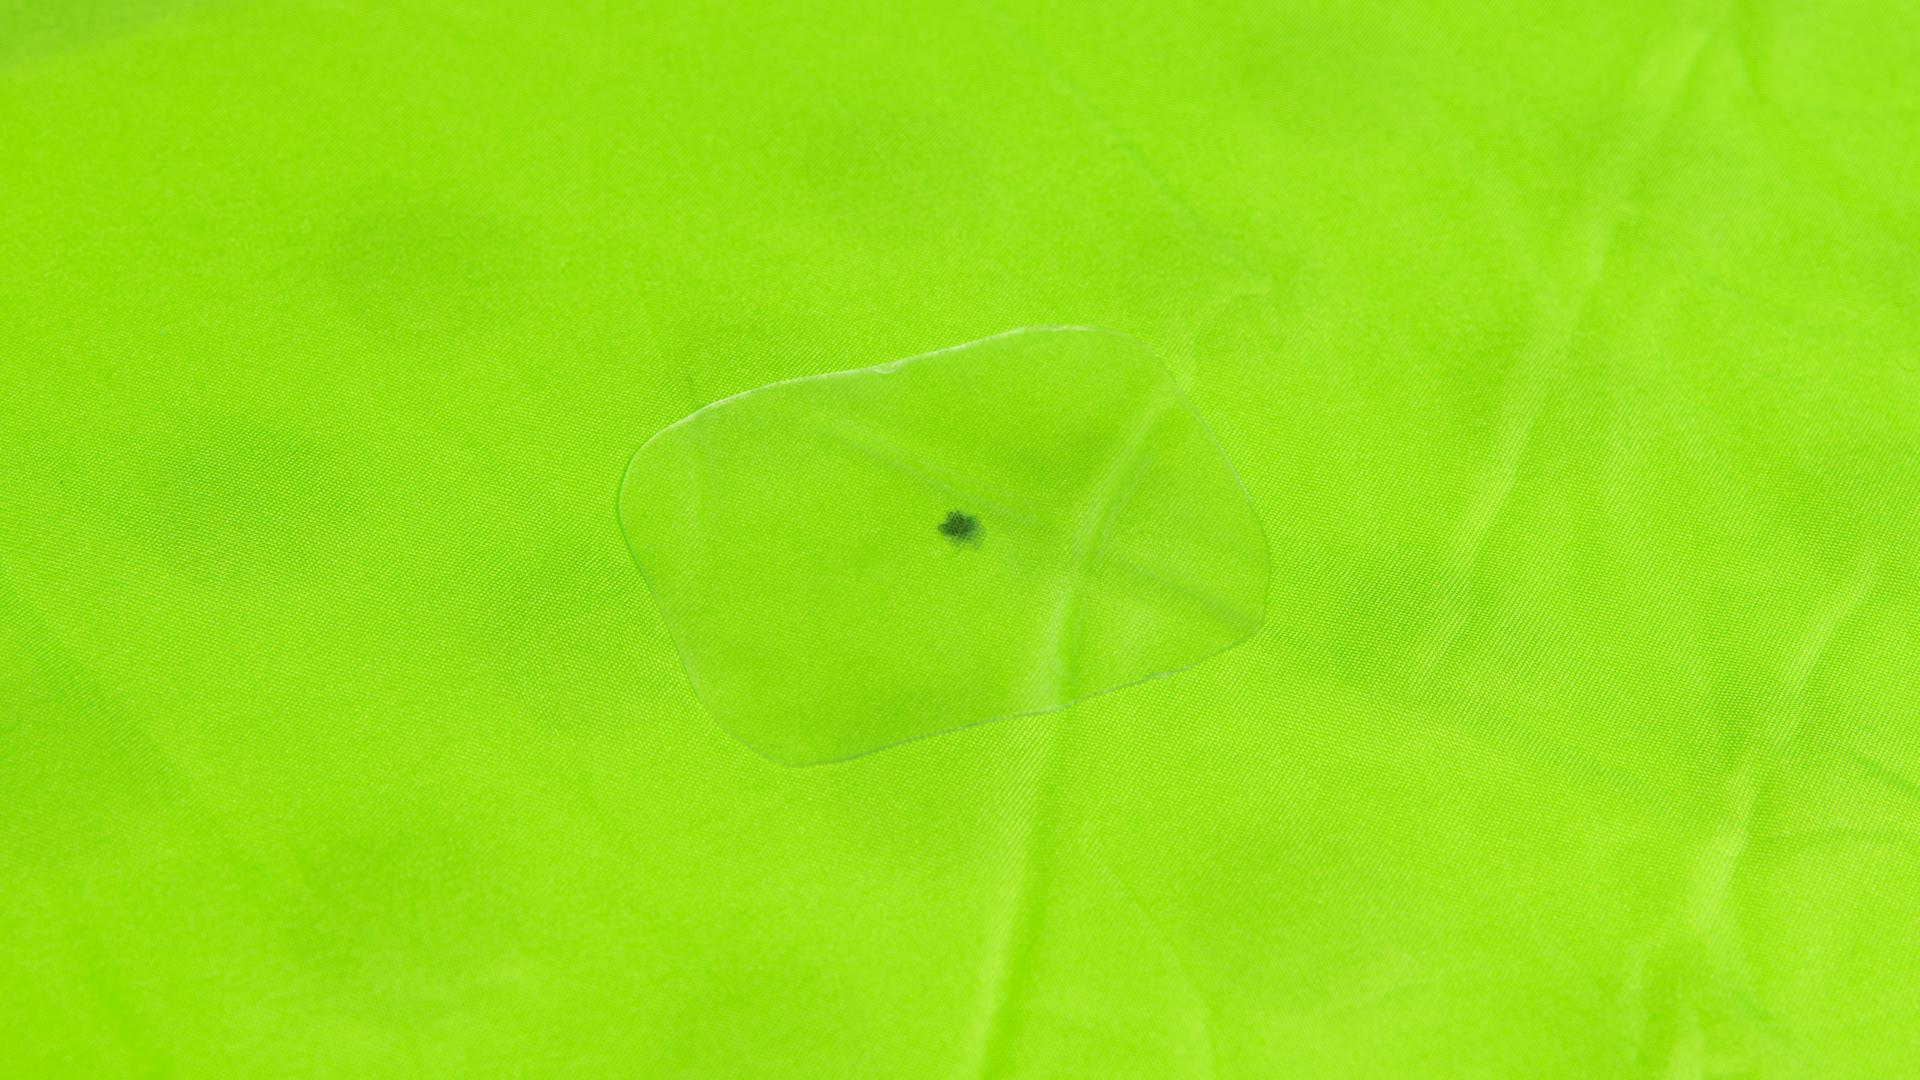
There's a good chance that a hole in your sleeping mat is difficult to see. Therefore, use some soapy water and a sponge to detect the leak.
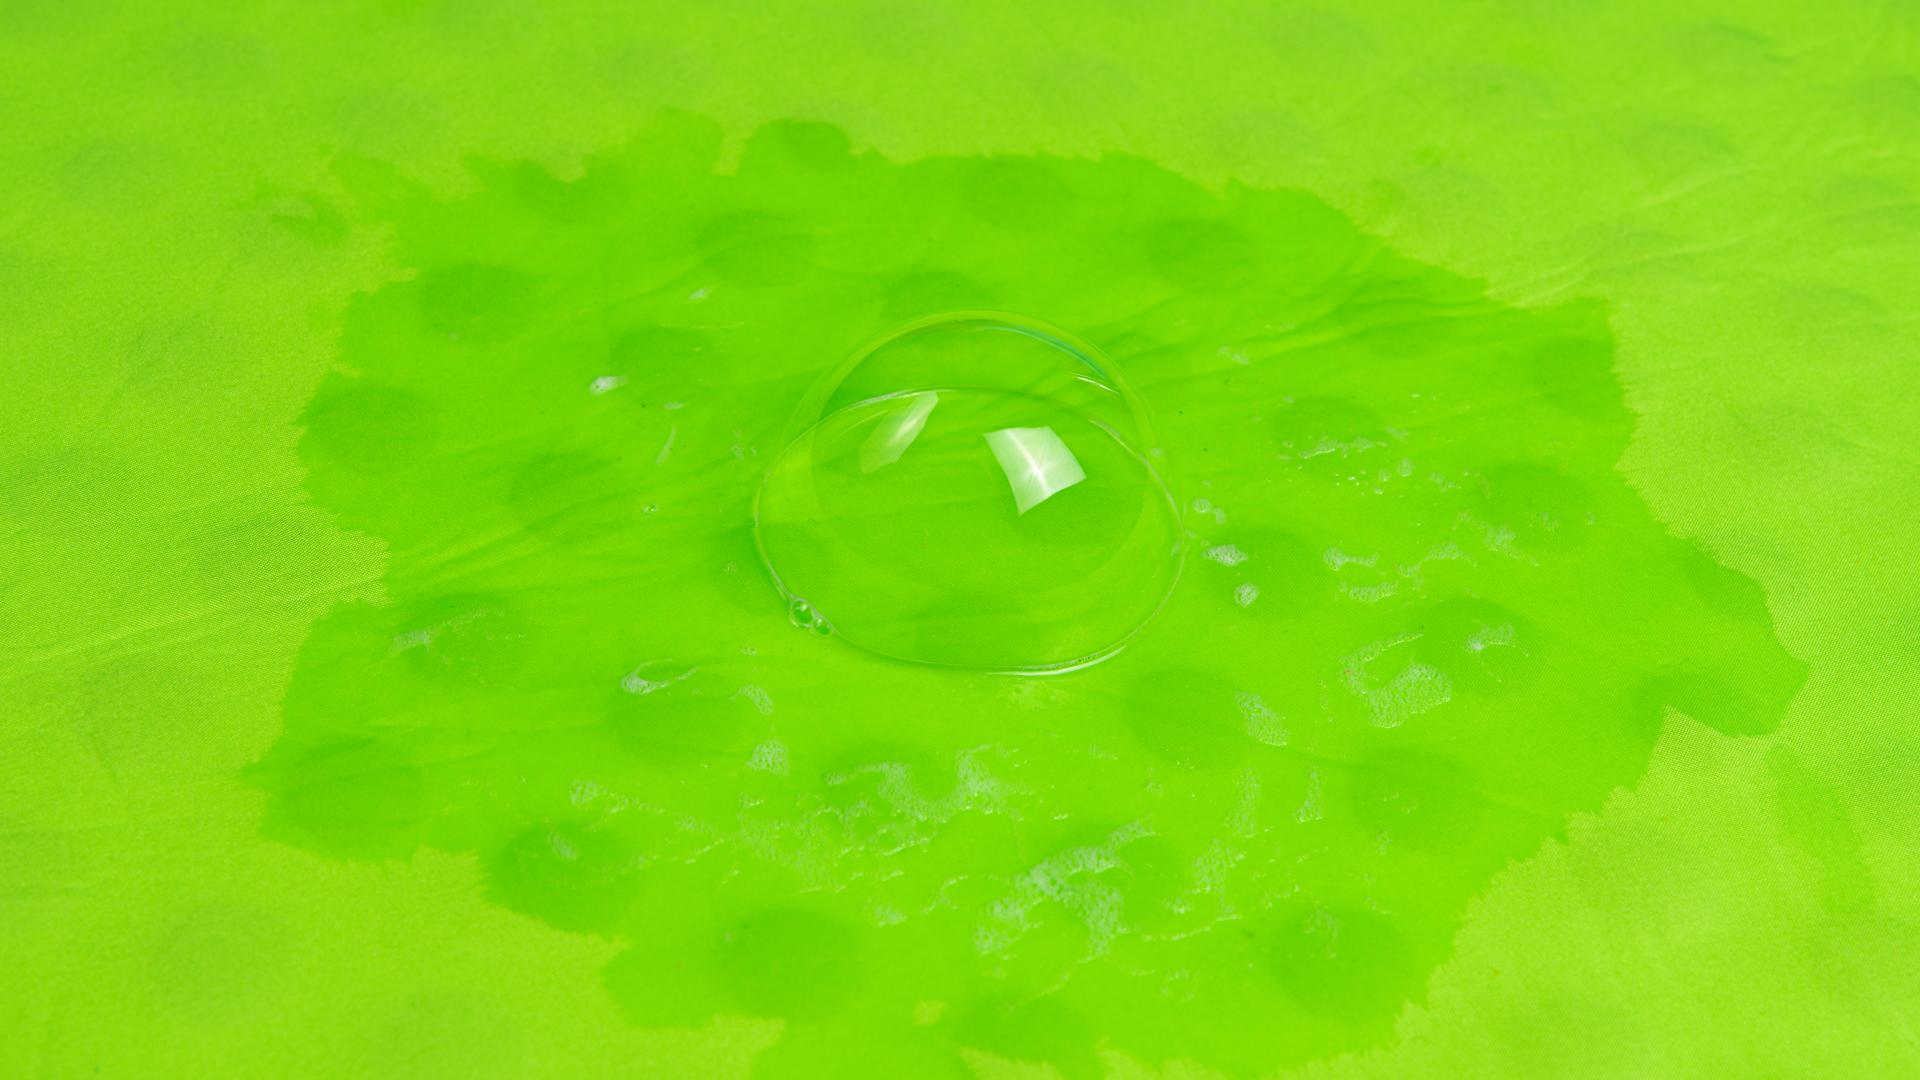
Apply pressure to the sleeping mat and use the sponge to wet the area where you suspect the hole is. It helps to slightly press on the sleeping mat, then a little more air escapes from the hole and an air bubble quickly forms.
In the wild you will not always have soap and a sponge with you. In that case it is a matter of looking carefully and listening where air escapes. Pulling a little on the sleeping mat where you suspect the problem also helps to see the hole more quickly.
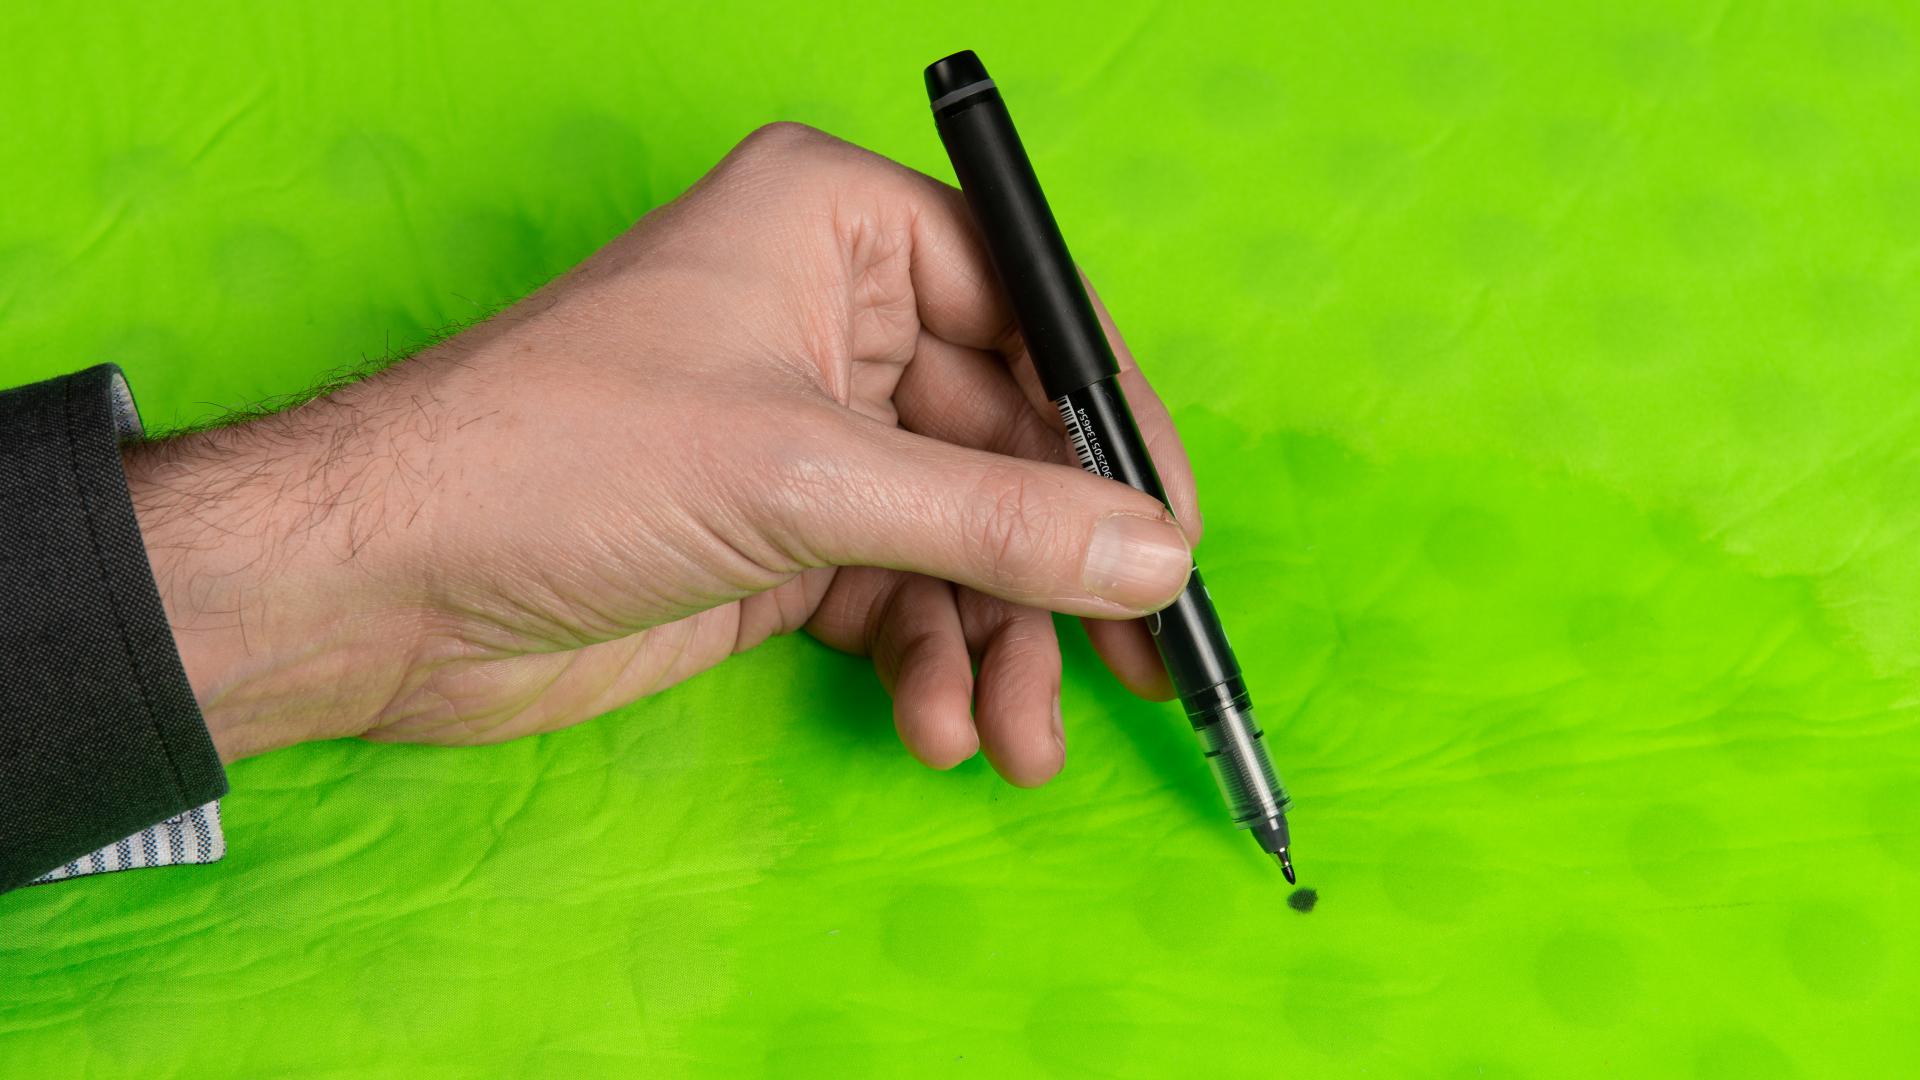
It is now useful to mark the hole with a marker.
If you have used soapy water, it is very important to let the mat dry thoroughly! Otherwise, the repair patch will not adhere properly.
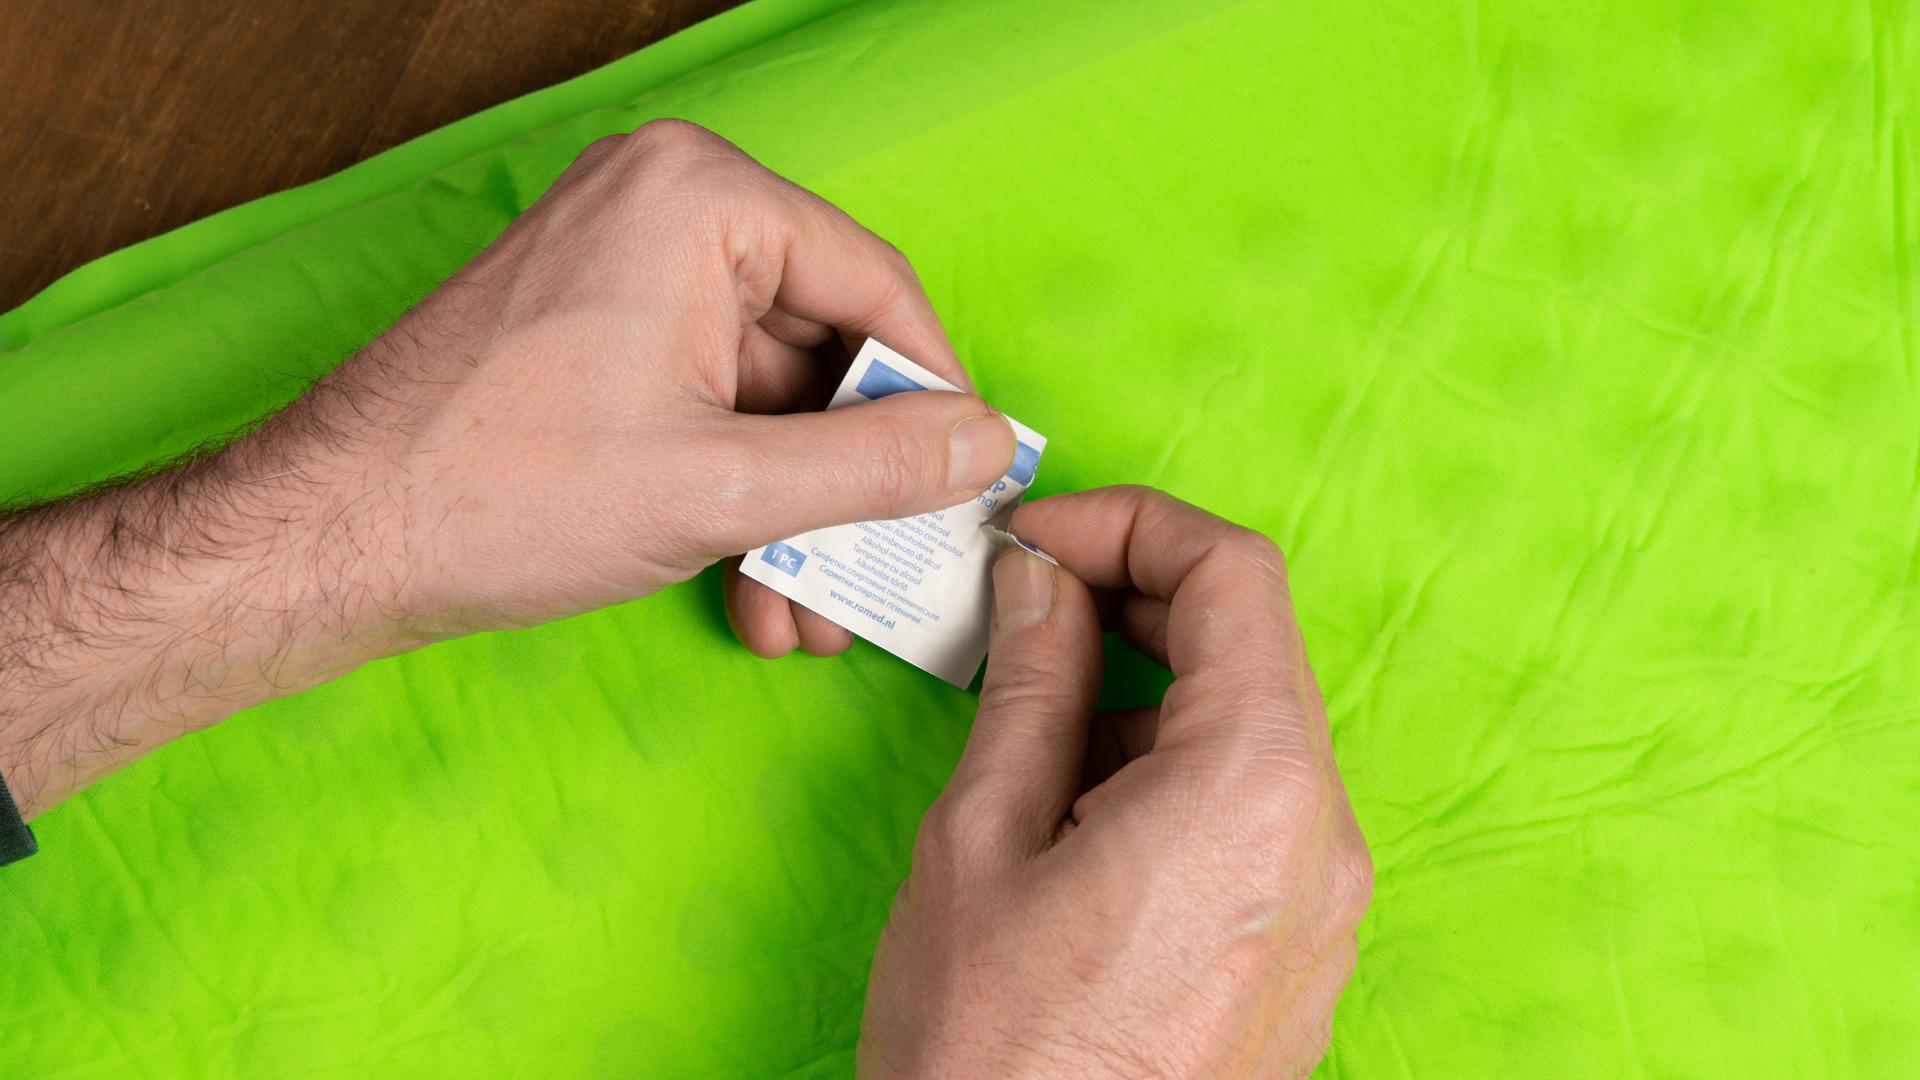
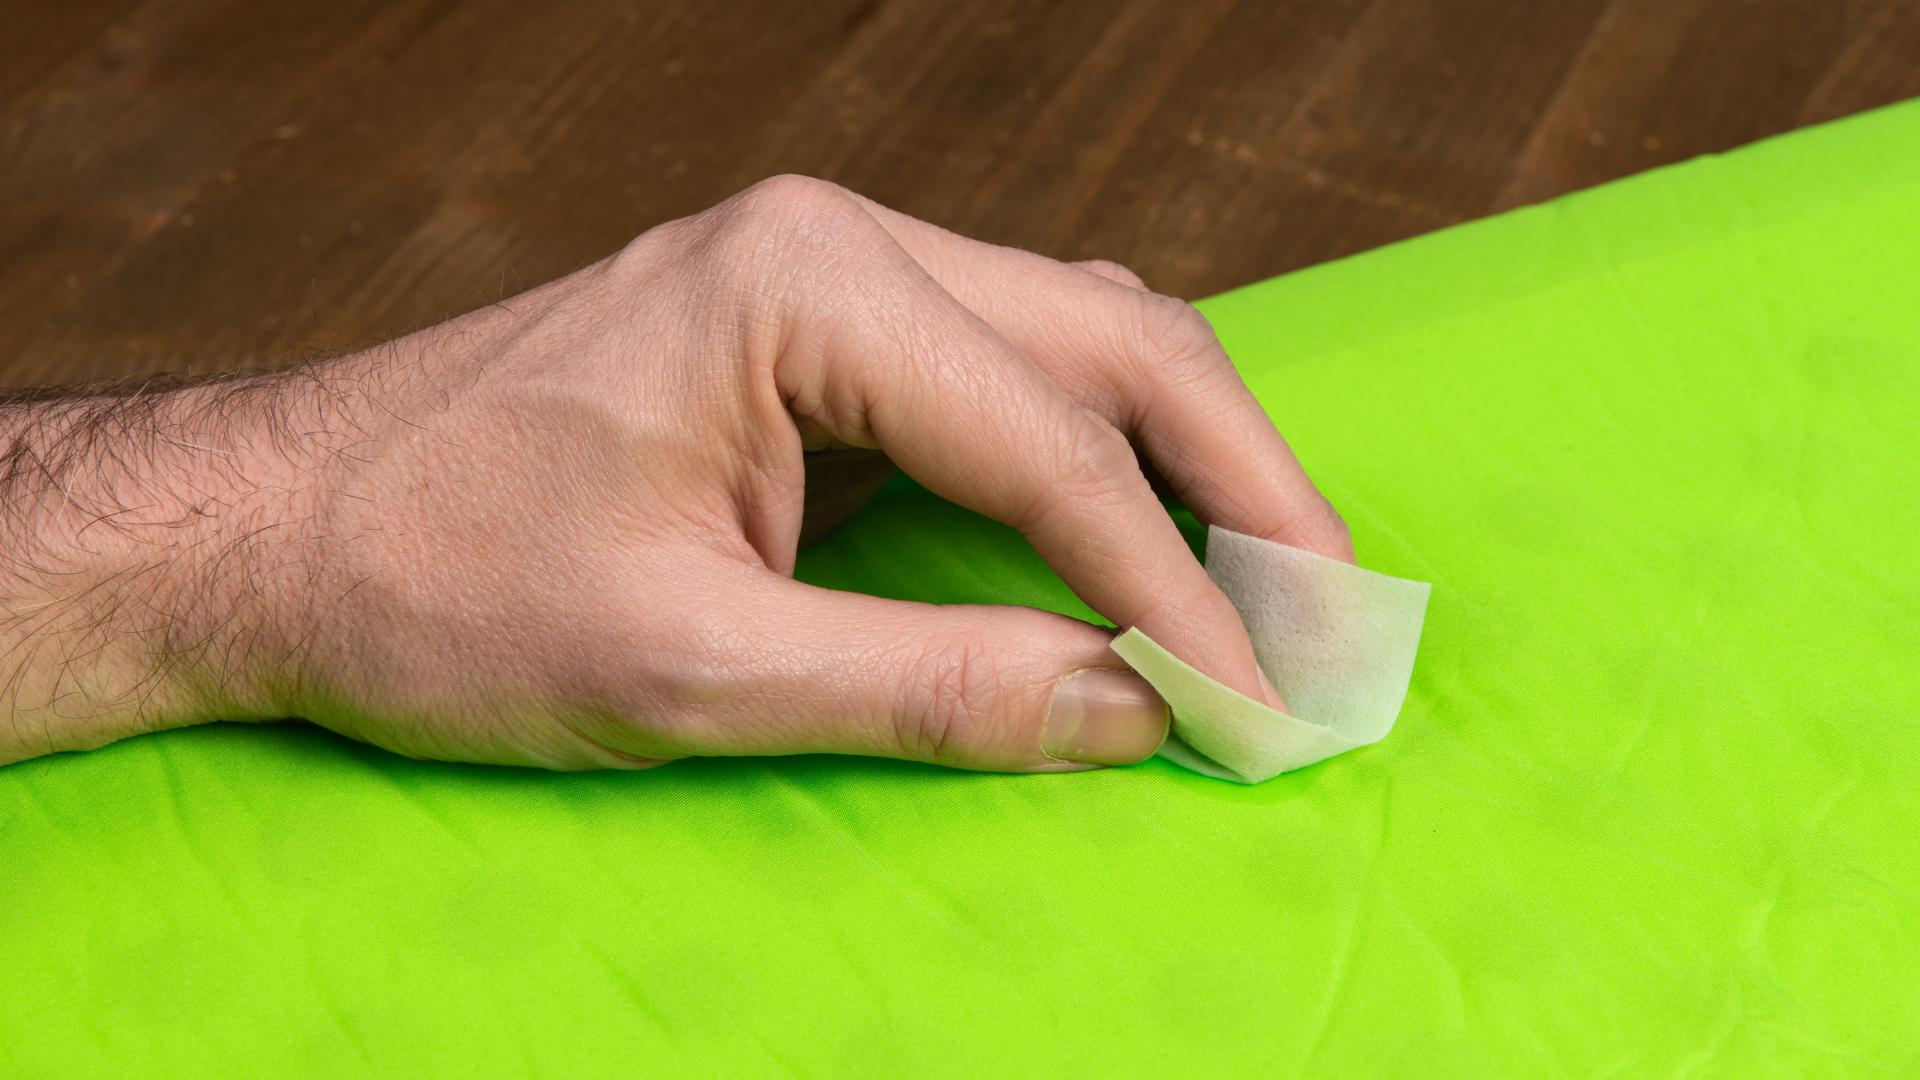
Cleaning and degreasing
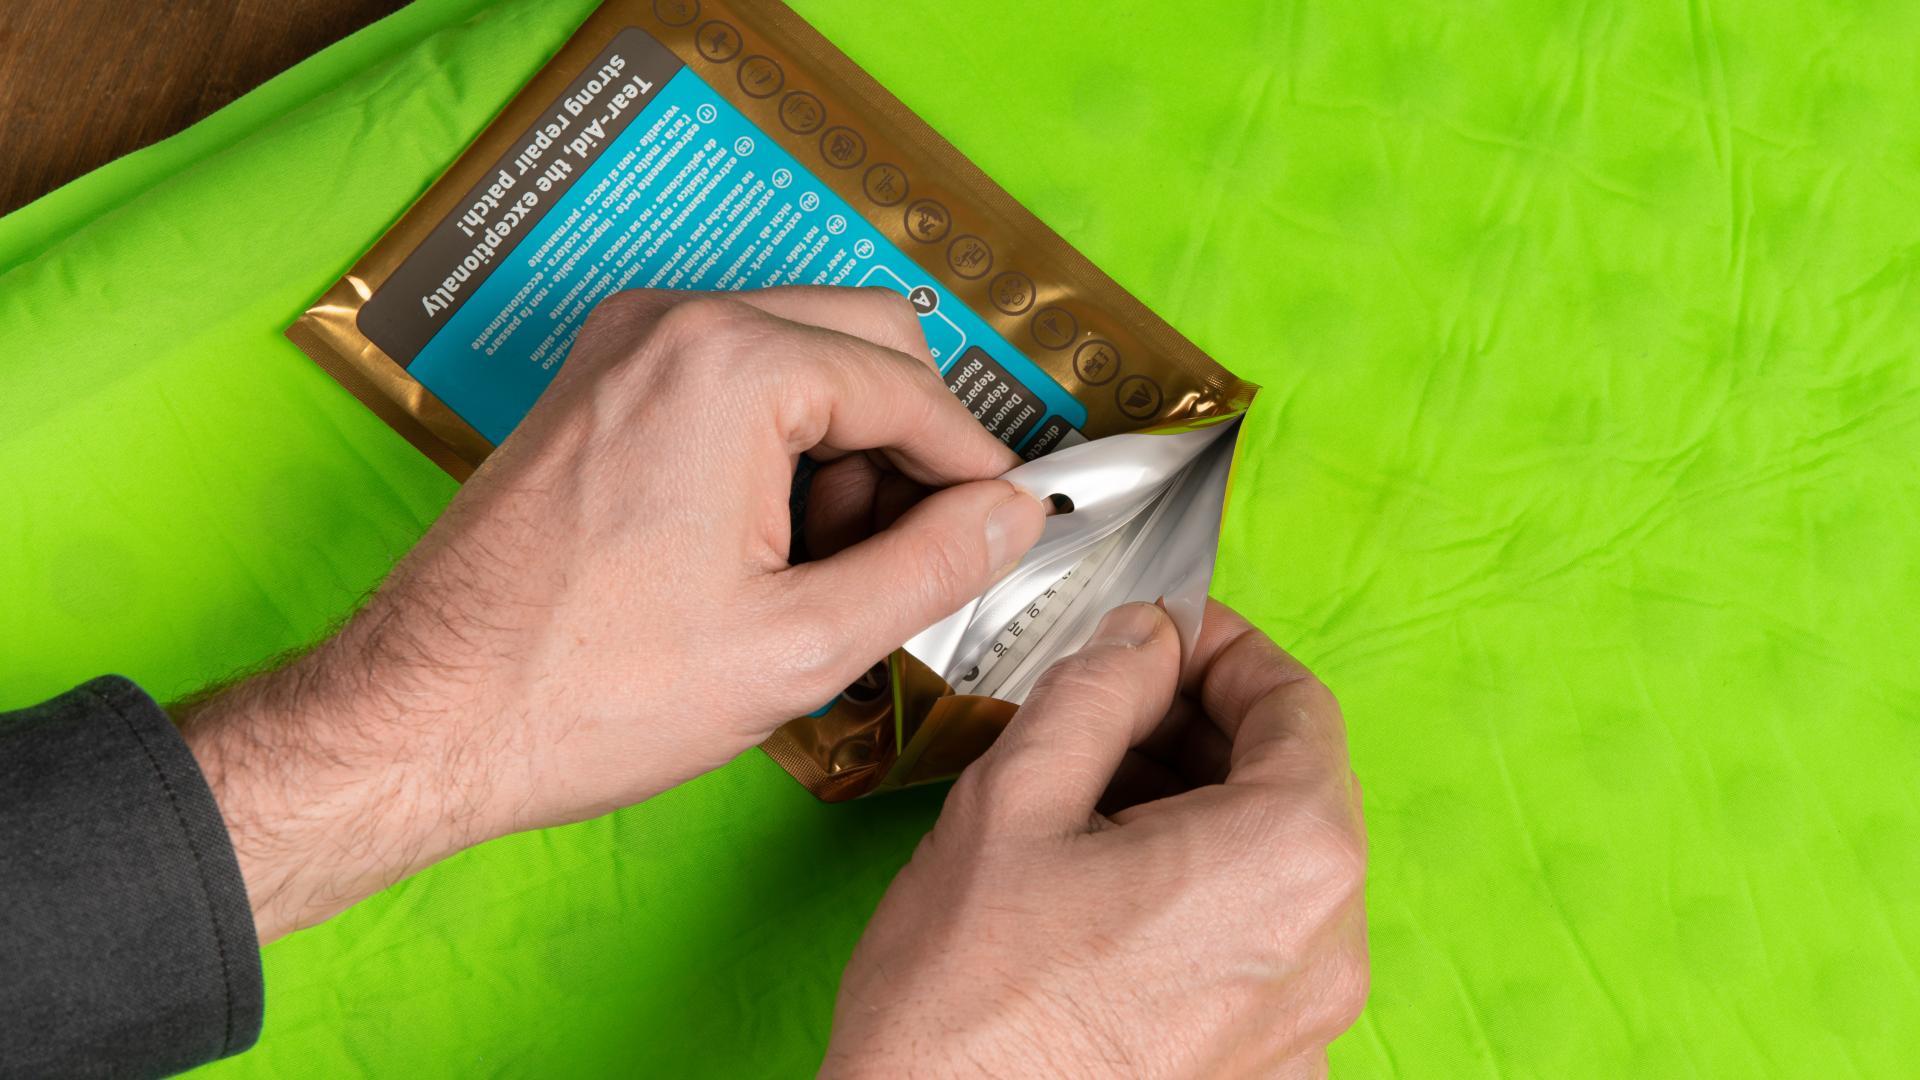
You don't have to cut open the Tear-Aid package! The packaging has a closing strip so that you can store all the materials properly for future use.
Thoroughly clean and dry the area around the hole or tear. Use the alcohol wipe from the repair kit for this. You can also use bottled alcohol or another non-aggressive degreaser.
After cleaning with alcohol, you must wait again until the material around the hole is completely dry.
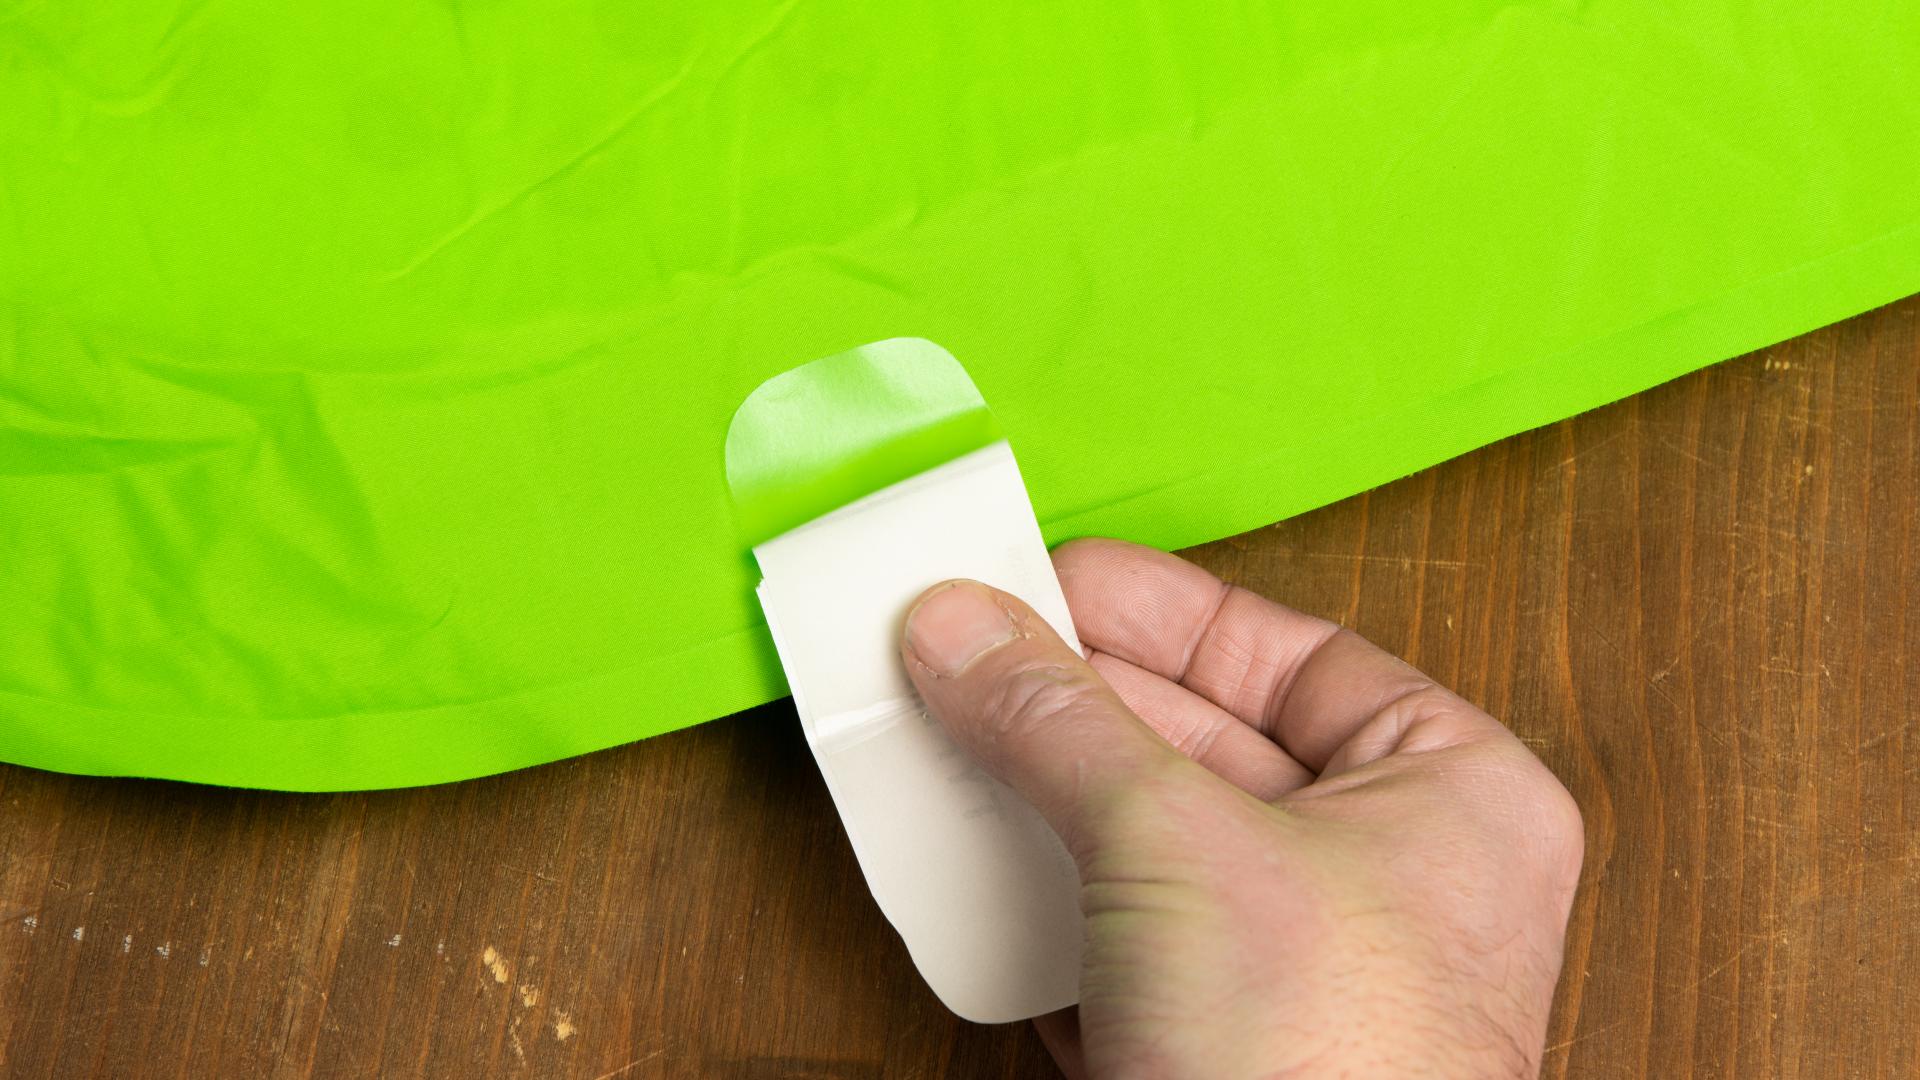
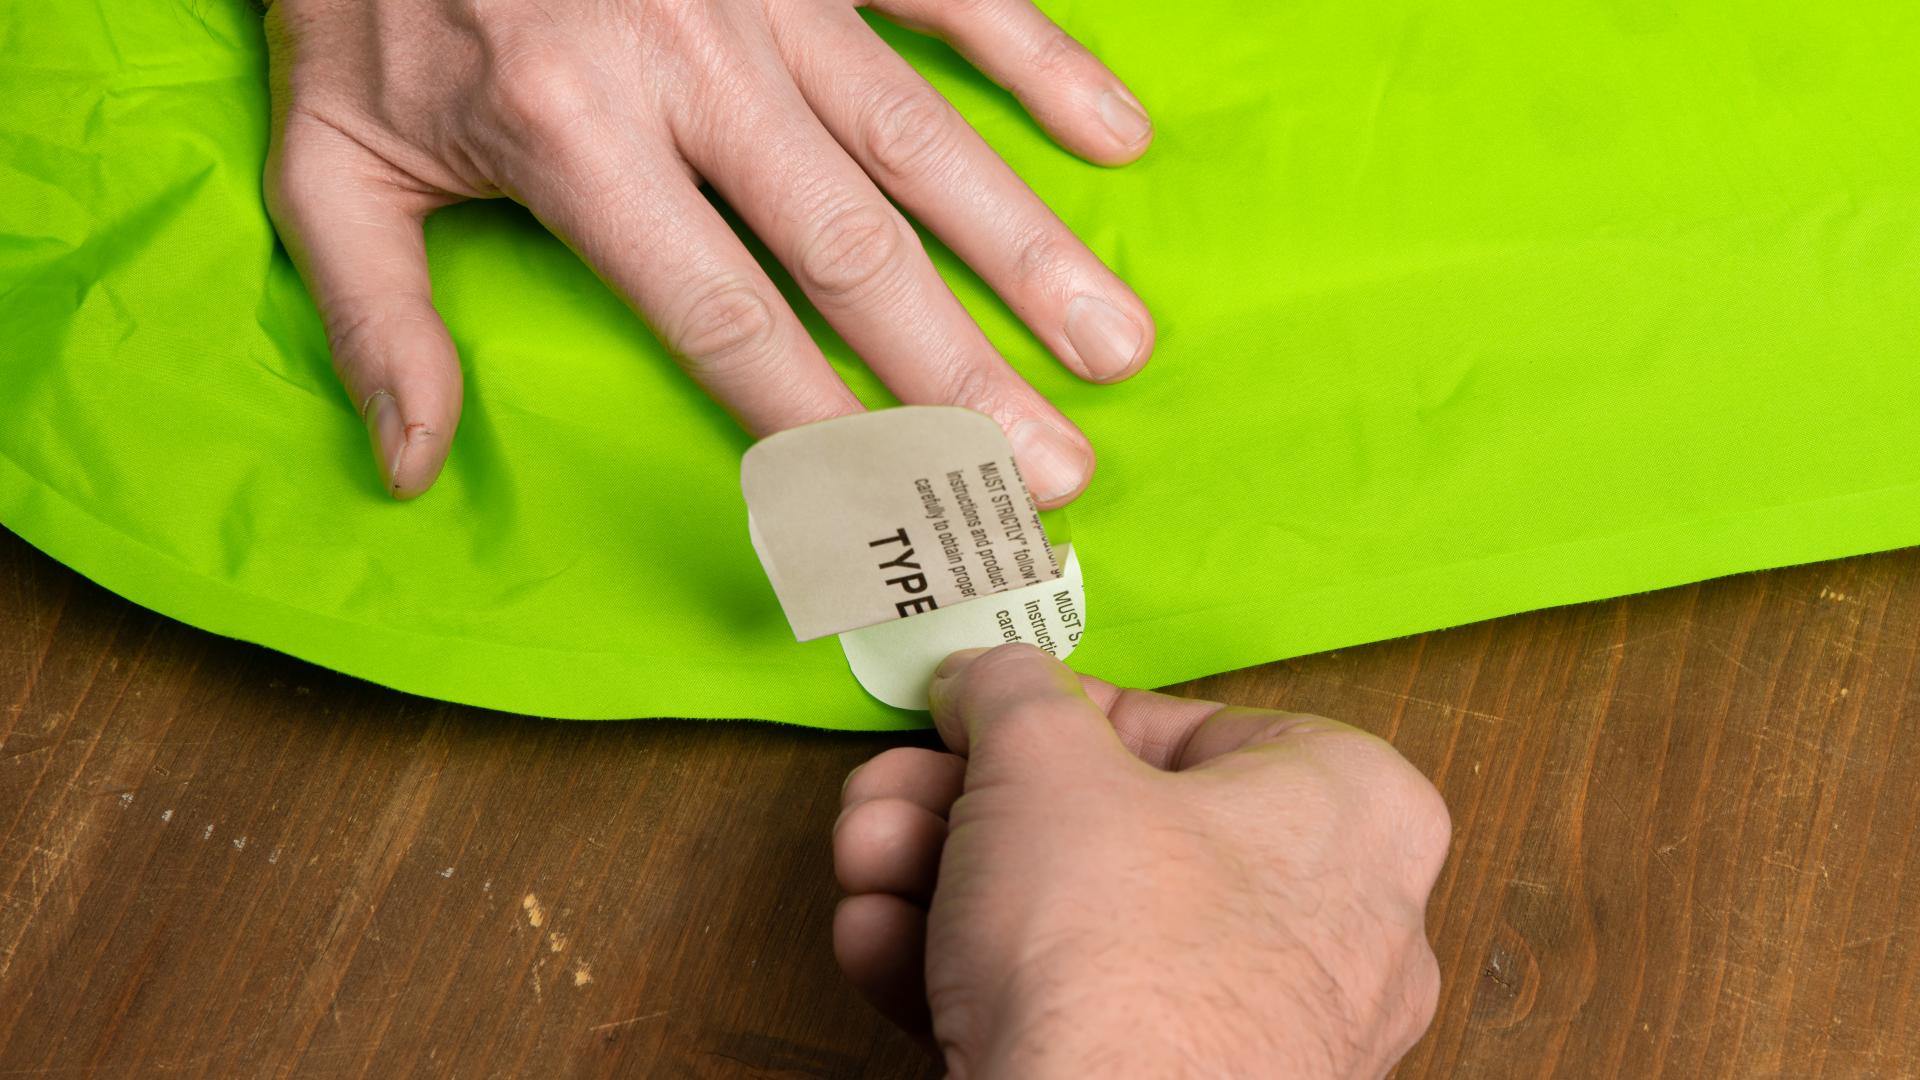
Measuring the patch
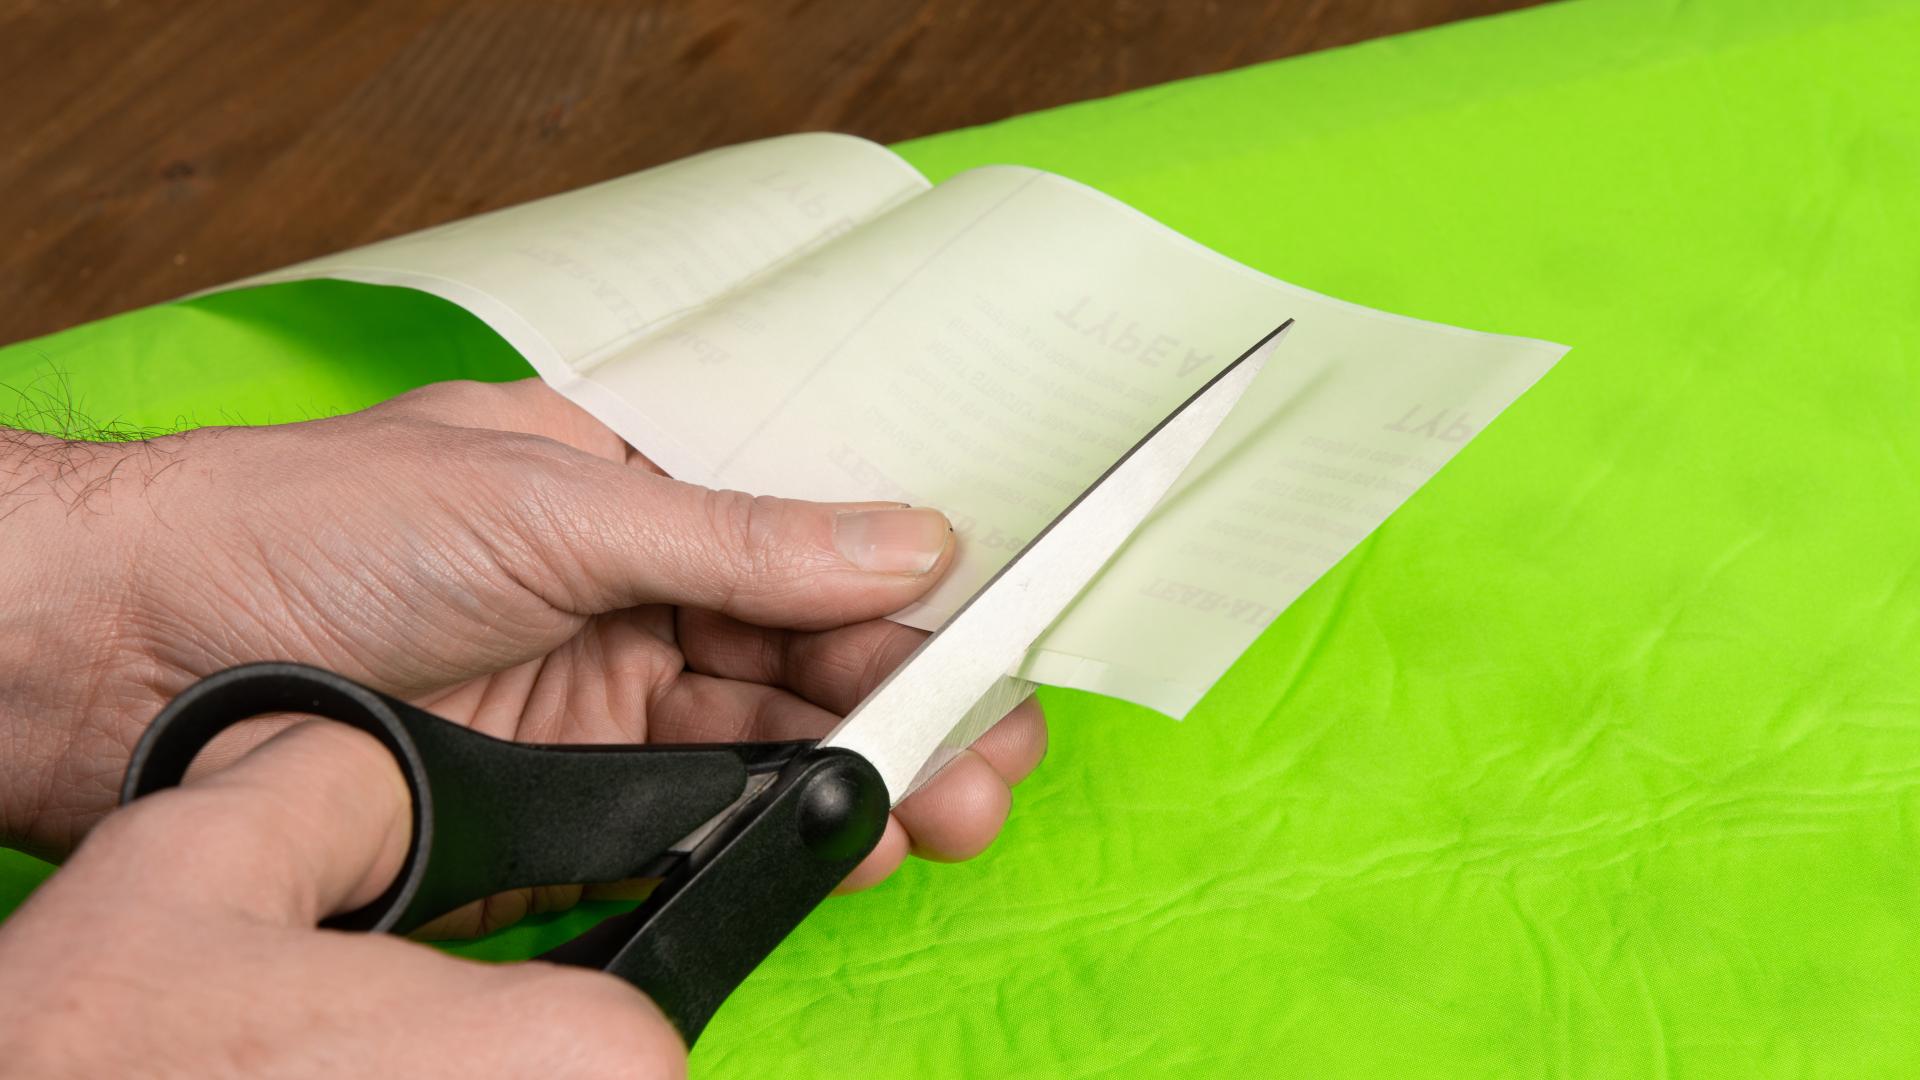
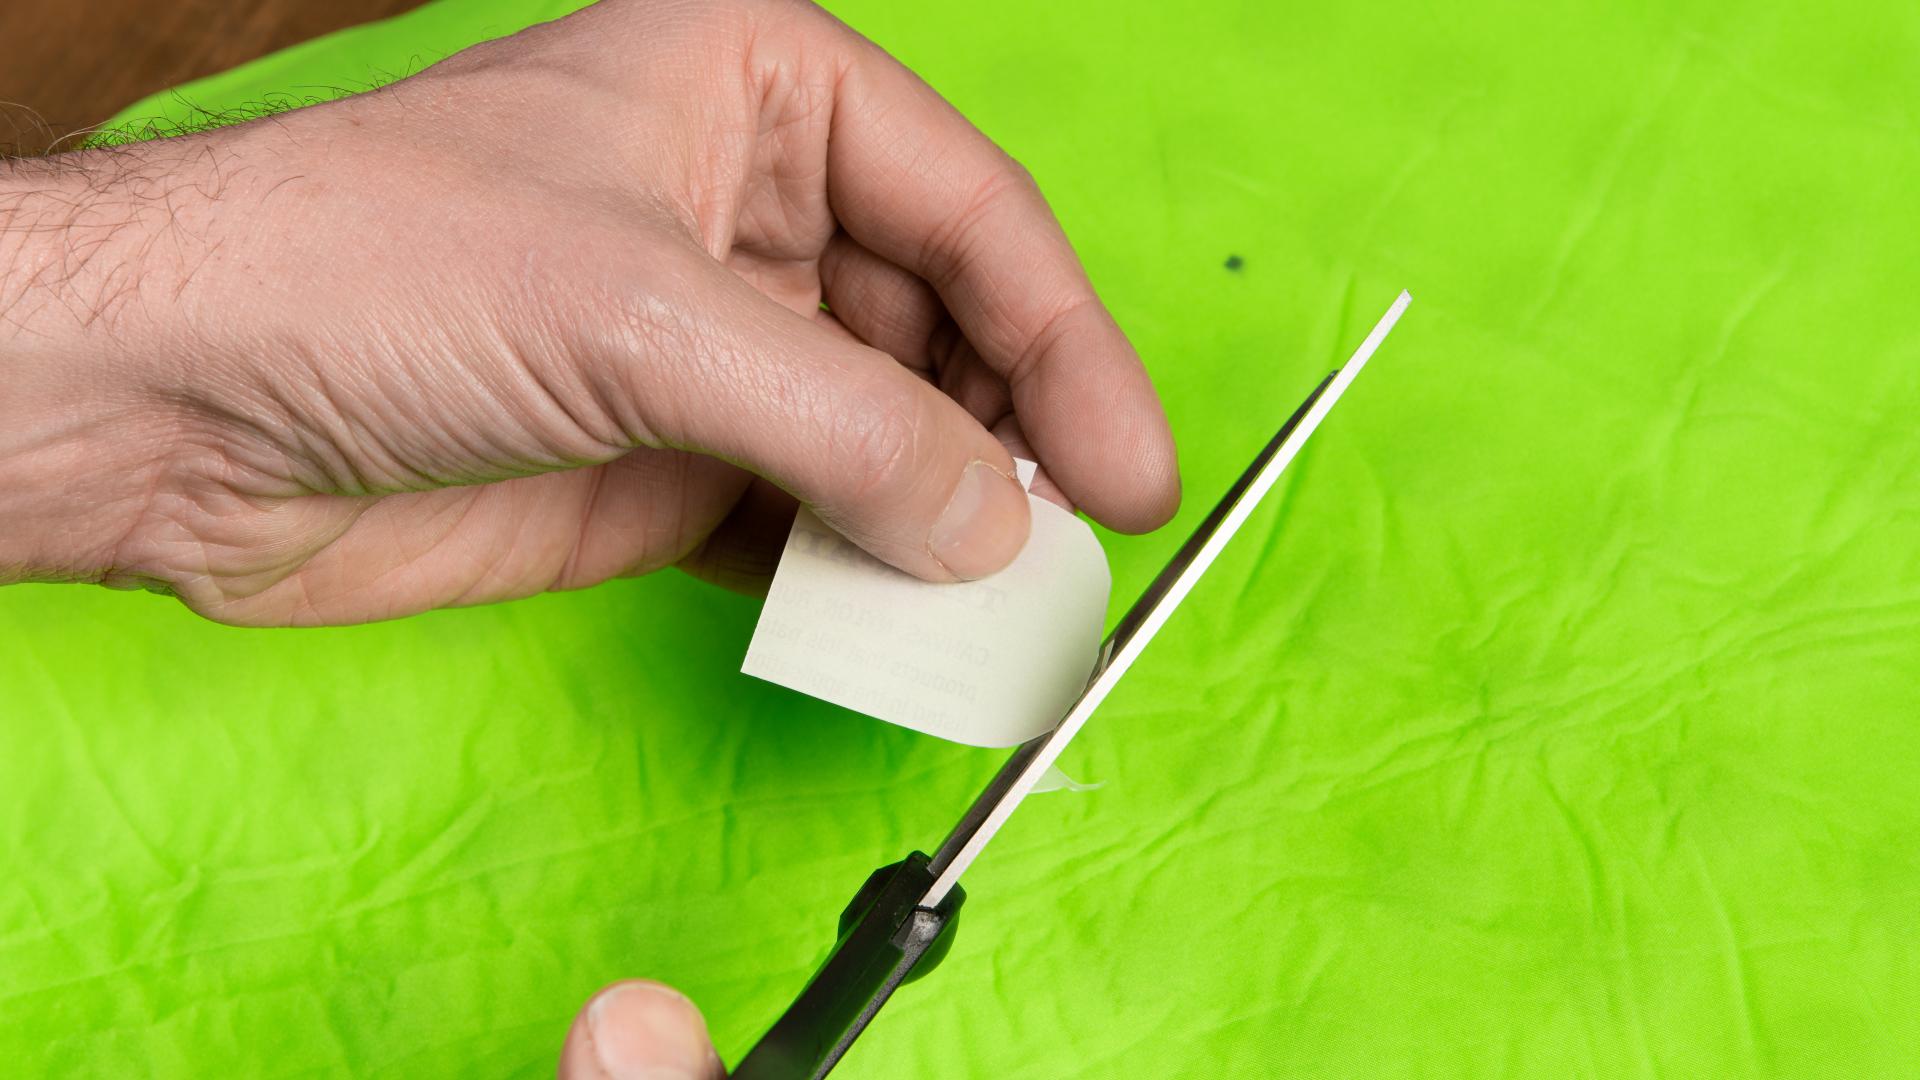
Place the repair patch over the hole with the protective film still on it and measure how large your repair patch should be. Use an additional 2,5 cm of material on all sides of the hole or tear. Then cut the repair patch to size. Be sure to cut the corners of the patch rounded, as straight corners are more vulnerable to peeling.
Pasting the patch
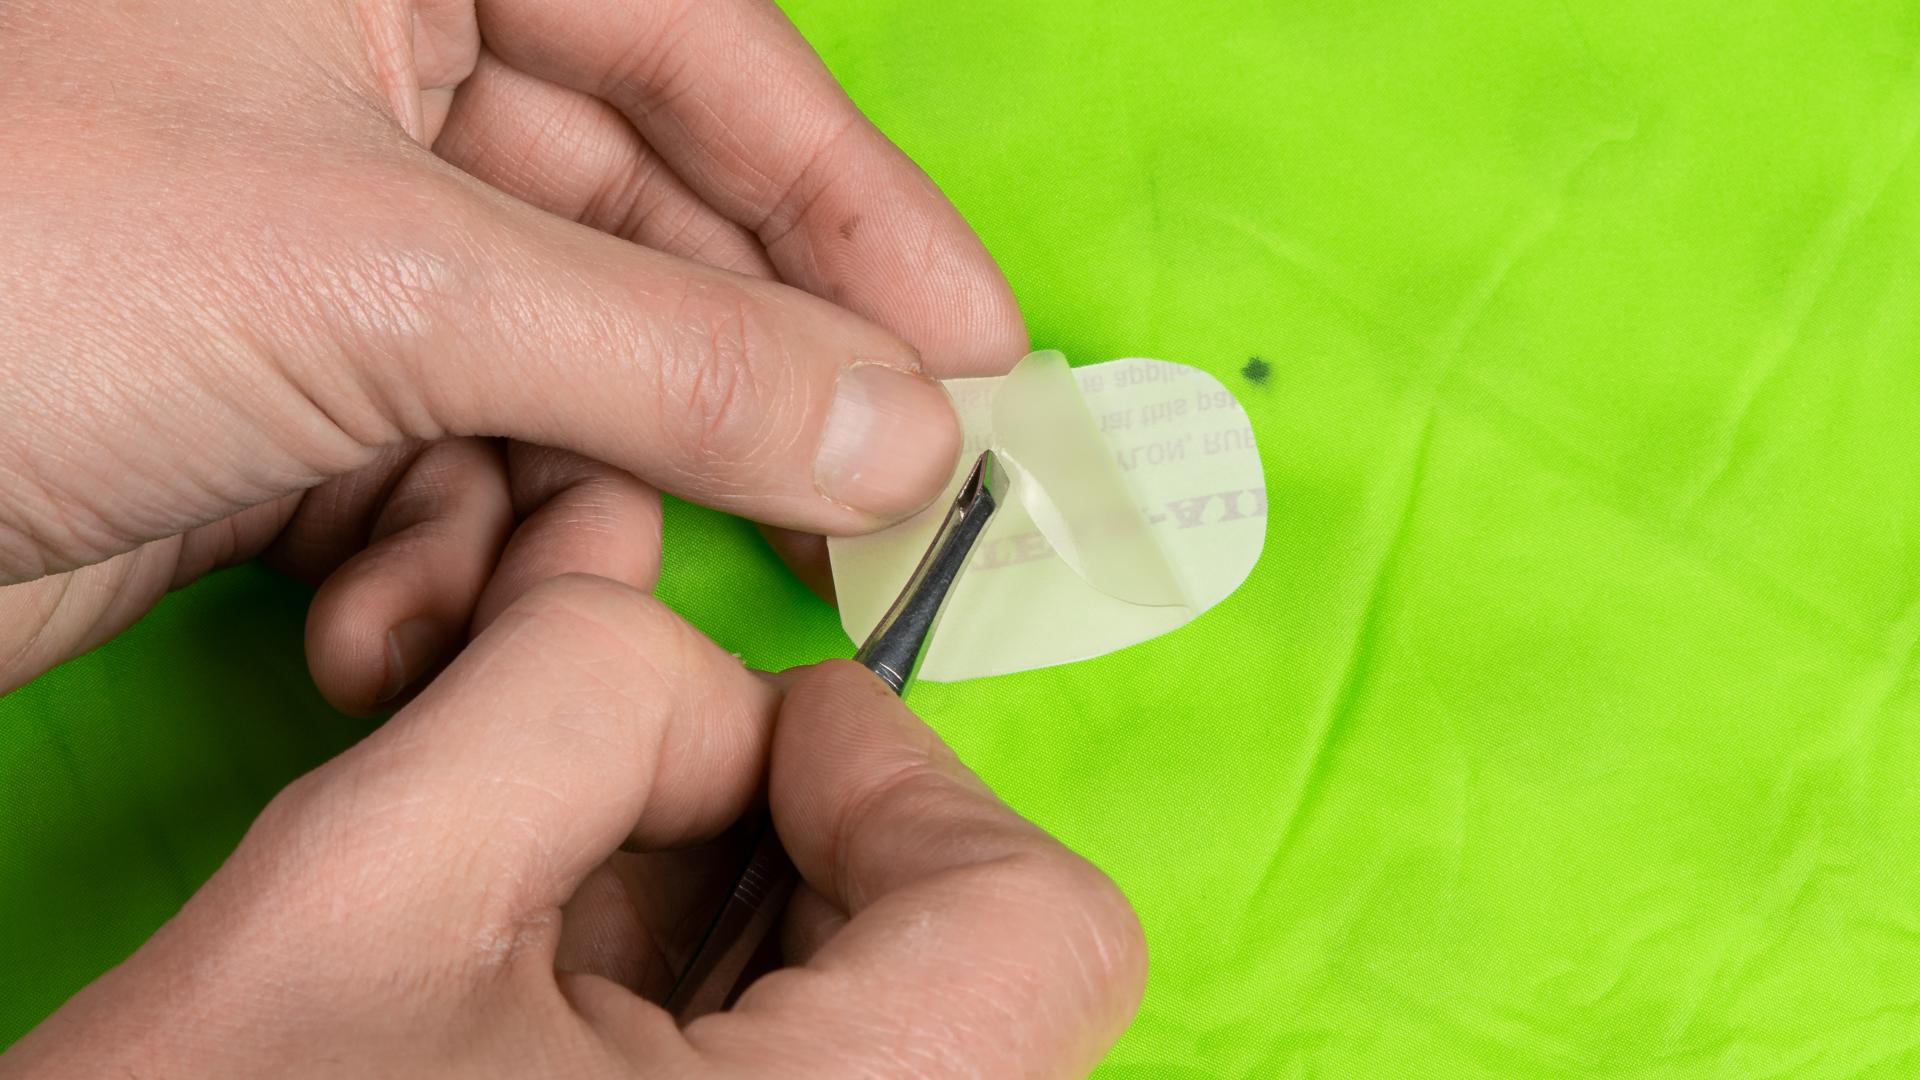
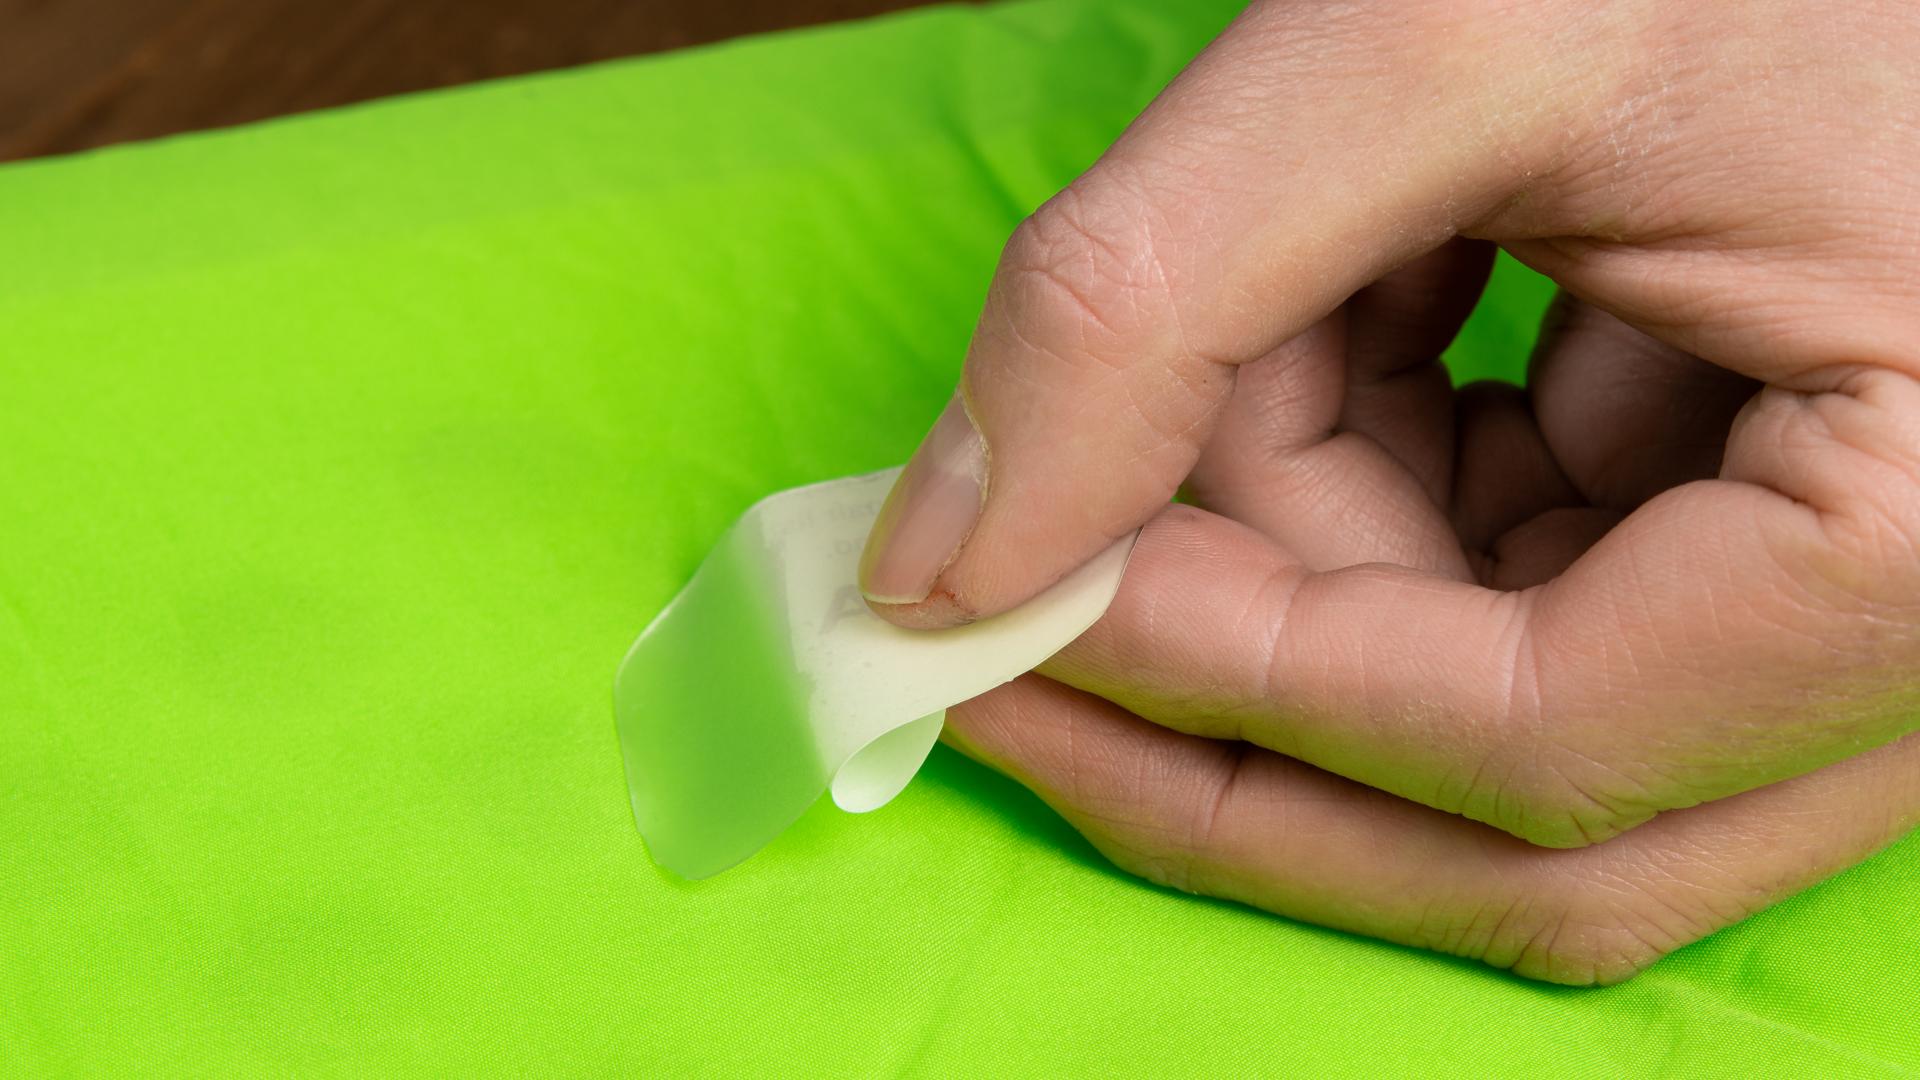
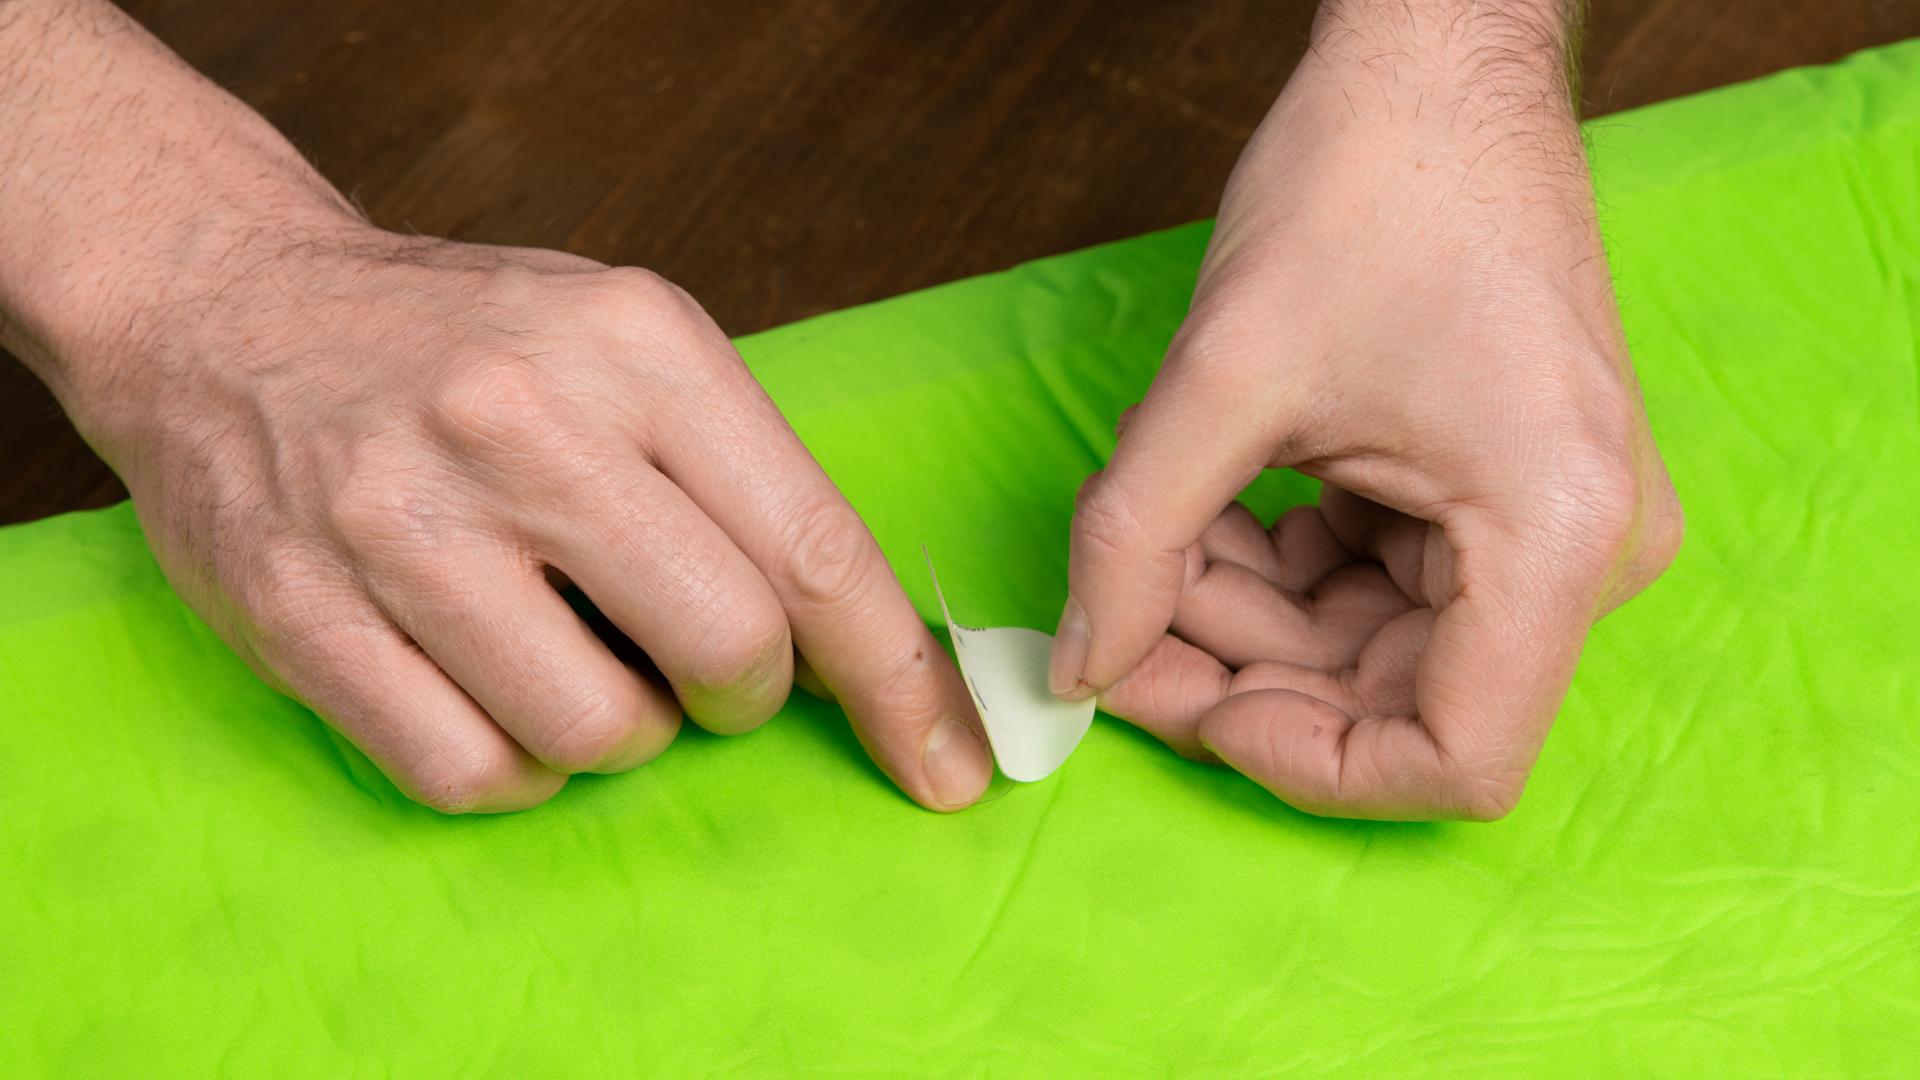
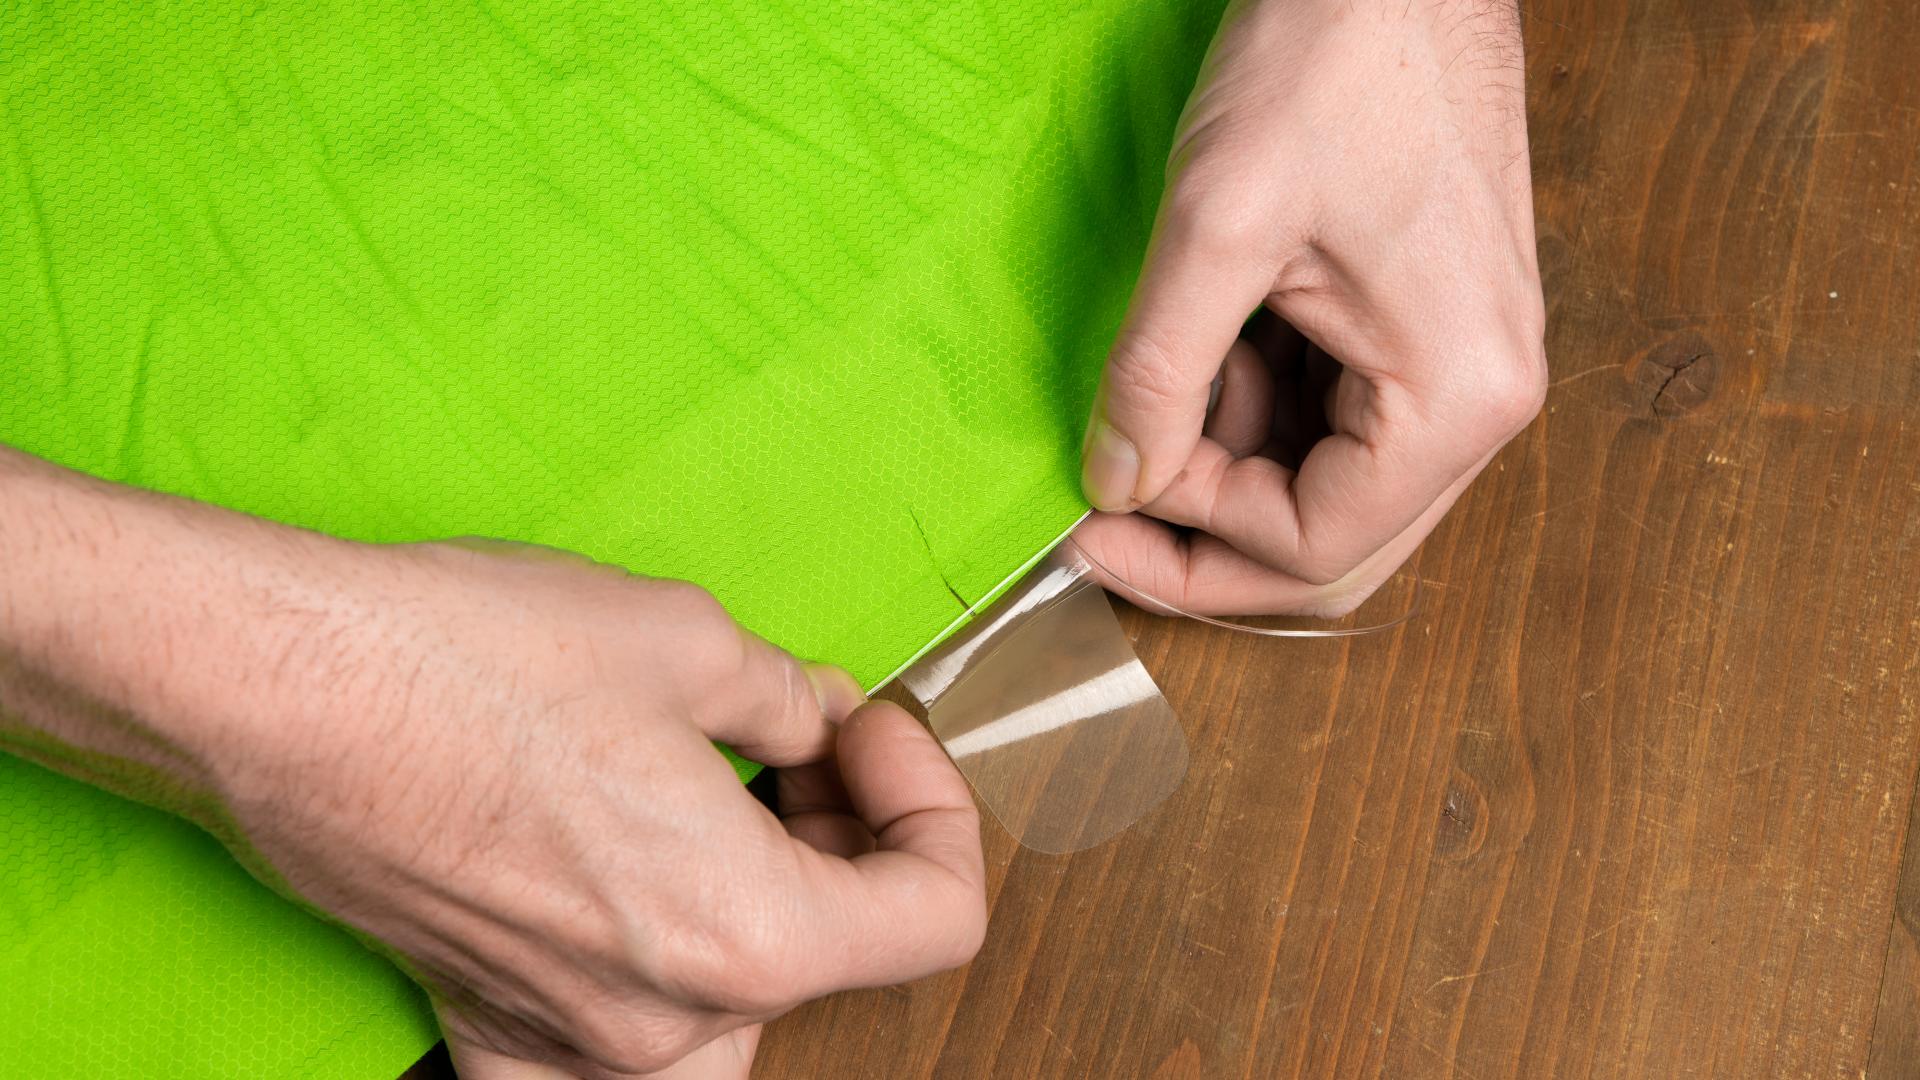
Carefully peel off a piece of about 1 centimeter of the protective film from the patch. Preferably use tweezers for this. If you don't have one at hand, avoid touching the adhesive side of the patch with your fingers. Otherwise, you run the risk of the patch coming loose on those parts over time.
Apply the freed piece of Taer-Aid to the hole, making sure the hole is in the center of the patch. Now remove the rest of the protective film while simultaneously sticking the rest of the patch onto the material. Make sure there are no air bubbles under the patch.
Applying a patch if there are tears on the edge of the sleeping mat


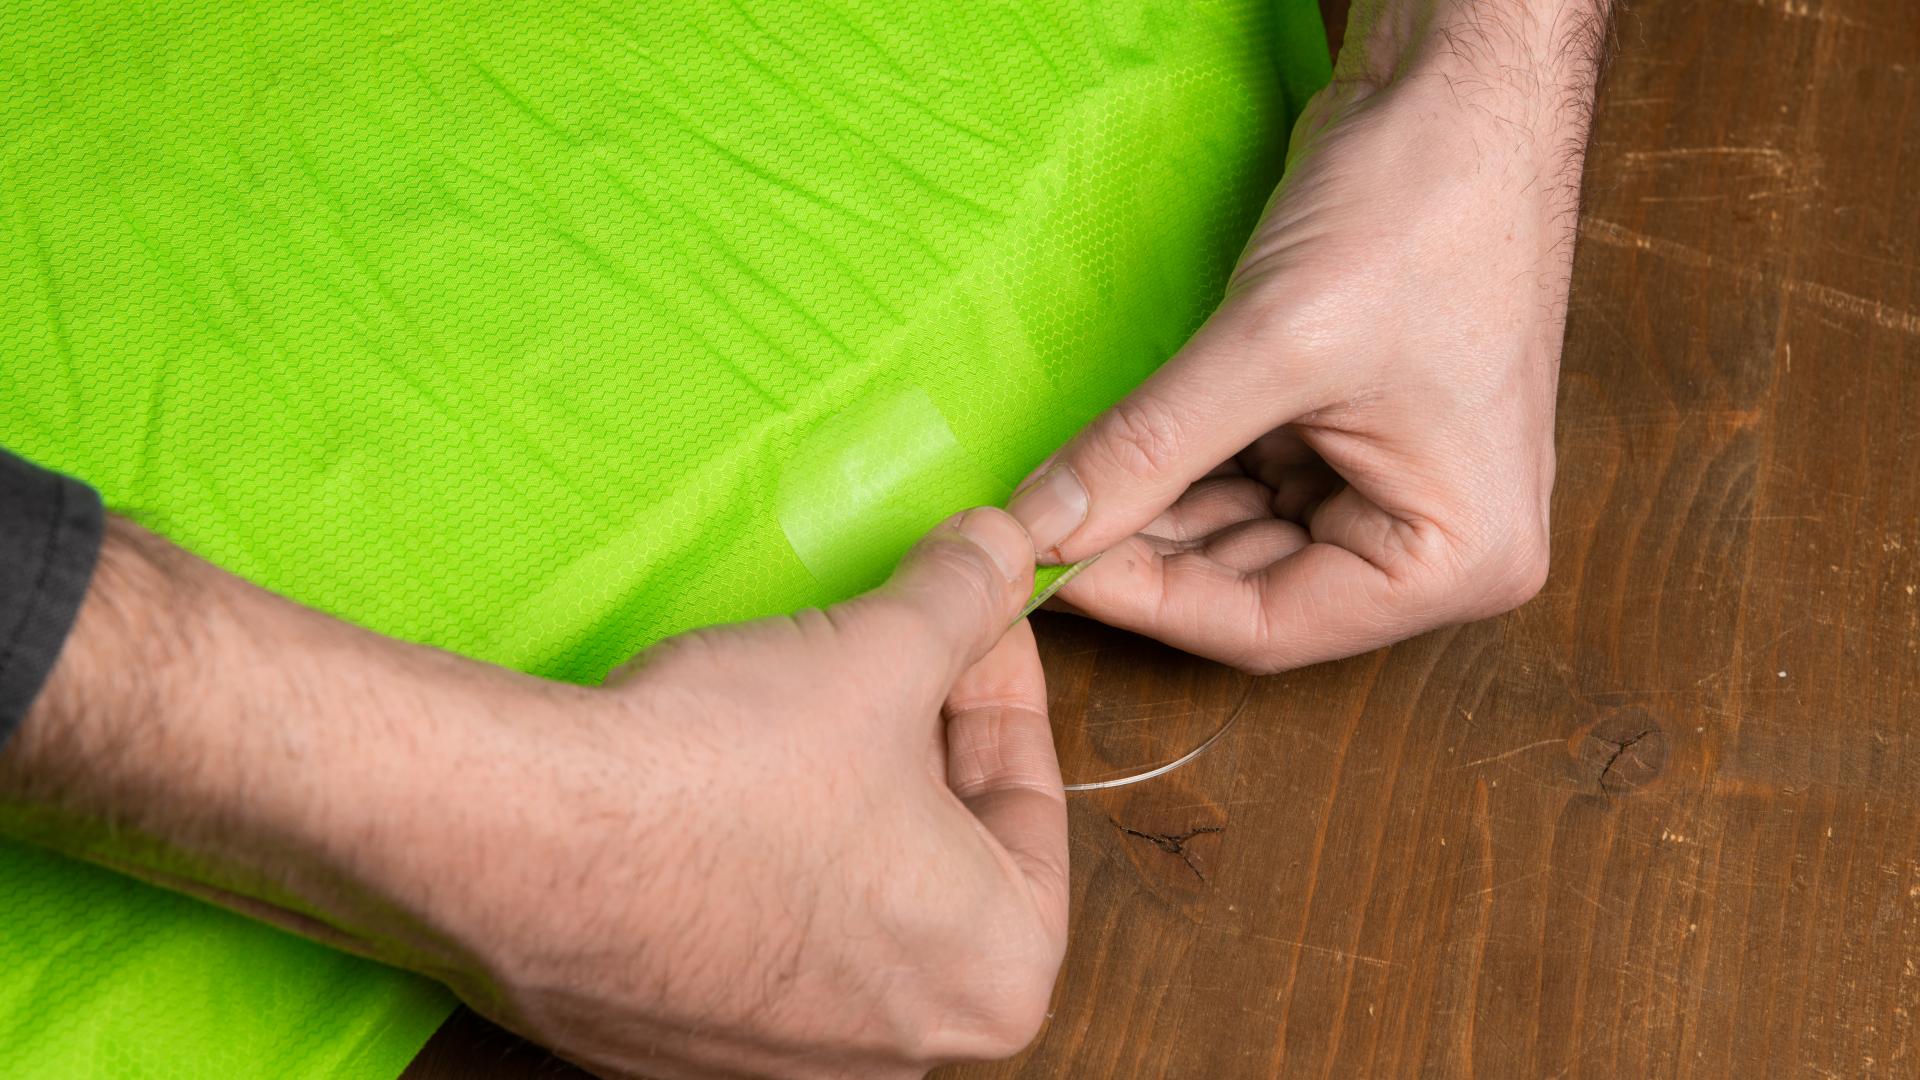
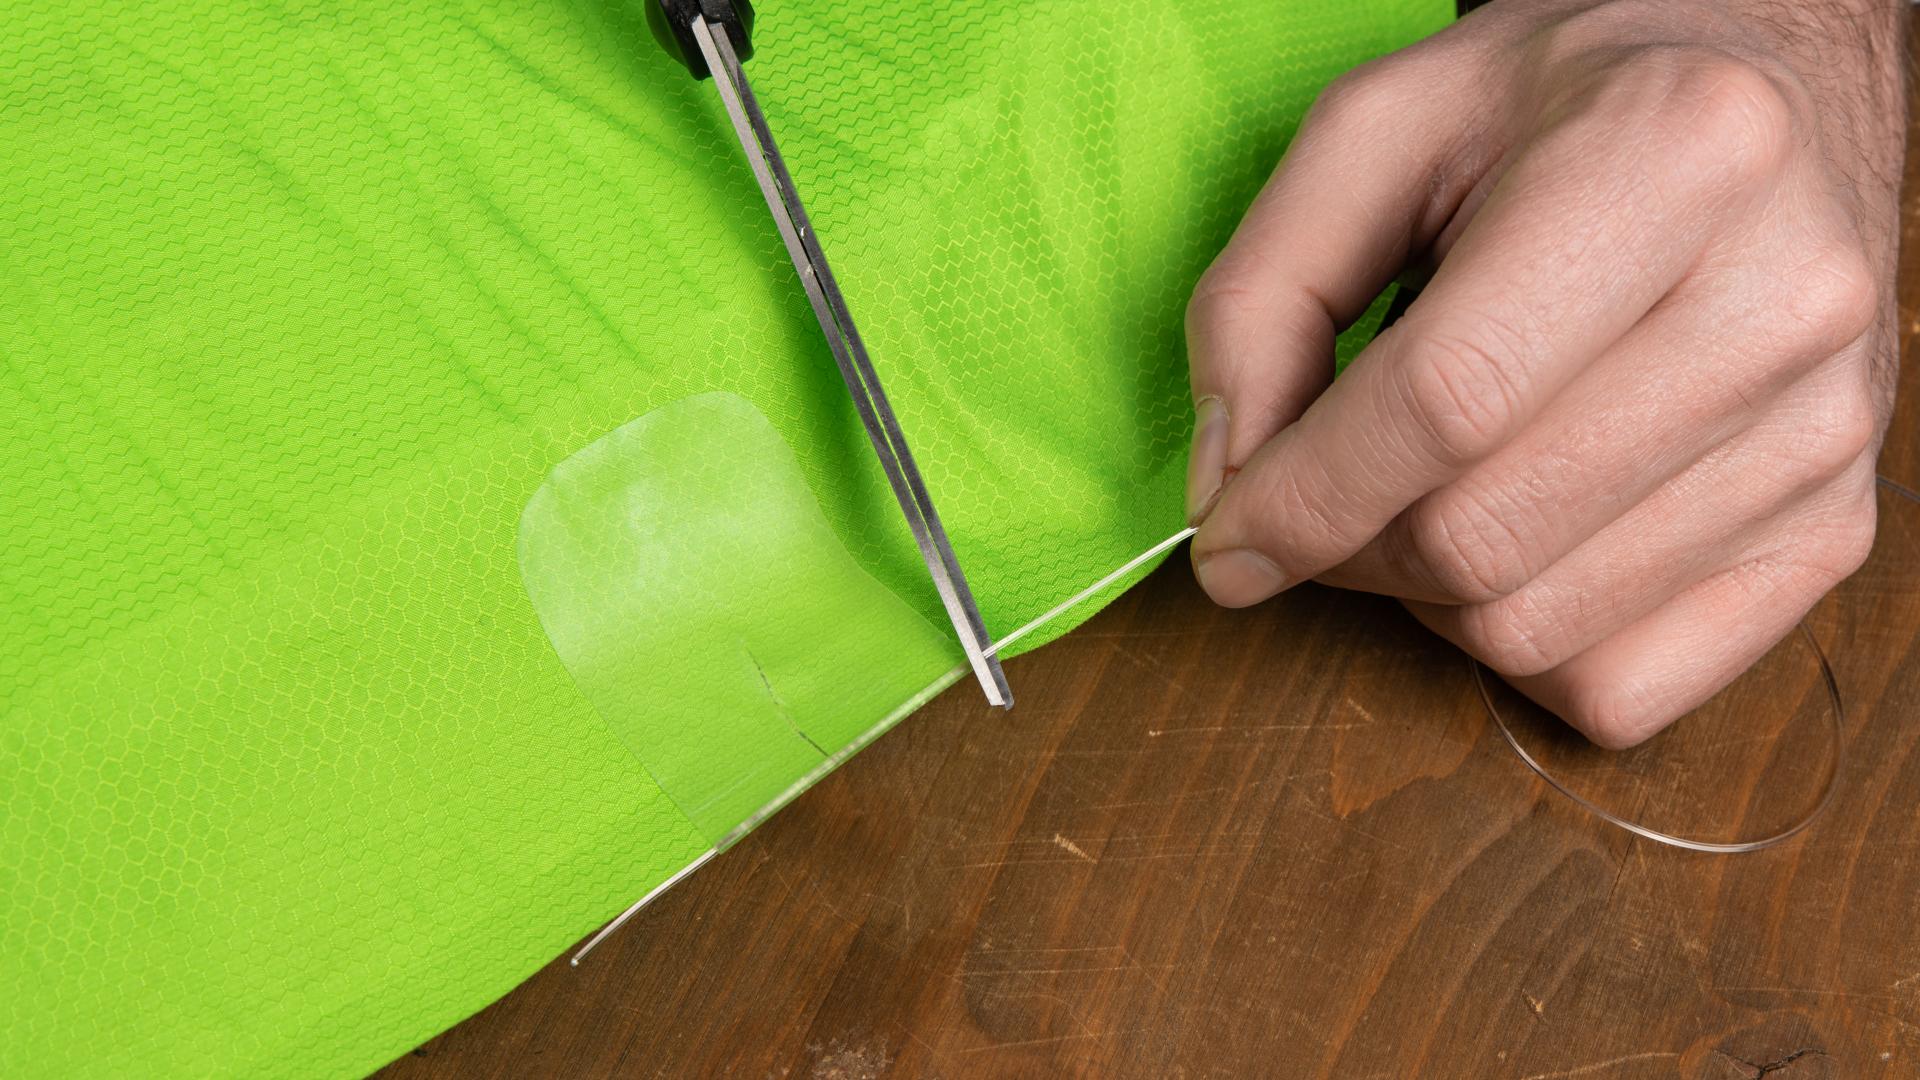
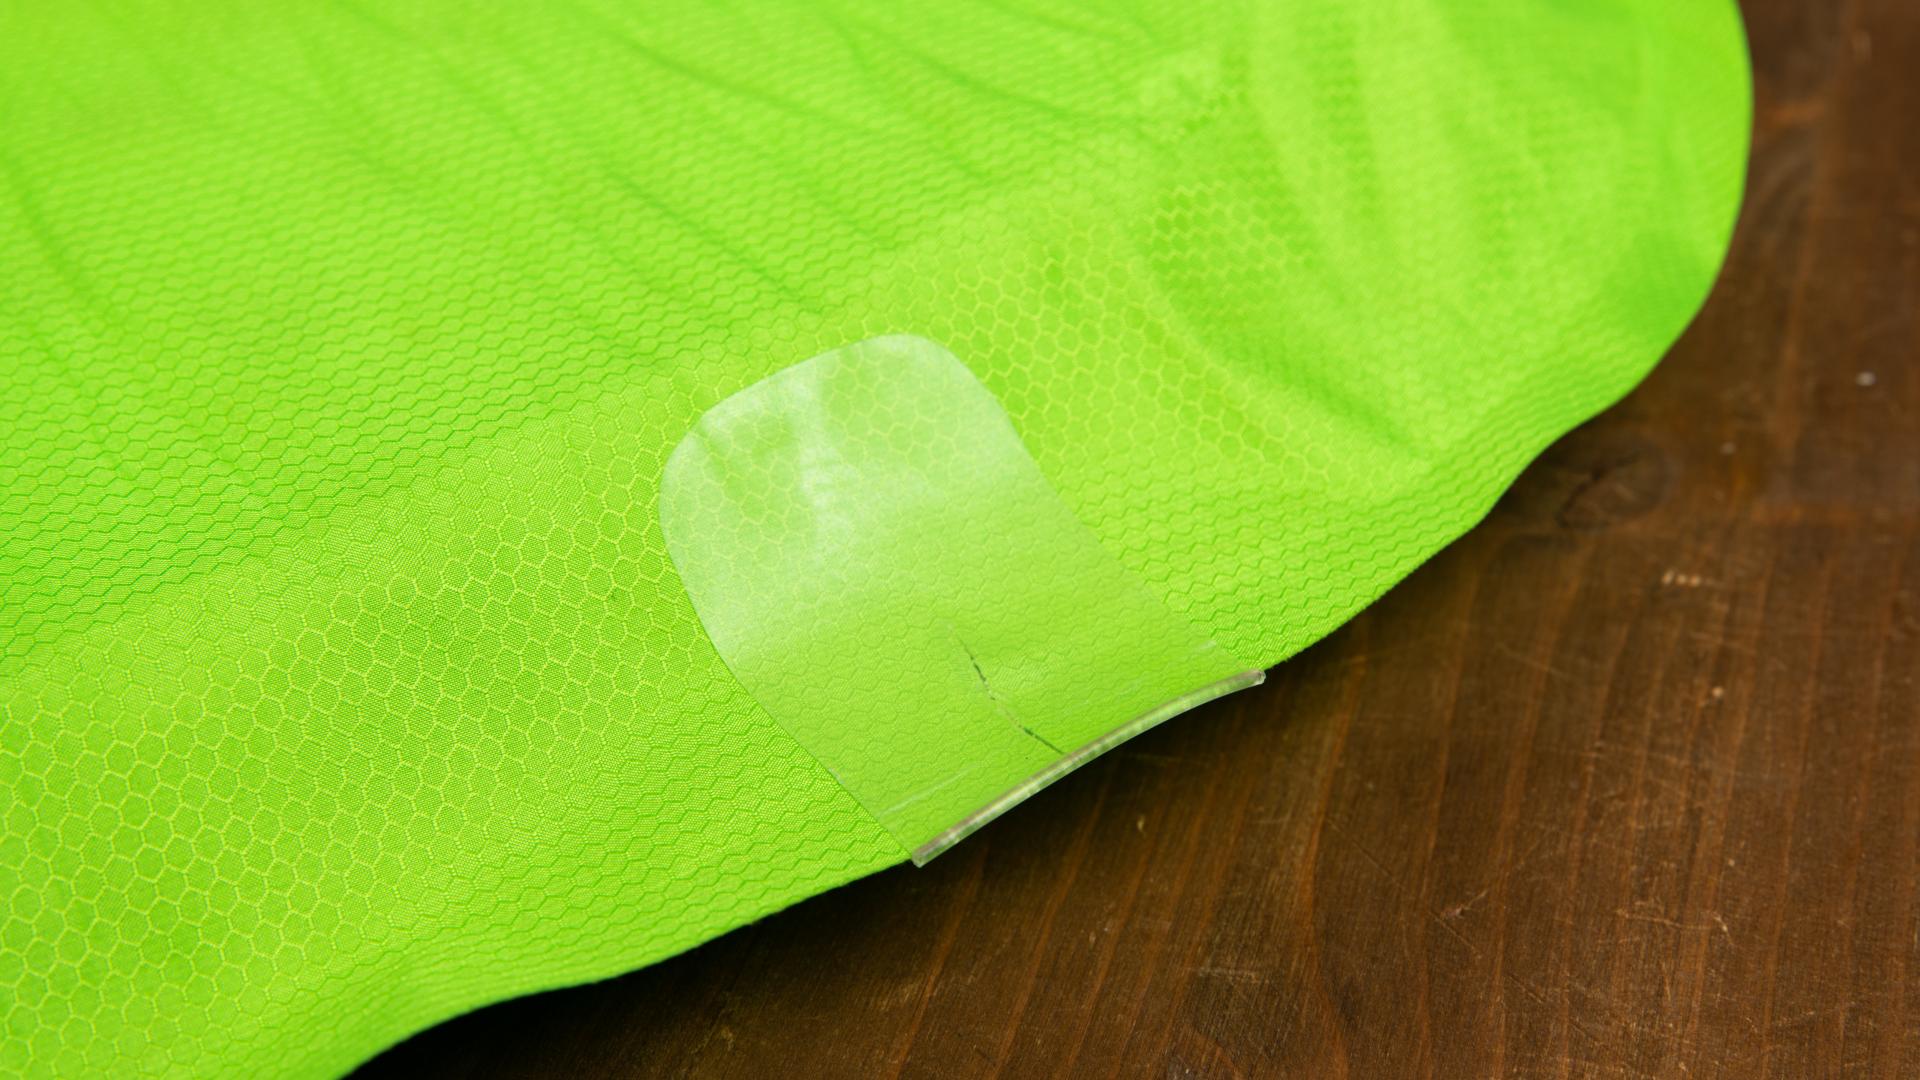
If there is a tear along the edge of the sleeping mat, cut the repair patch large enough that you can fold it around the edge of the sleeping mat. Stick the patch on one side first. Then turn the sleeping mat over and lay the supplied nylon thread from the Tear-Aid packaging along the edge of the mat. Then tape the rest of the patch to the other side of your mat. The nylon thread provides extra strength along the edge.
Pressing down the patch
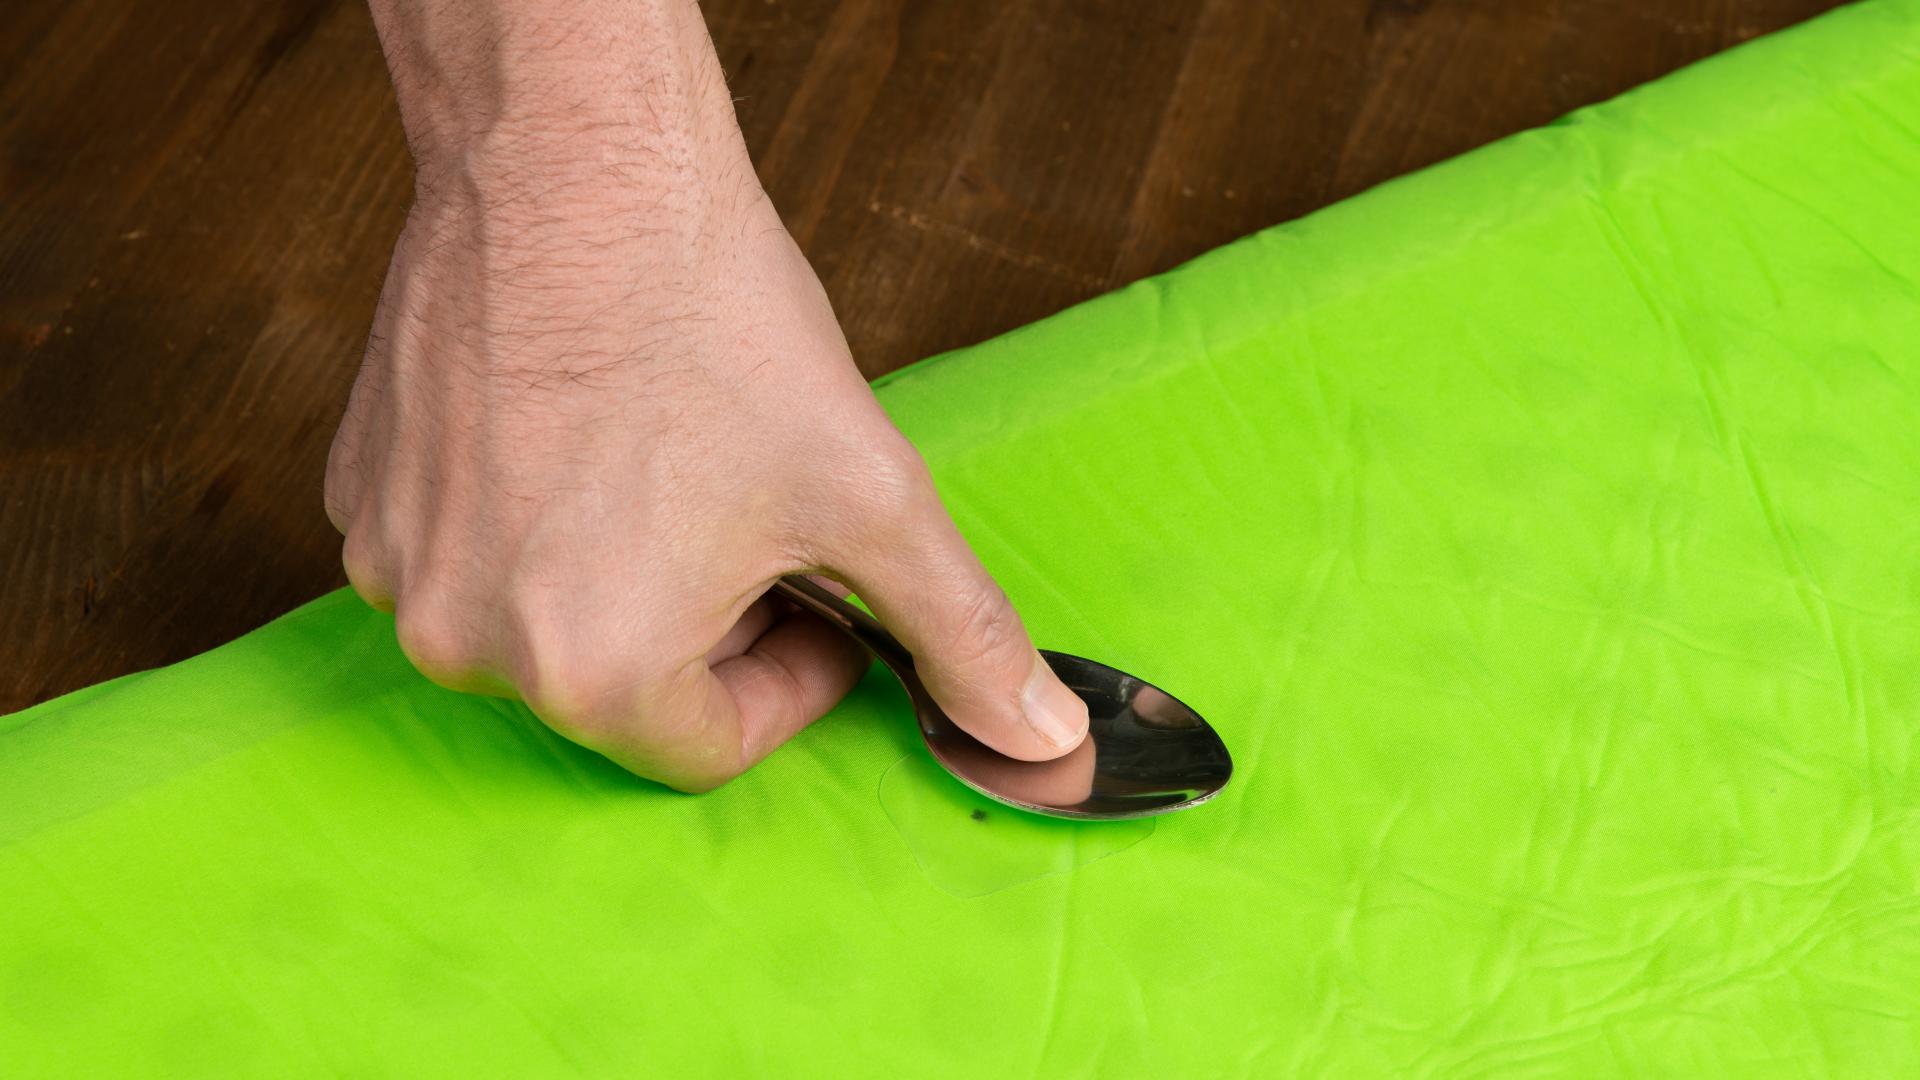
Now rub the Tear-Aid thoroughly with the rounded side of a spoon. Your sleeping mat is repaired and ready for use again. Immediately after applying the Tear-Aid, the adhesion of the patch is 90% and after one hour it is 100%.
And done! What a feeling!
Did you manage to fix it?
Yes!

Meer tutorials van Bever