Pixel fix for the instrument cluster LCD display (BMW e38 7-series)
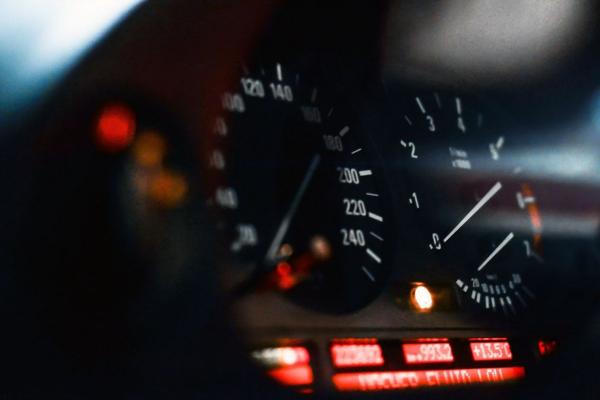
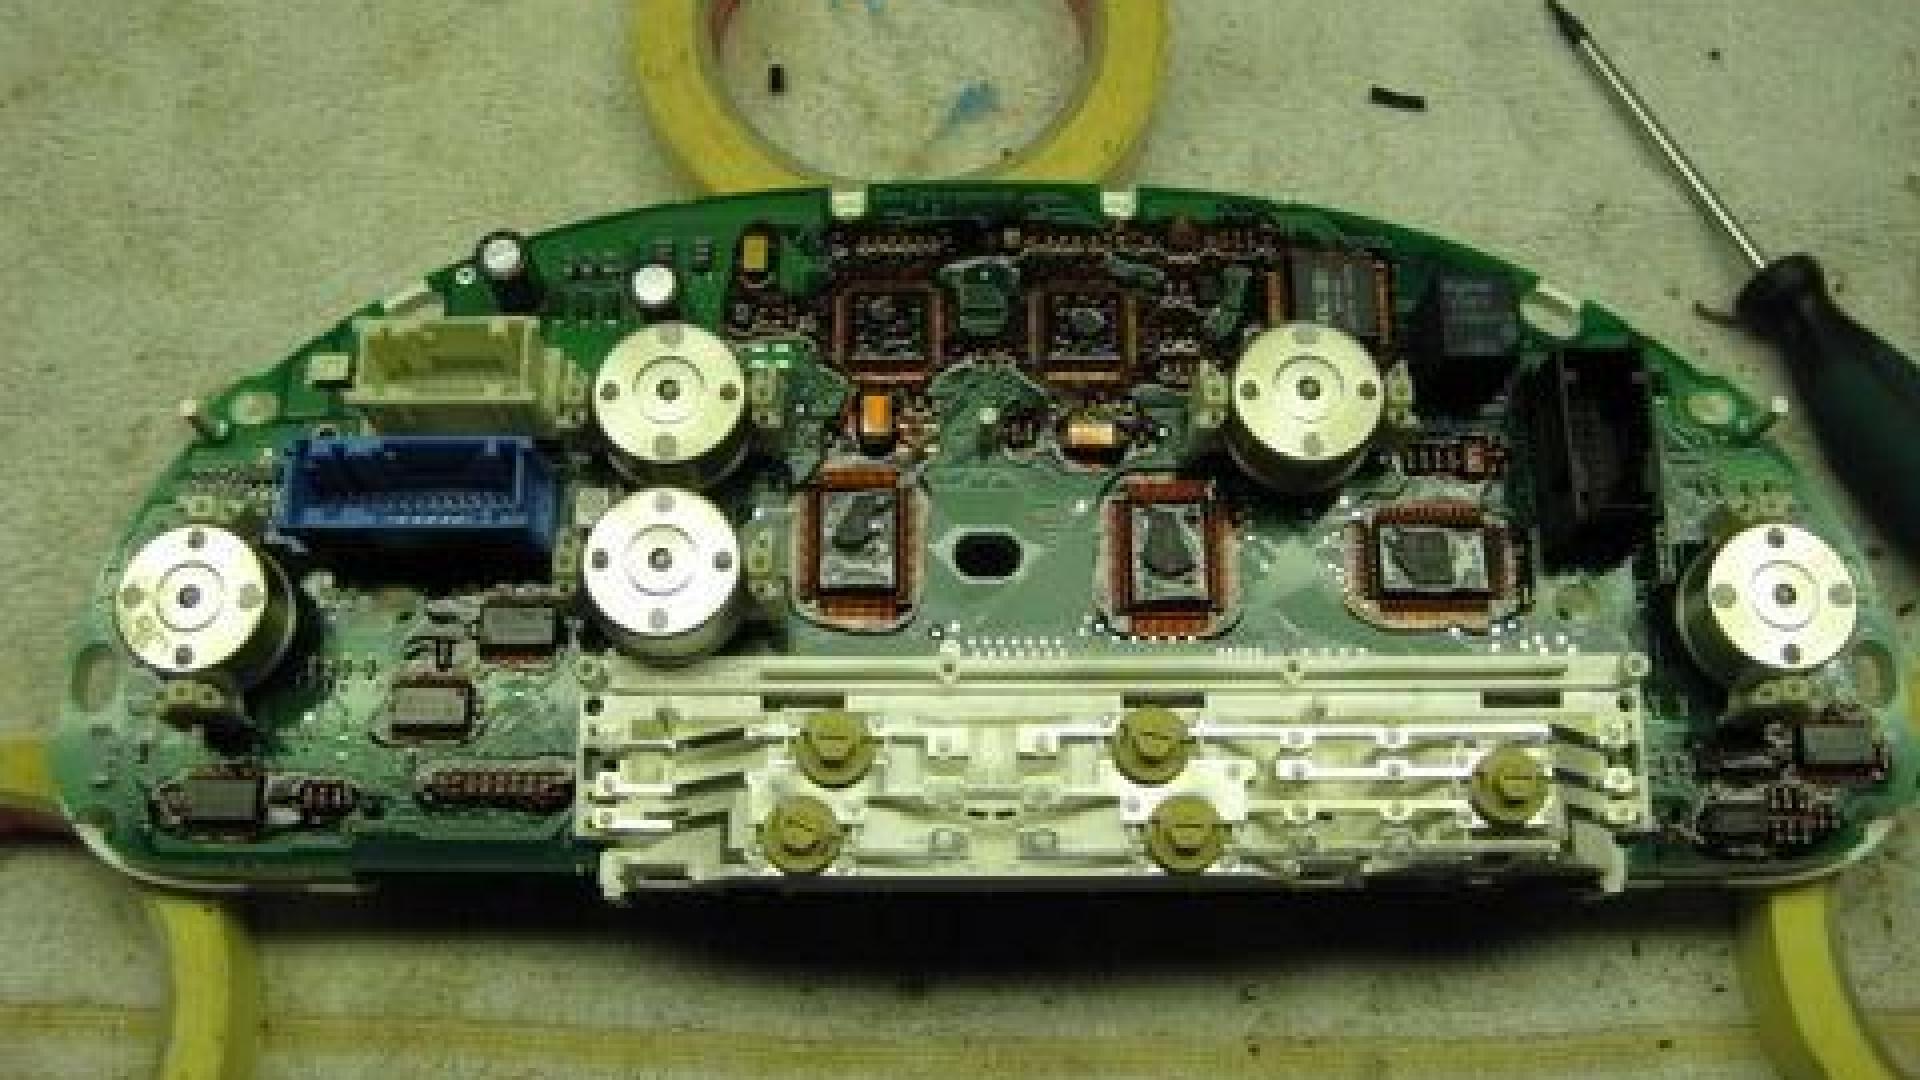
When some of the pixels in the LCD display of the instrument cluster don't work, most of the times this is caused by the fact the LCD display does not press against the circuit board sufficiently. In this tutorial we will show you how to fix this.
Let op! Reparaties voer je op eigen risico uit!. Zie de algemene voorwaarden.
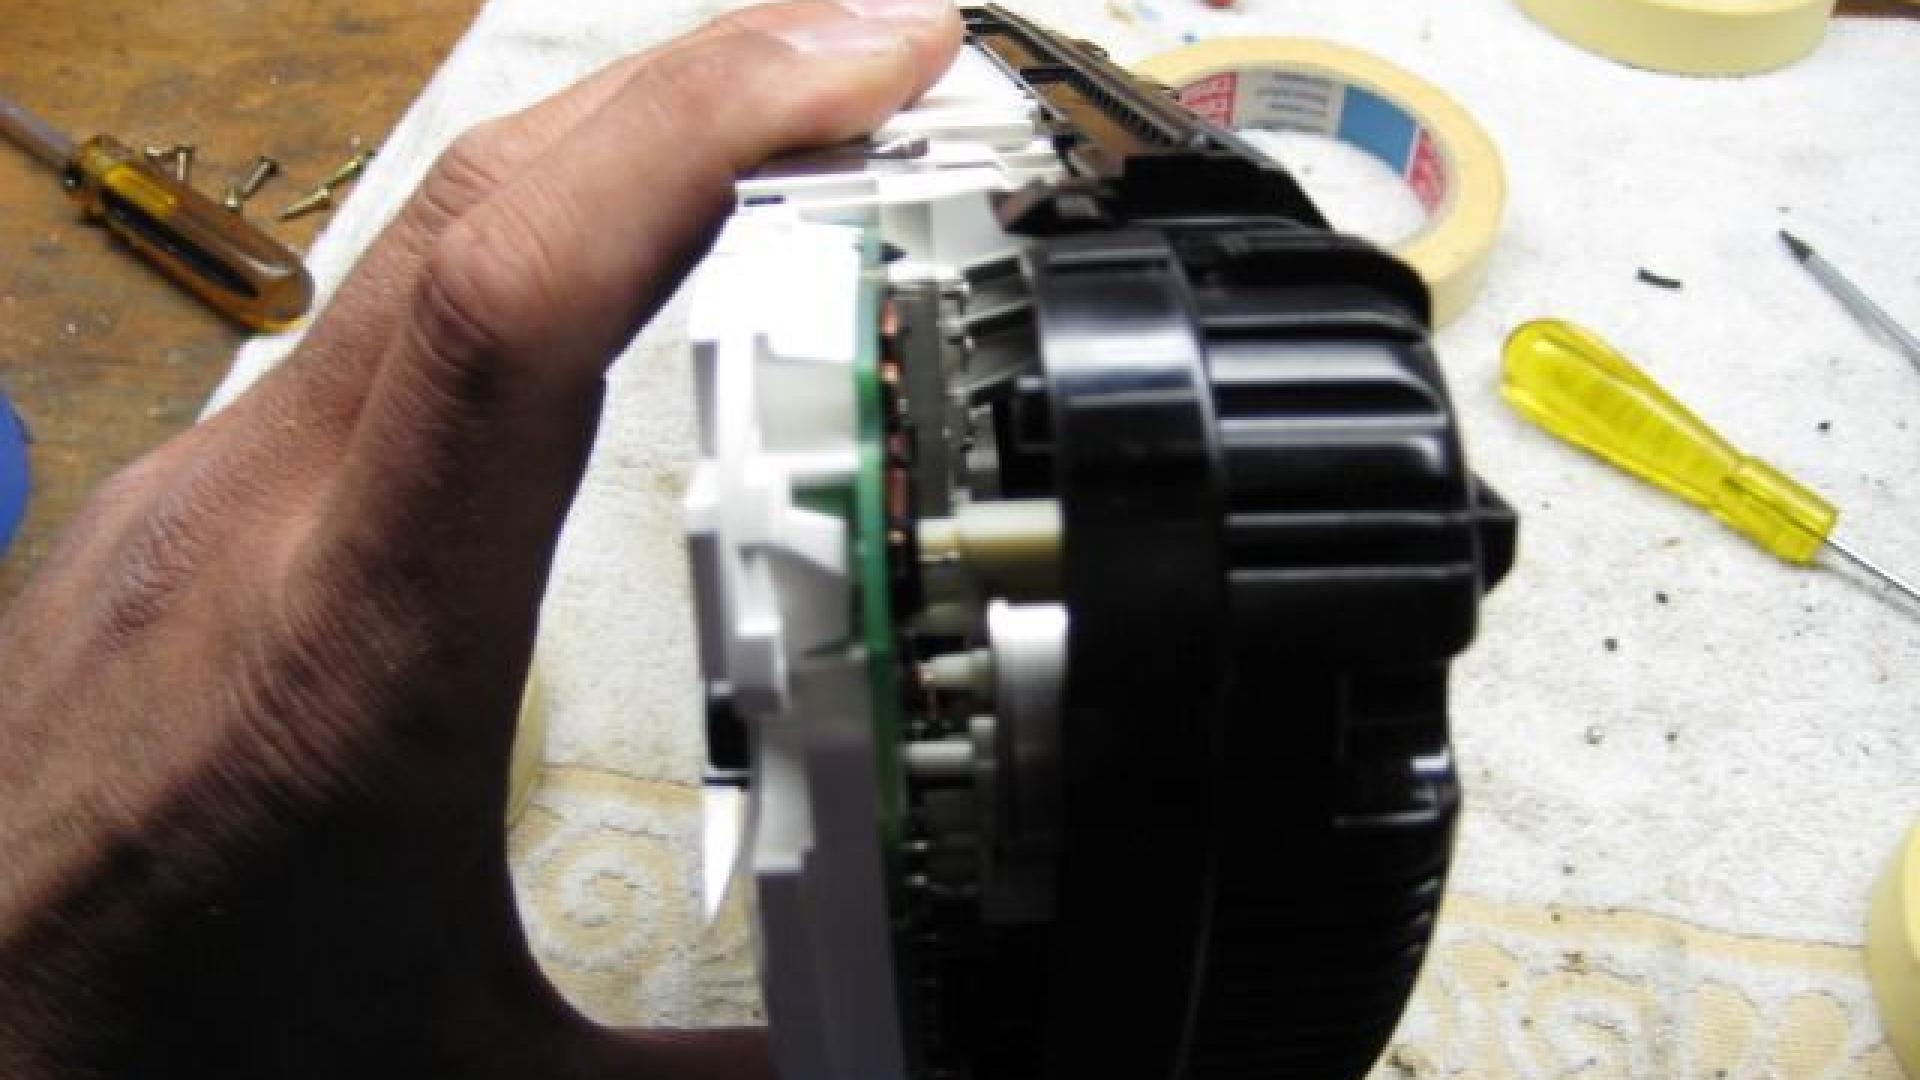
Flip it on the back and level the black tabs so you can remove the front cover.
Flip the cluster
Flip the cluster and rest it on some rolls of tape so needles don't get damaged!
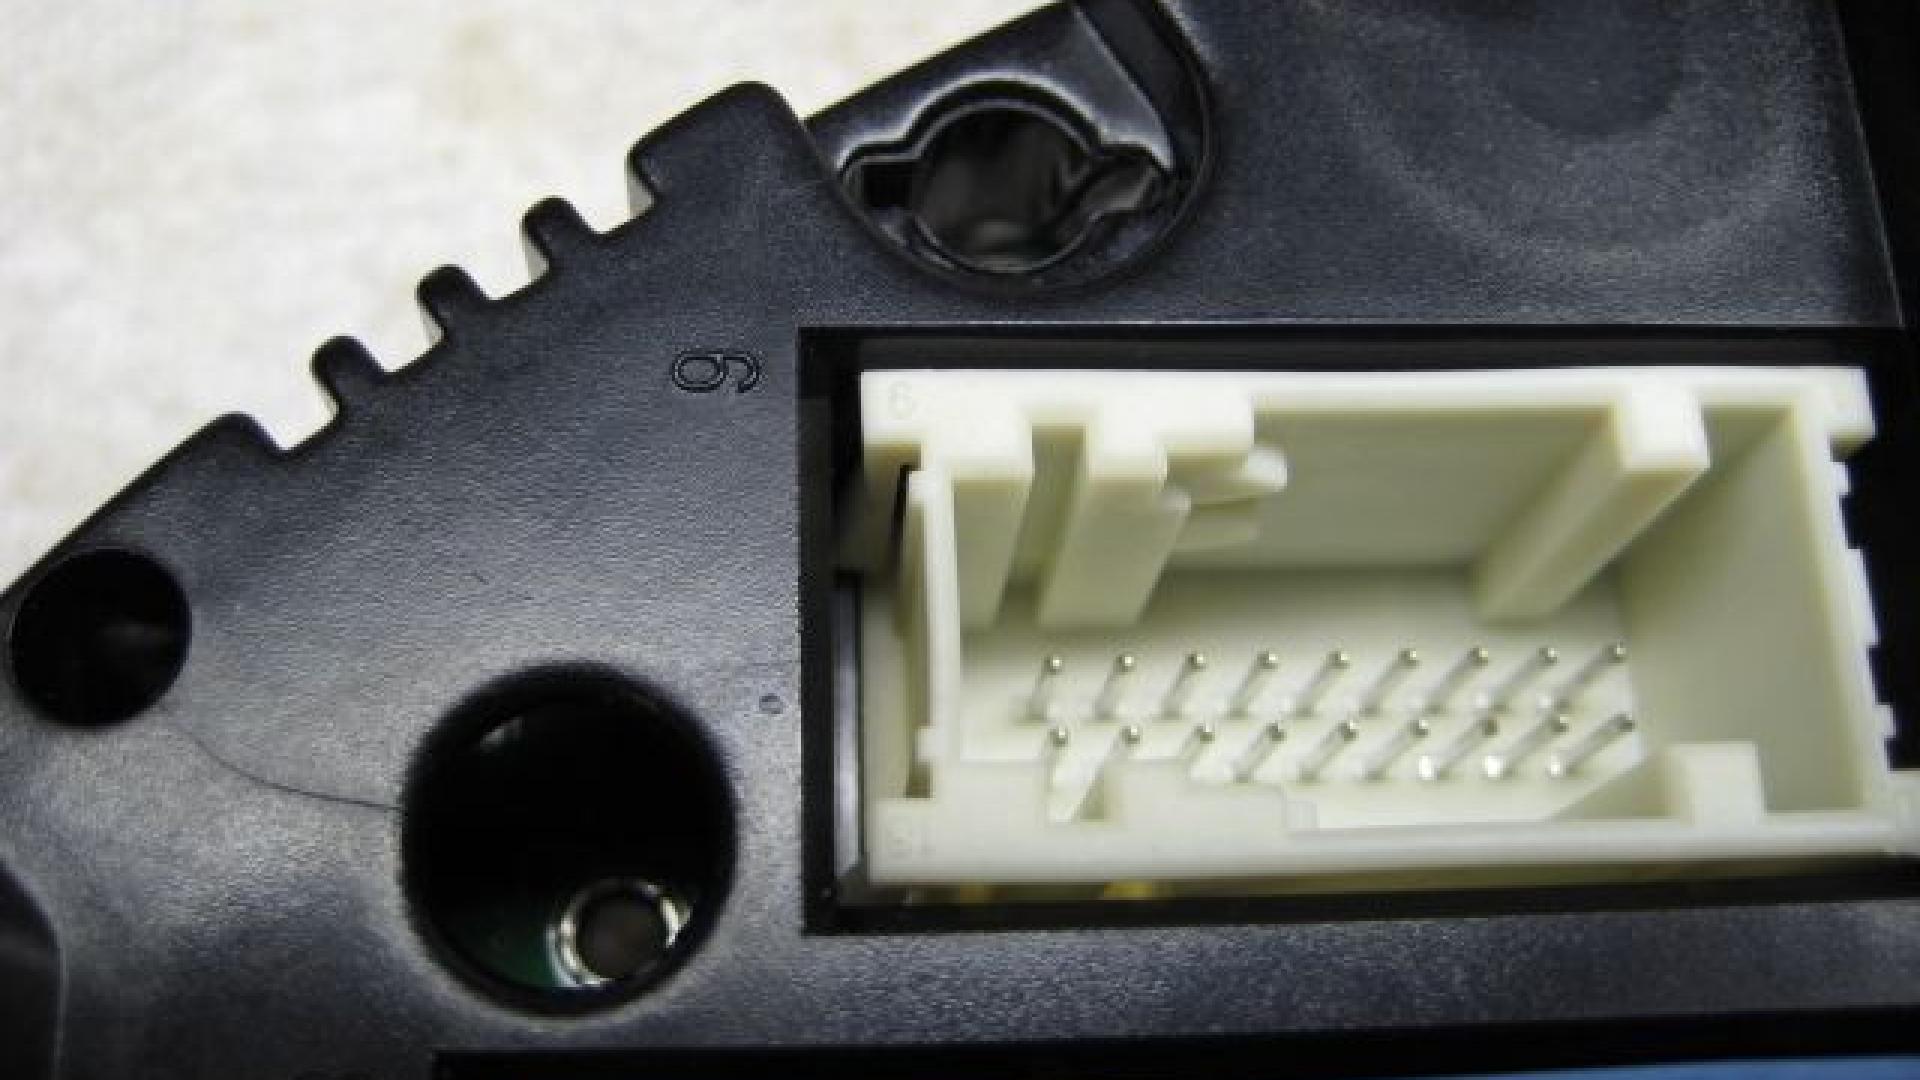
Then break off the 6 plastic tabs of the connectors, you don't need this back as the back plate is screwed!
Flip the cluster back with dials facing up and support it with rolls of tape so the back does not hit the table.
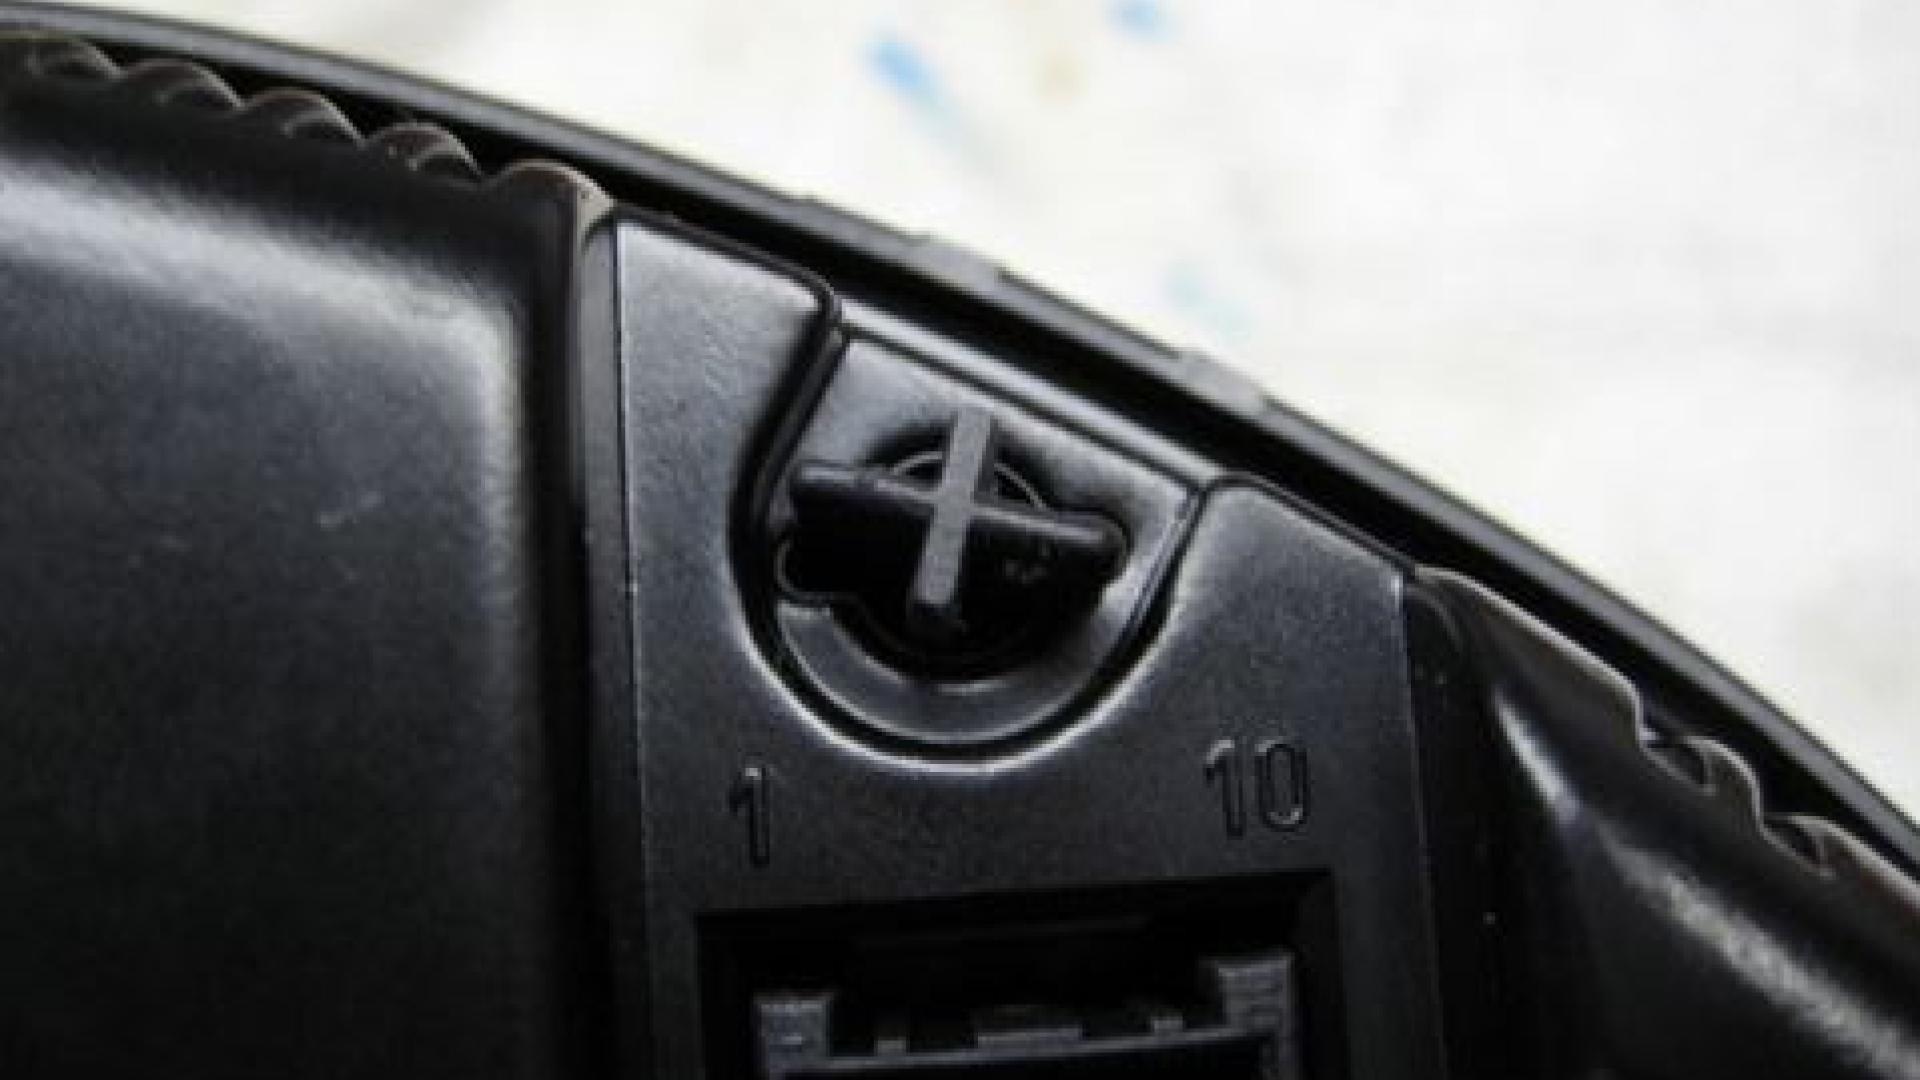
Get a 5 or 5.5mm iron drill and start drilling holes! Yep no way back here.
Gently lift the facing to create room and drill!
It's hard to see in the pics but if you look close at the backside of the front plate you will see were you have to drill.
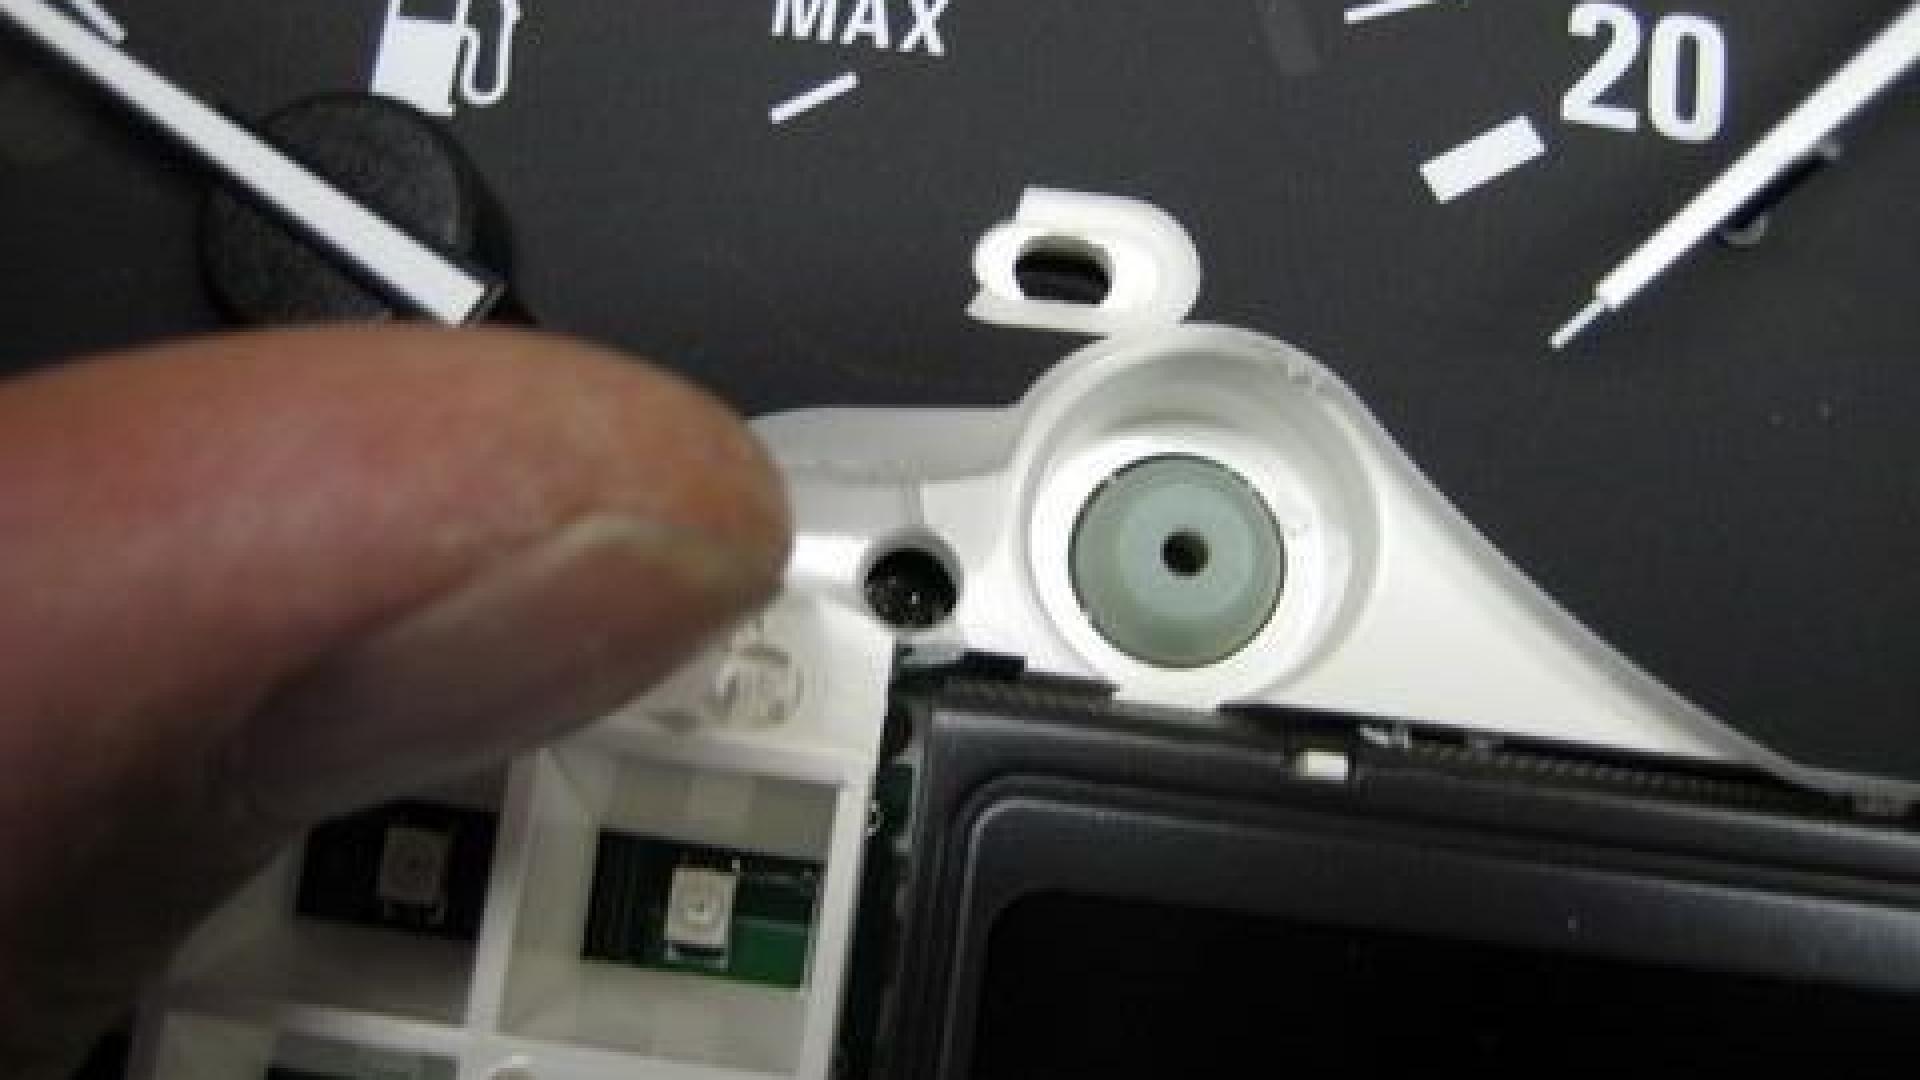
First one under the fuel needle.

If the needle is in your way slide it away en GENTLY tape it down, once loose it will return to normal.
Undo 4 screws
All the 4 screws have T10 (torx) heads.
Undo all 4 screws (nope they don't come out all the way) it's easier to leave them in place.
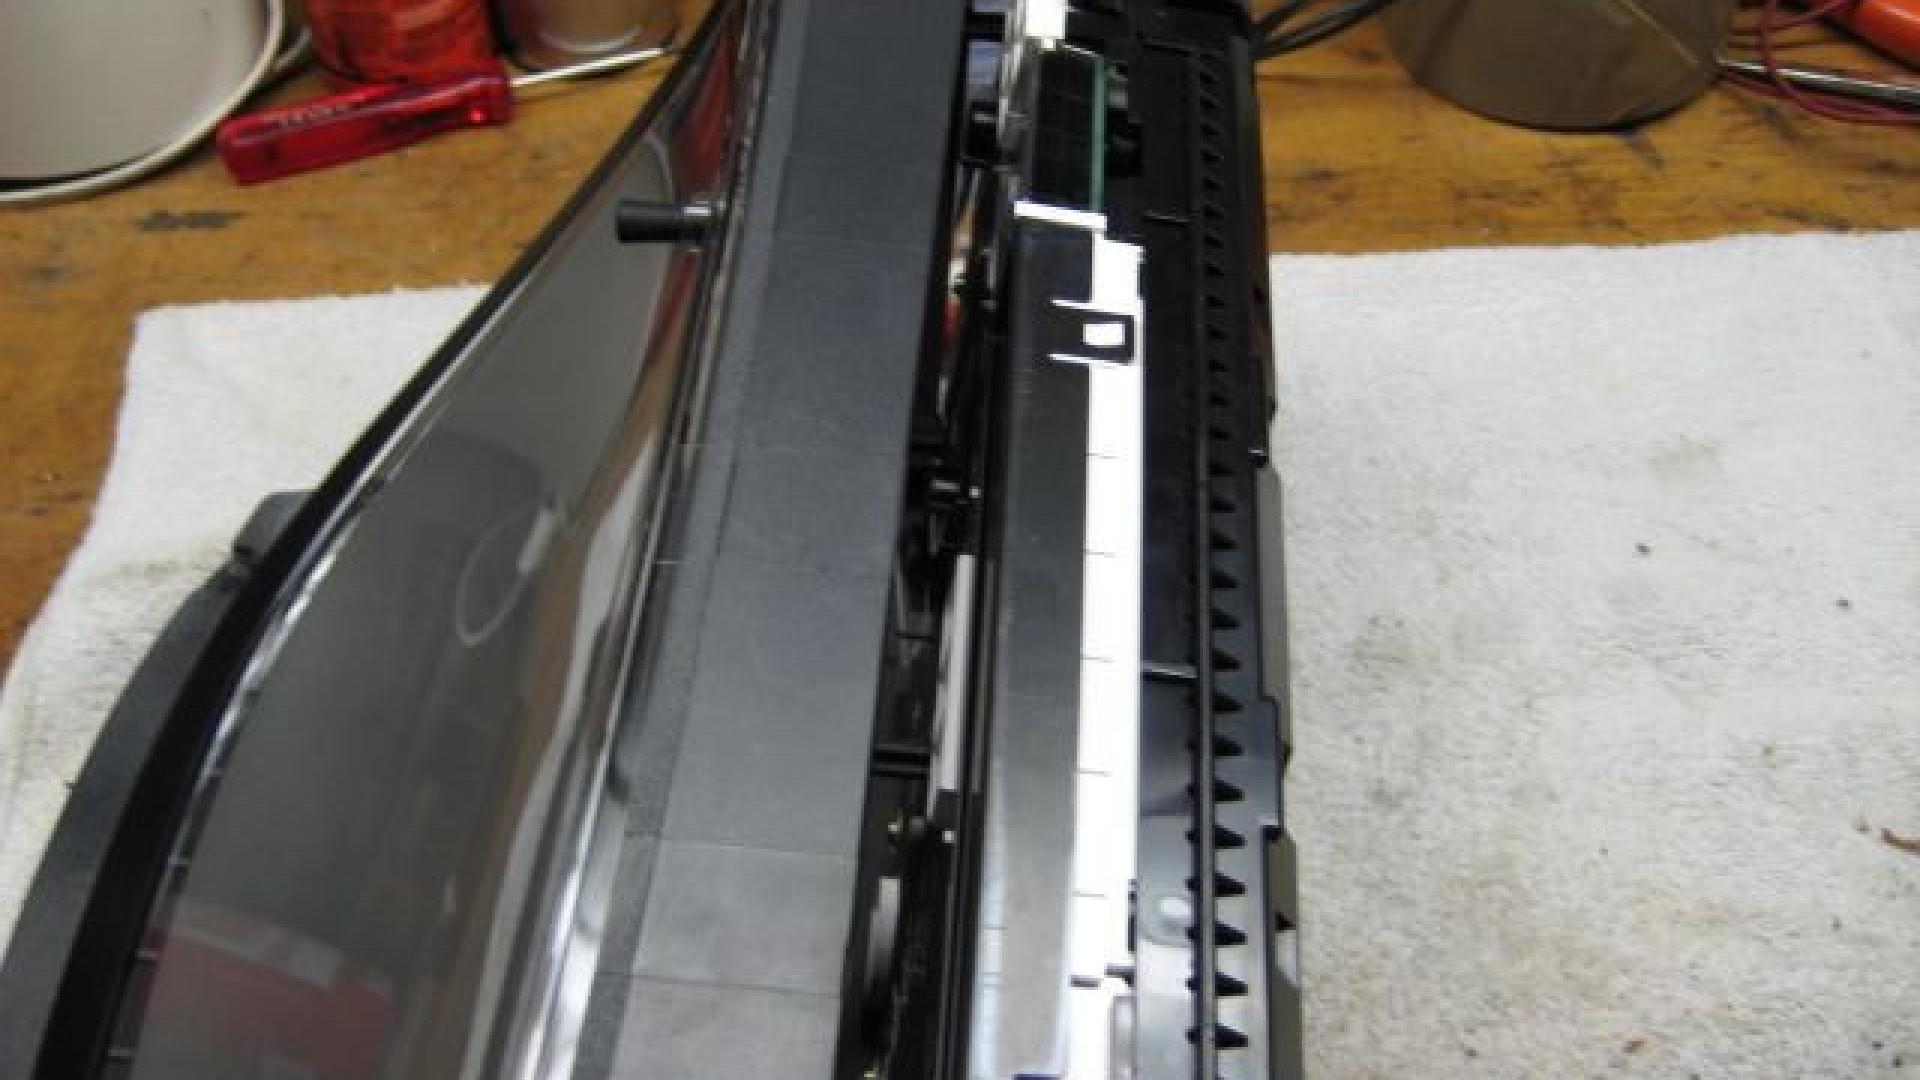
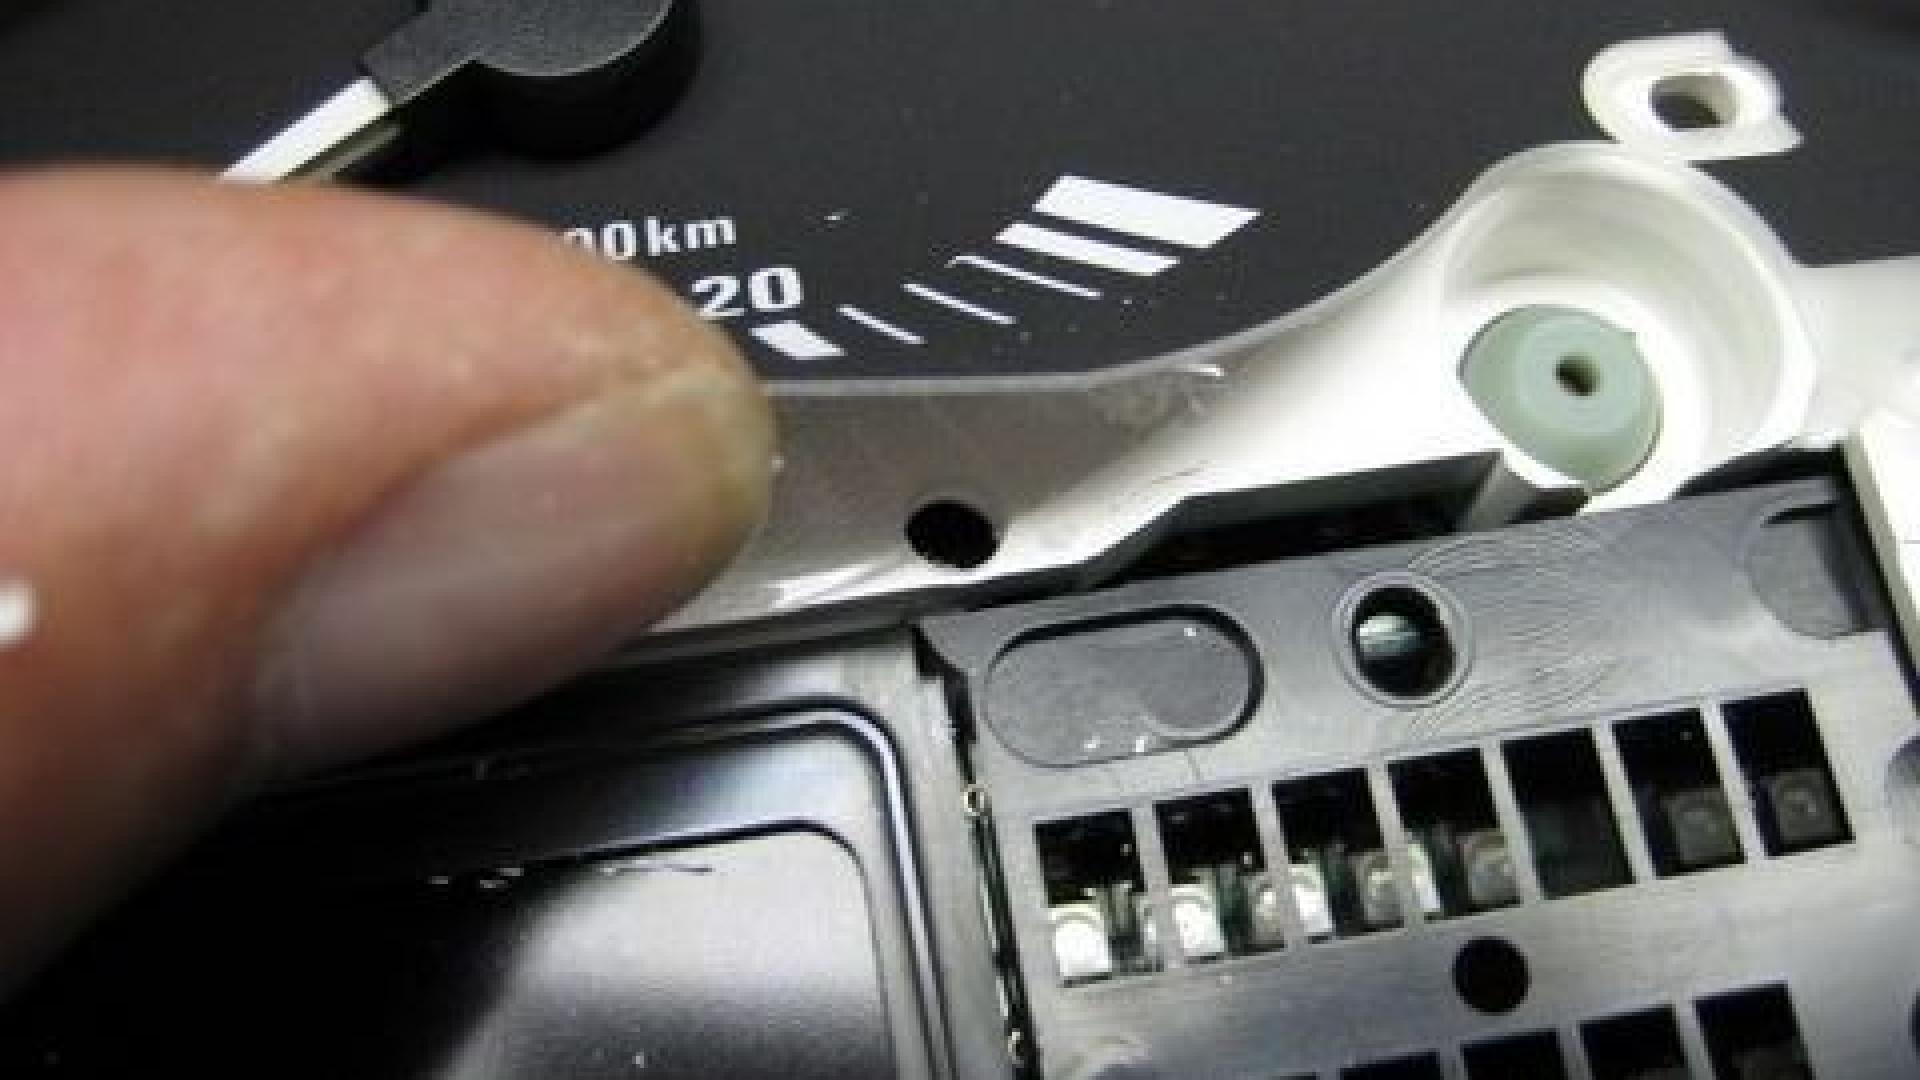
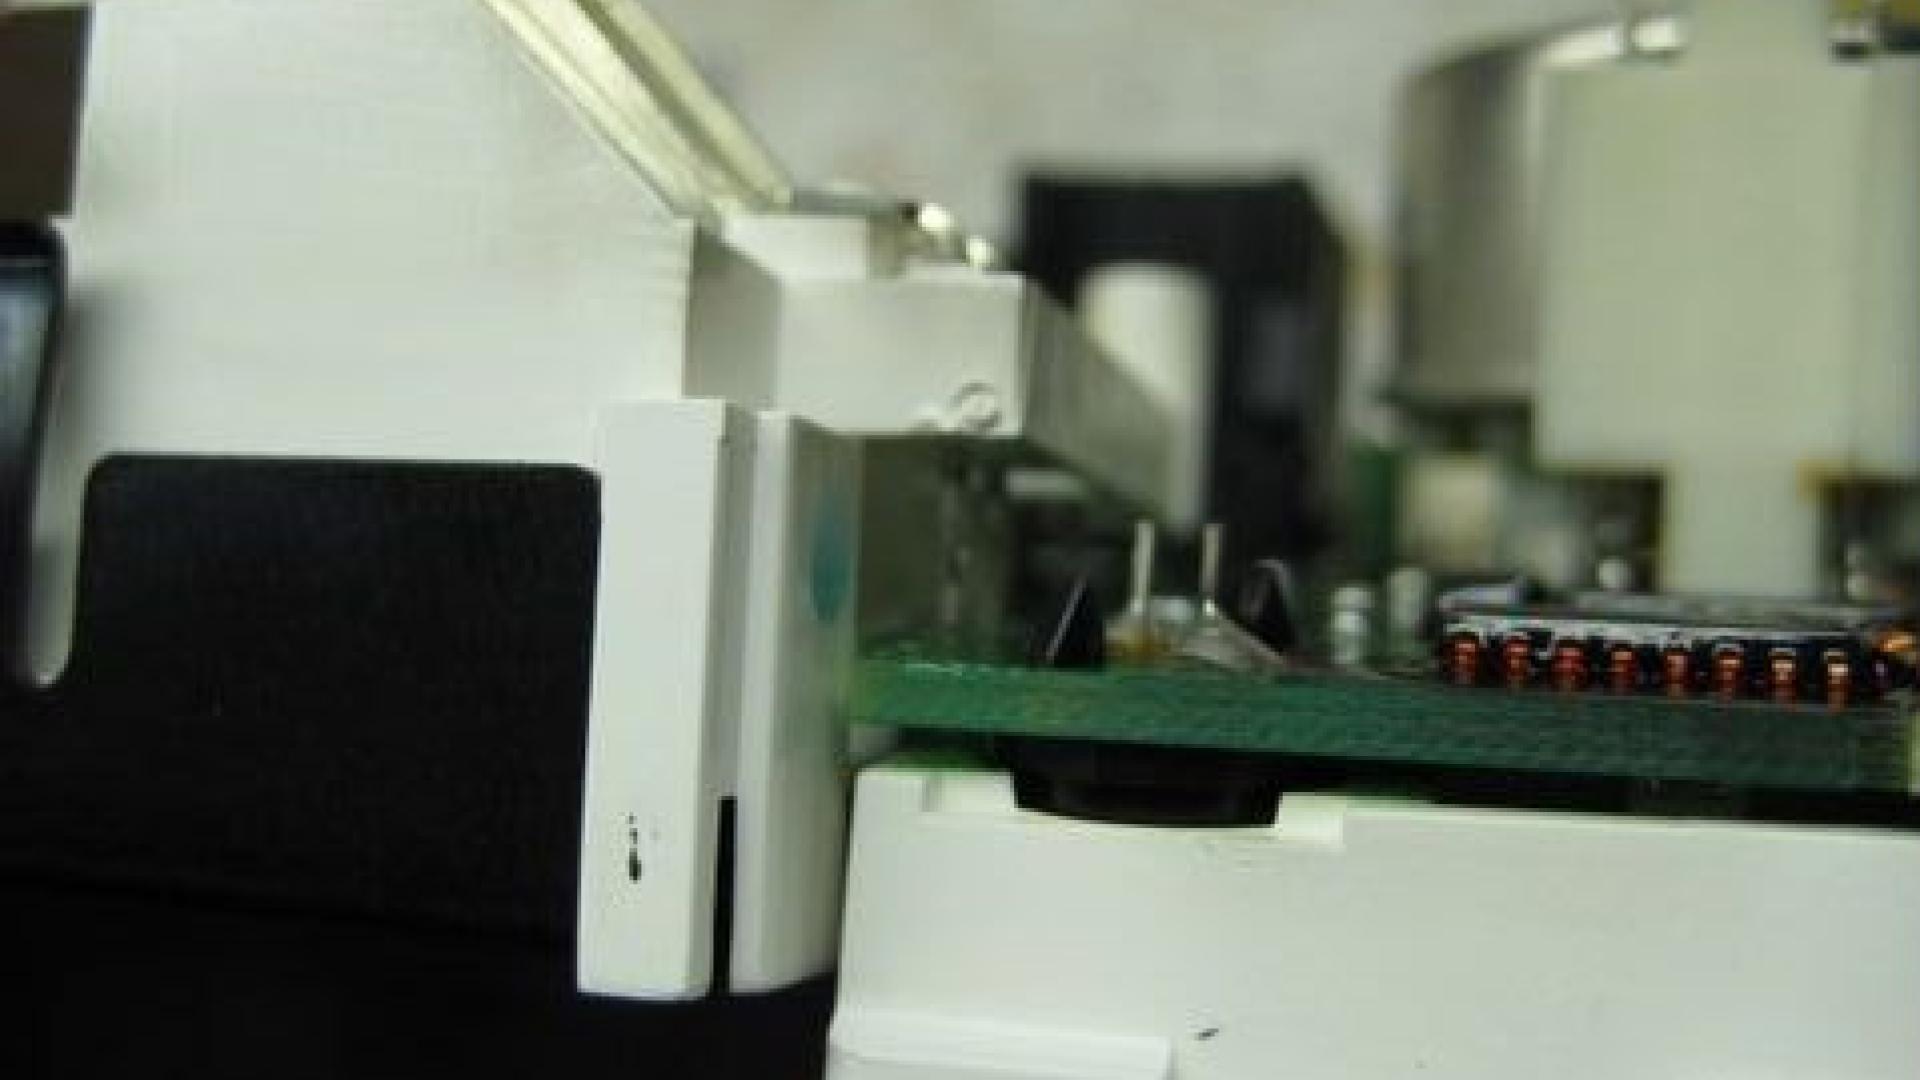
Take a screw driver en gently pry in both corners of the display to get display out.
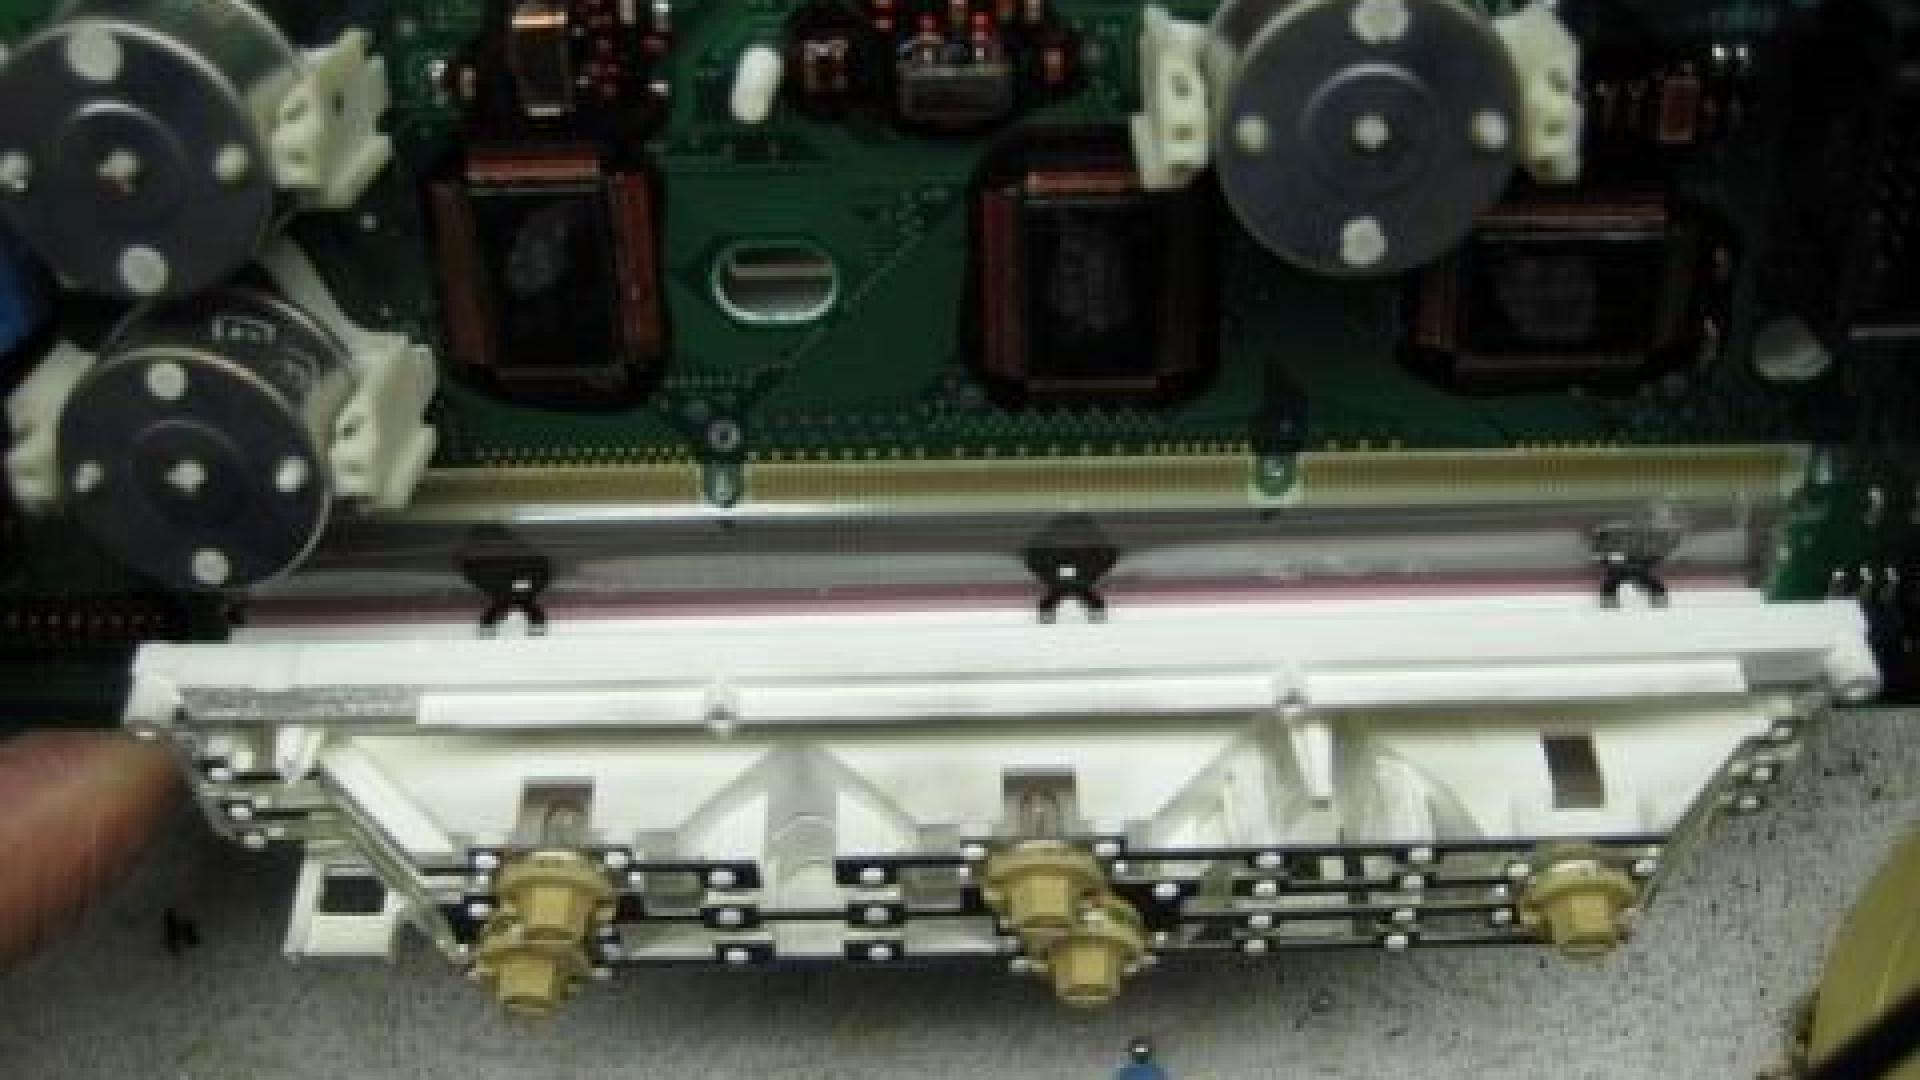
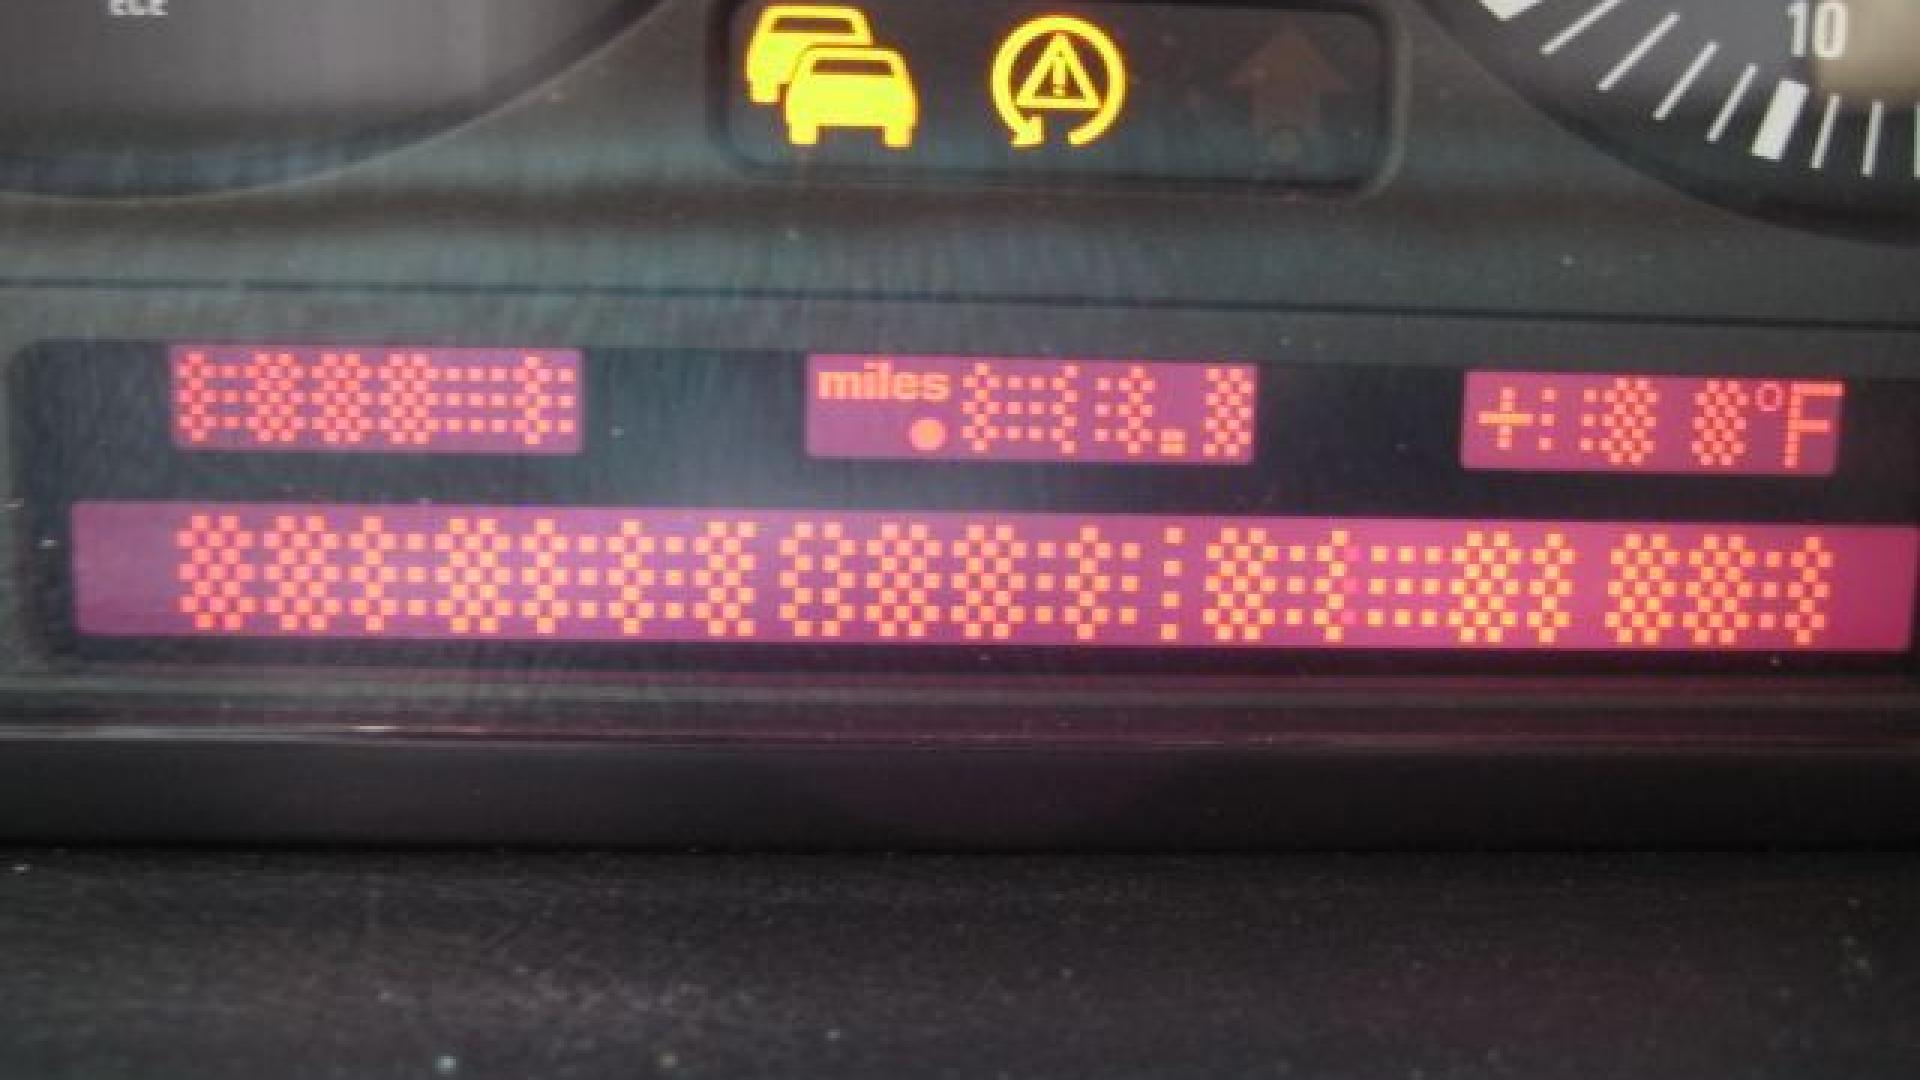
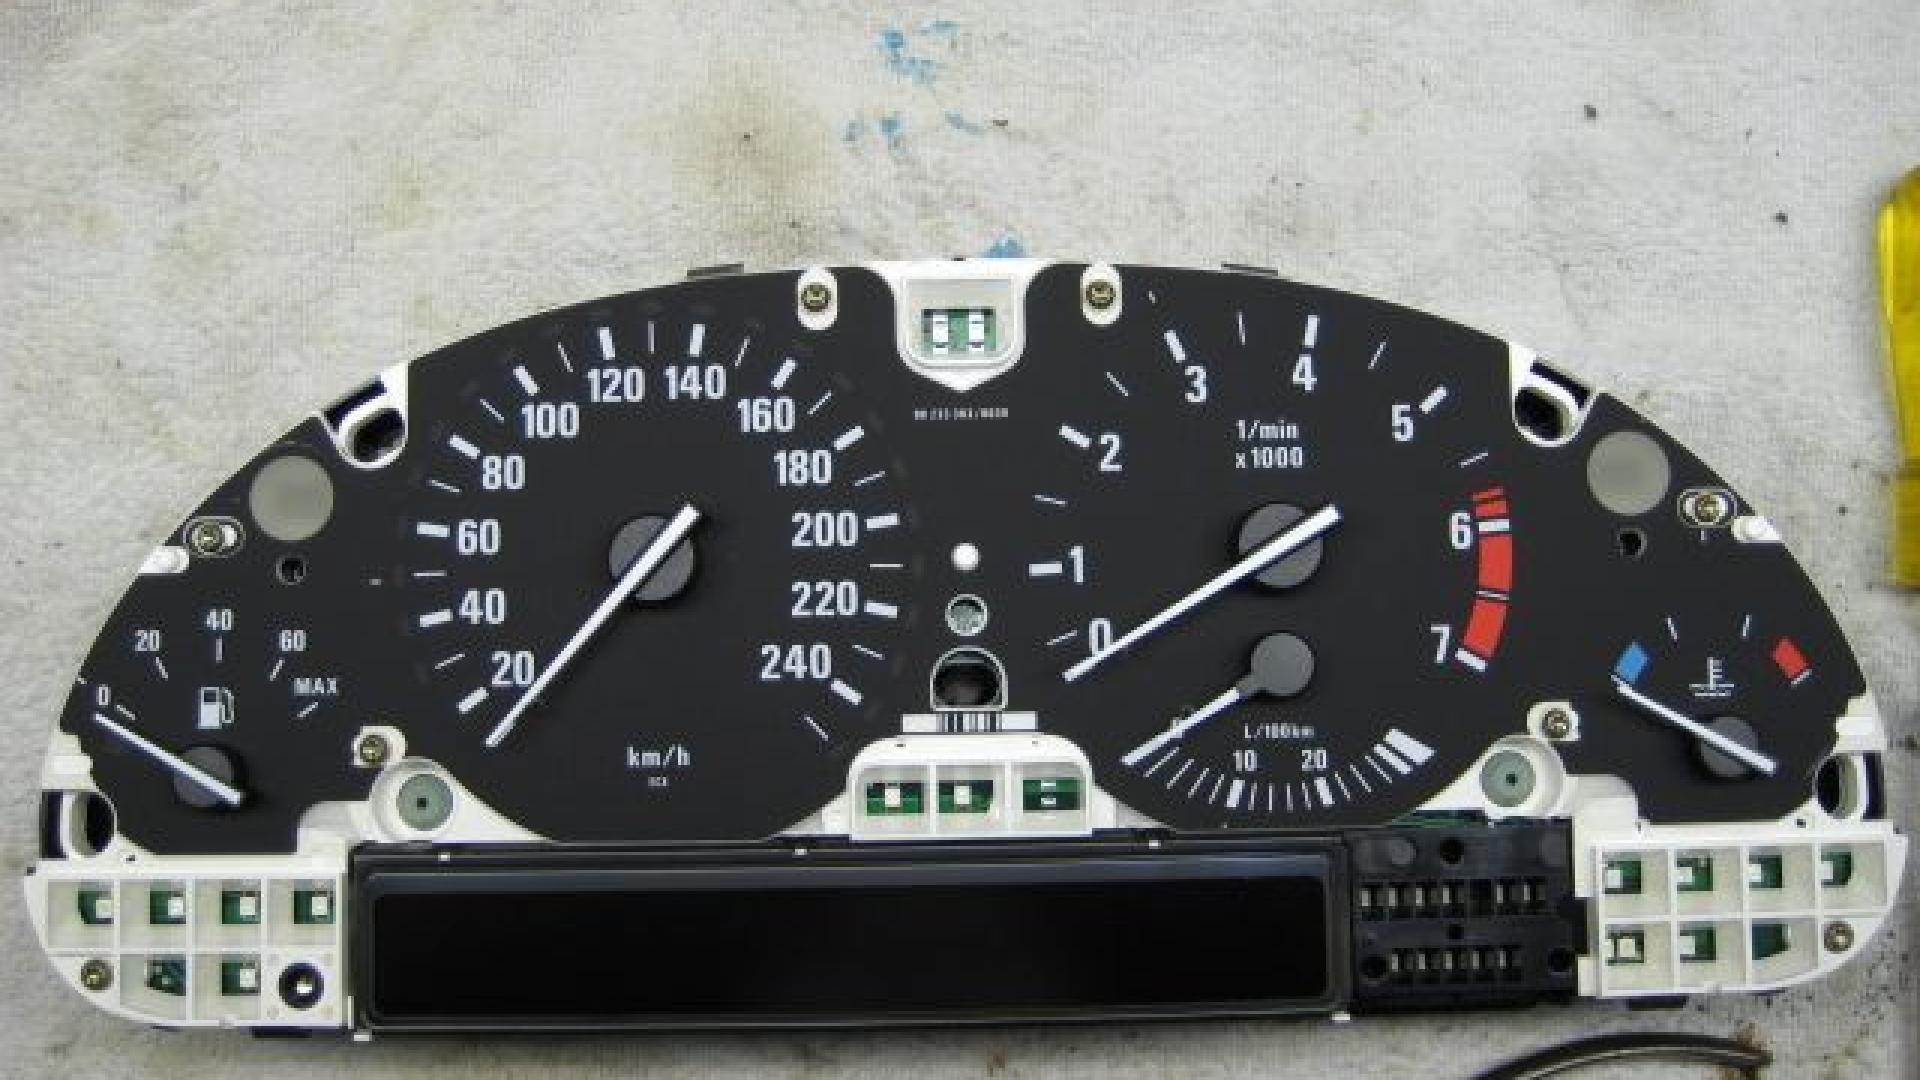
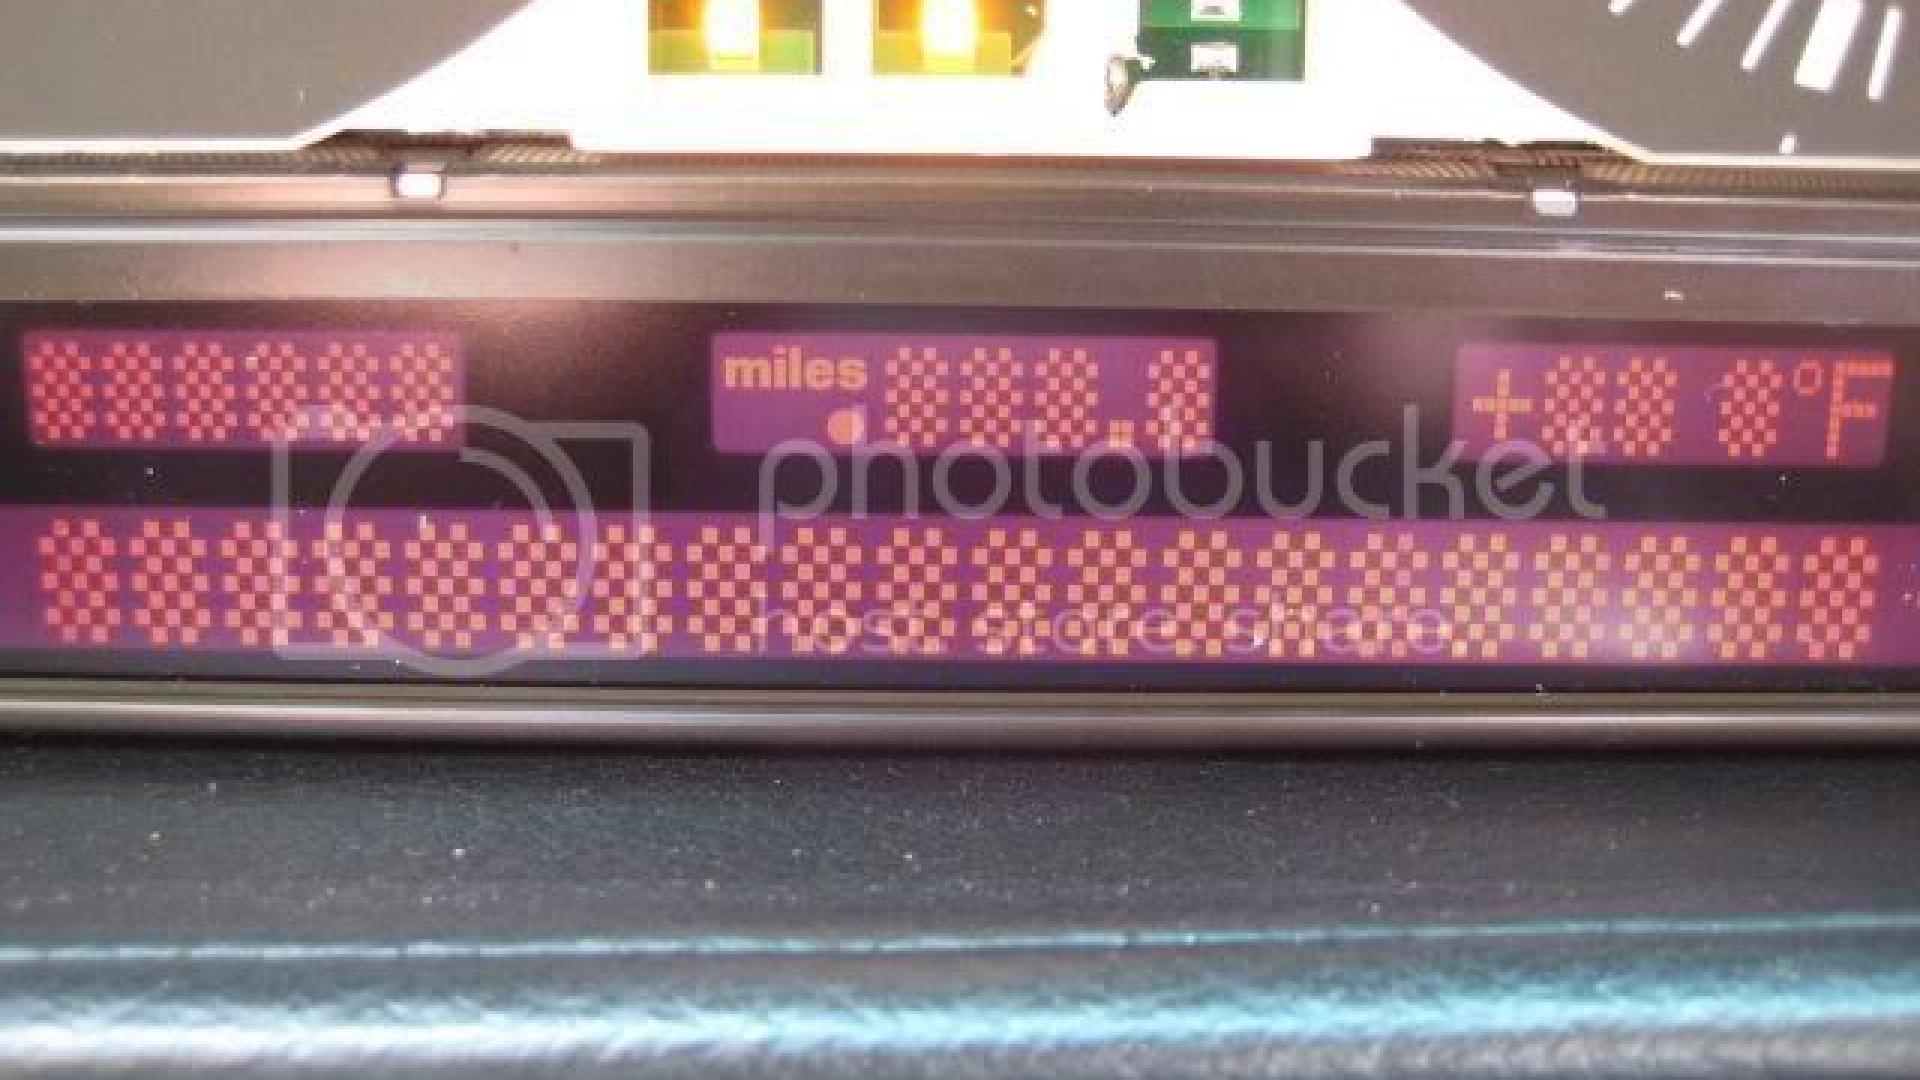
This is the issue, not enough pressure here to have a nice clean pixel failure free view!
If you want you can unclip the topside of the display and add some cardboard here just to be safe.
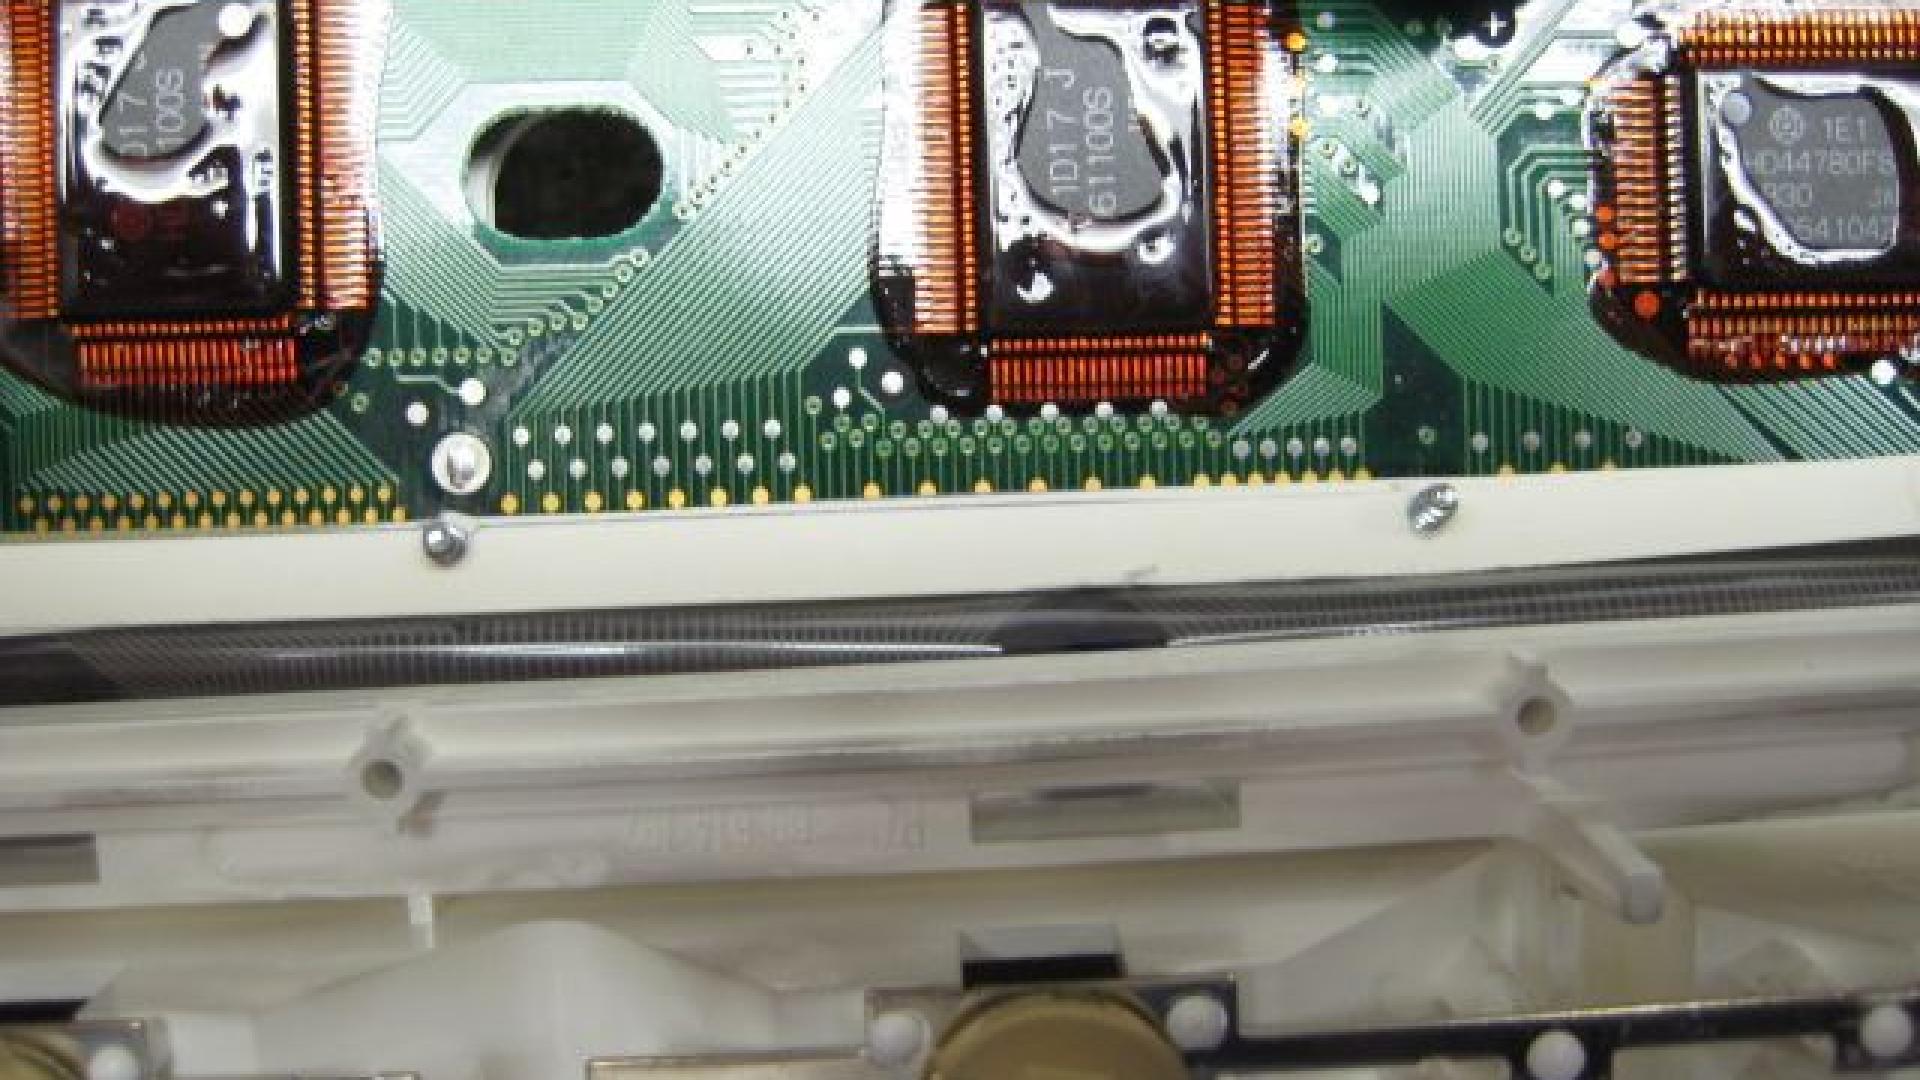
If you look at the strip you can see the imprint in the rubber, flip it around and put it back.
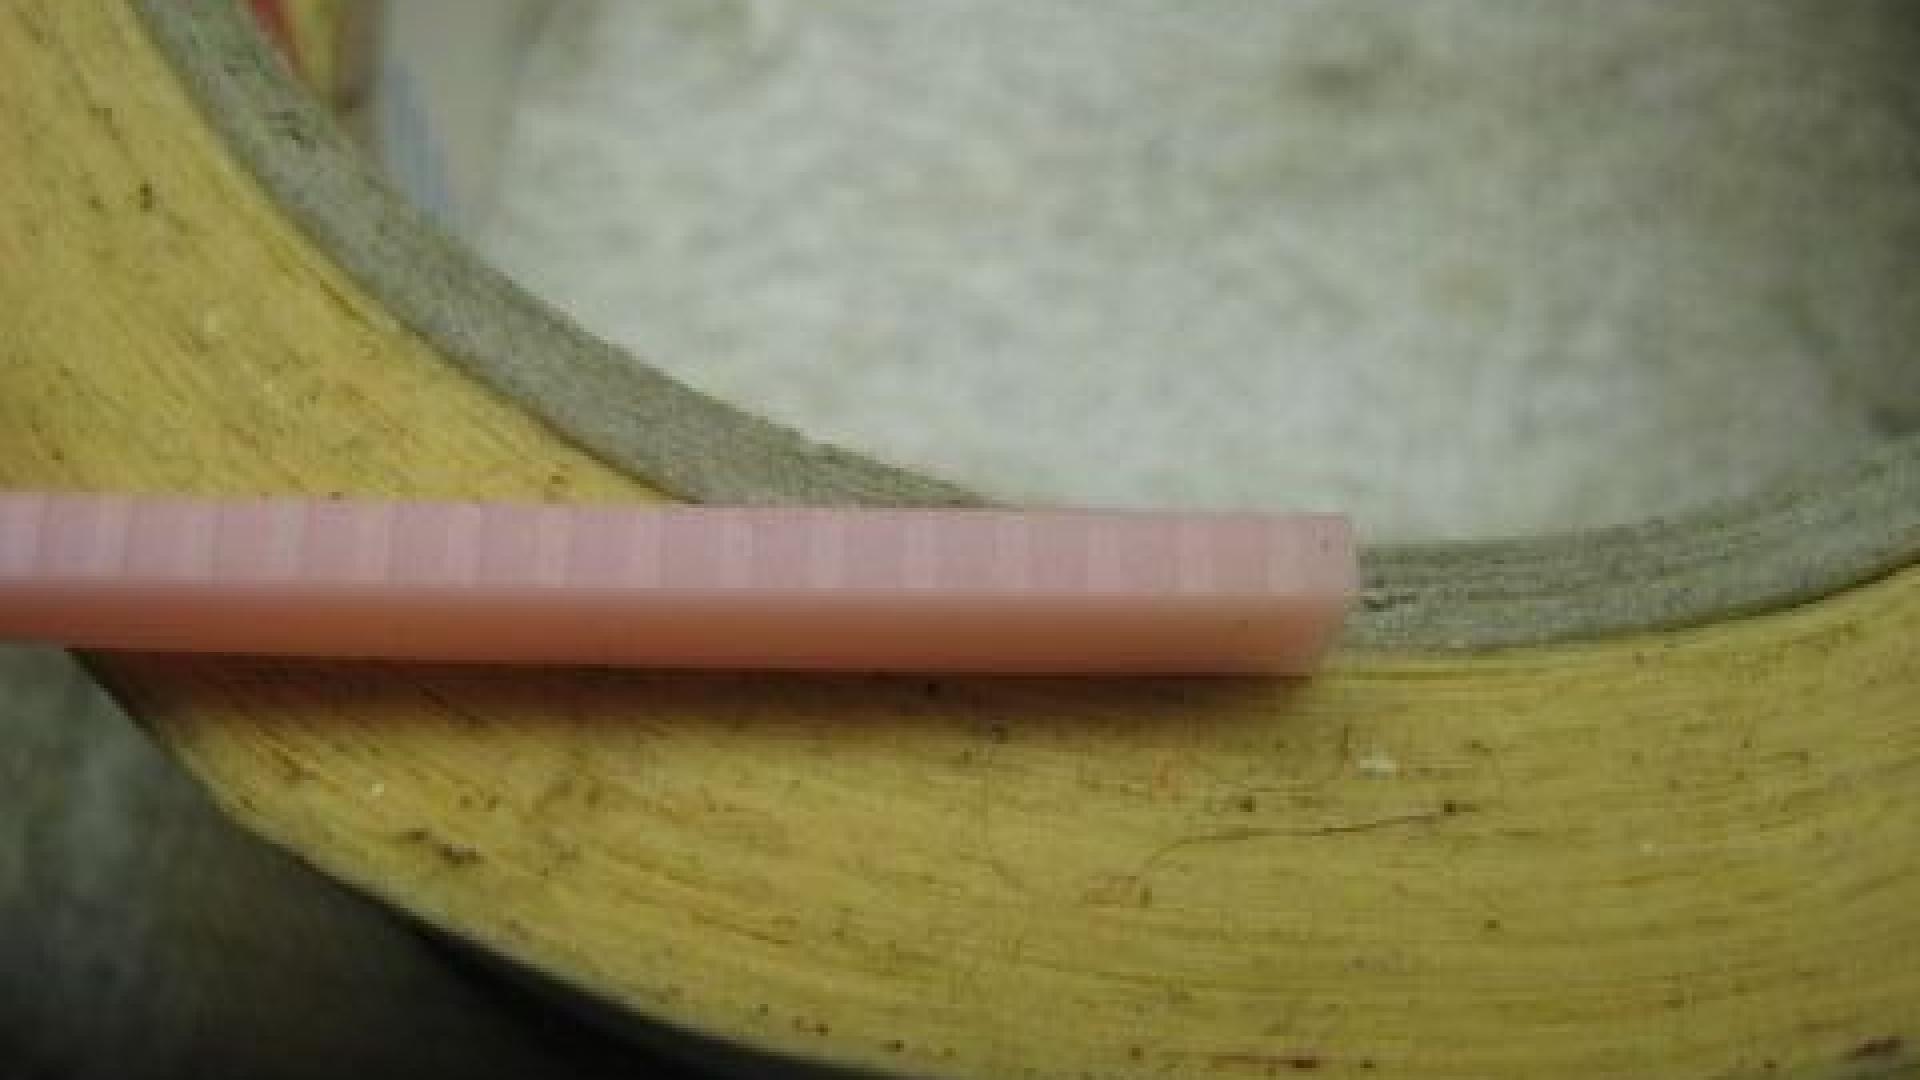
If you look at the strip you can see the imprint in the rubber, flip it around and put it back.
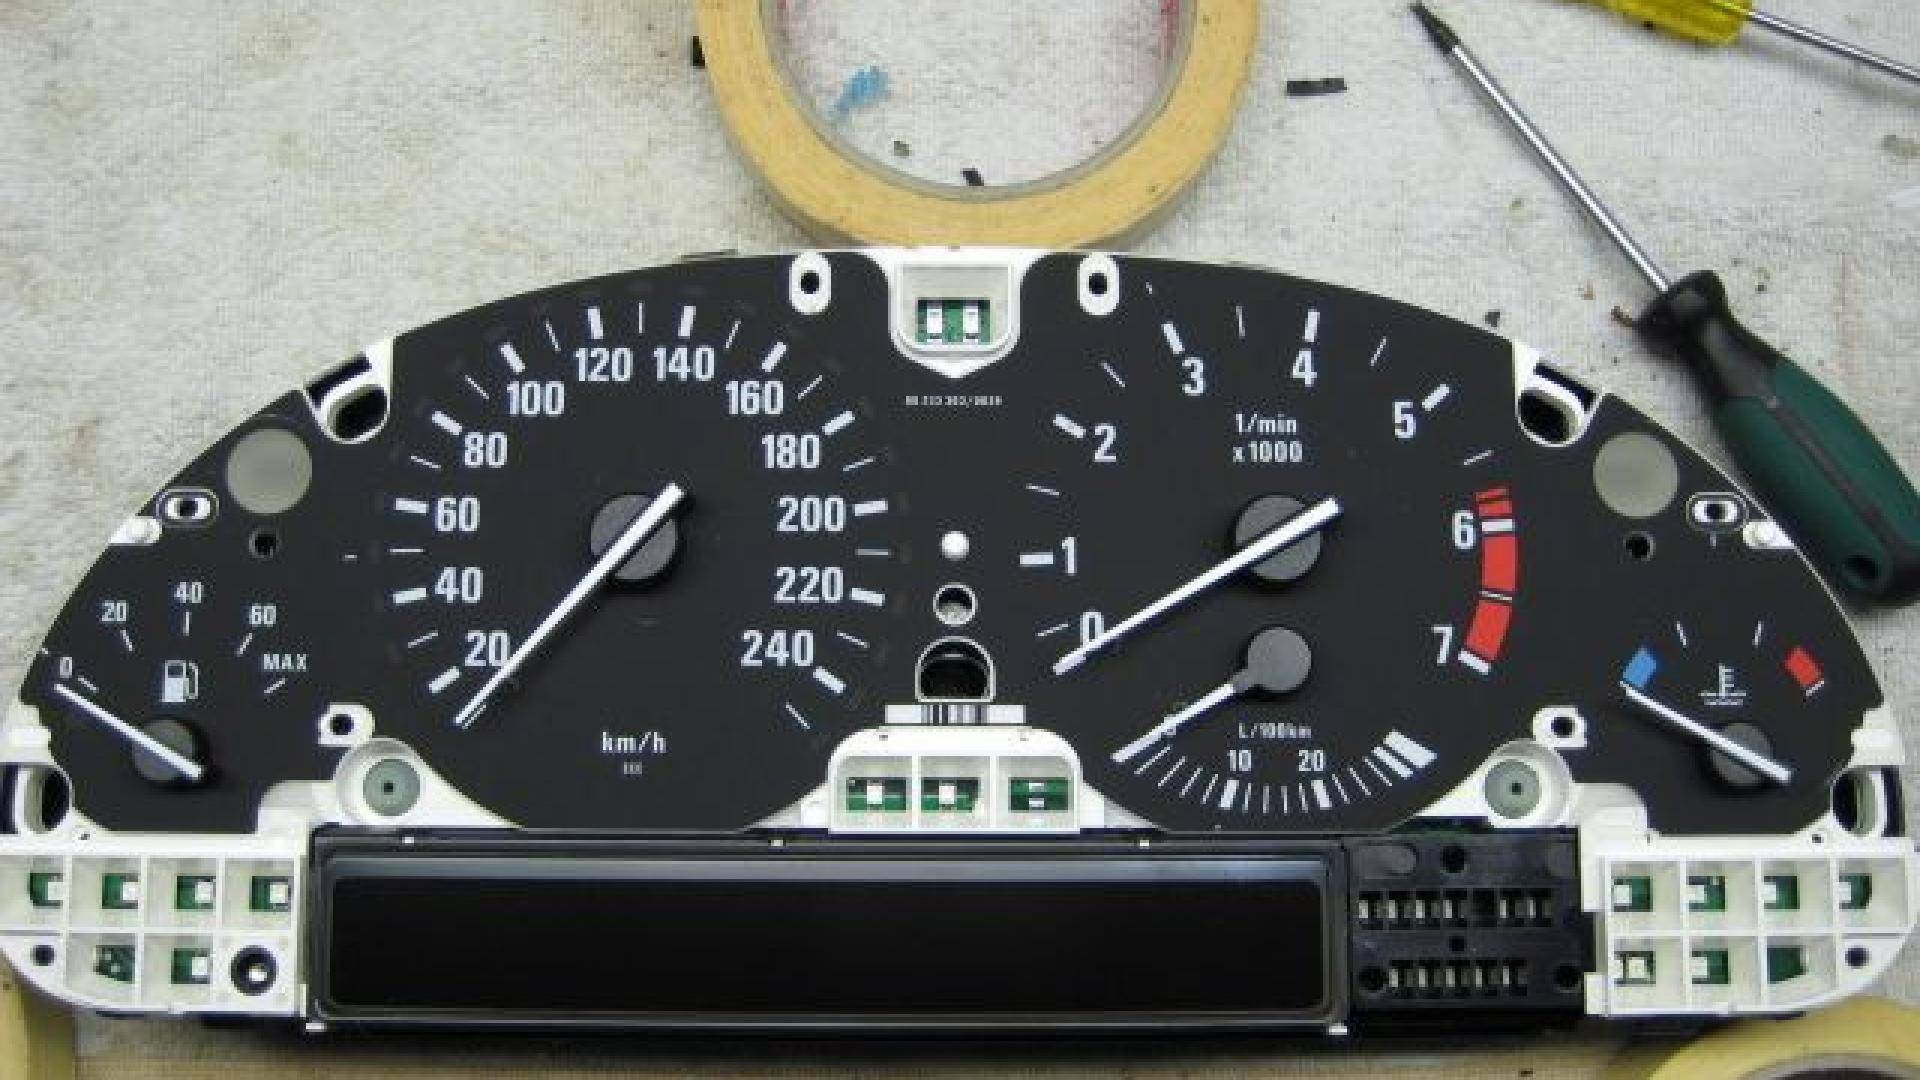
Put the display back together and go test before you completely close it up, it may take some attempts to get it perfect.
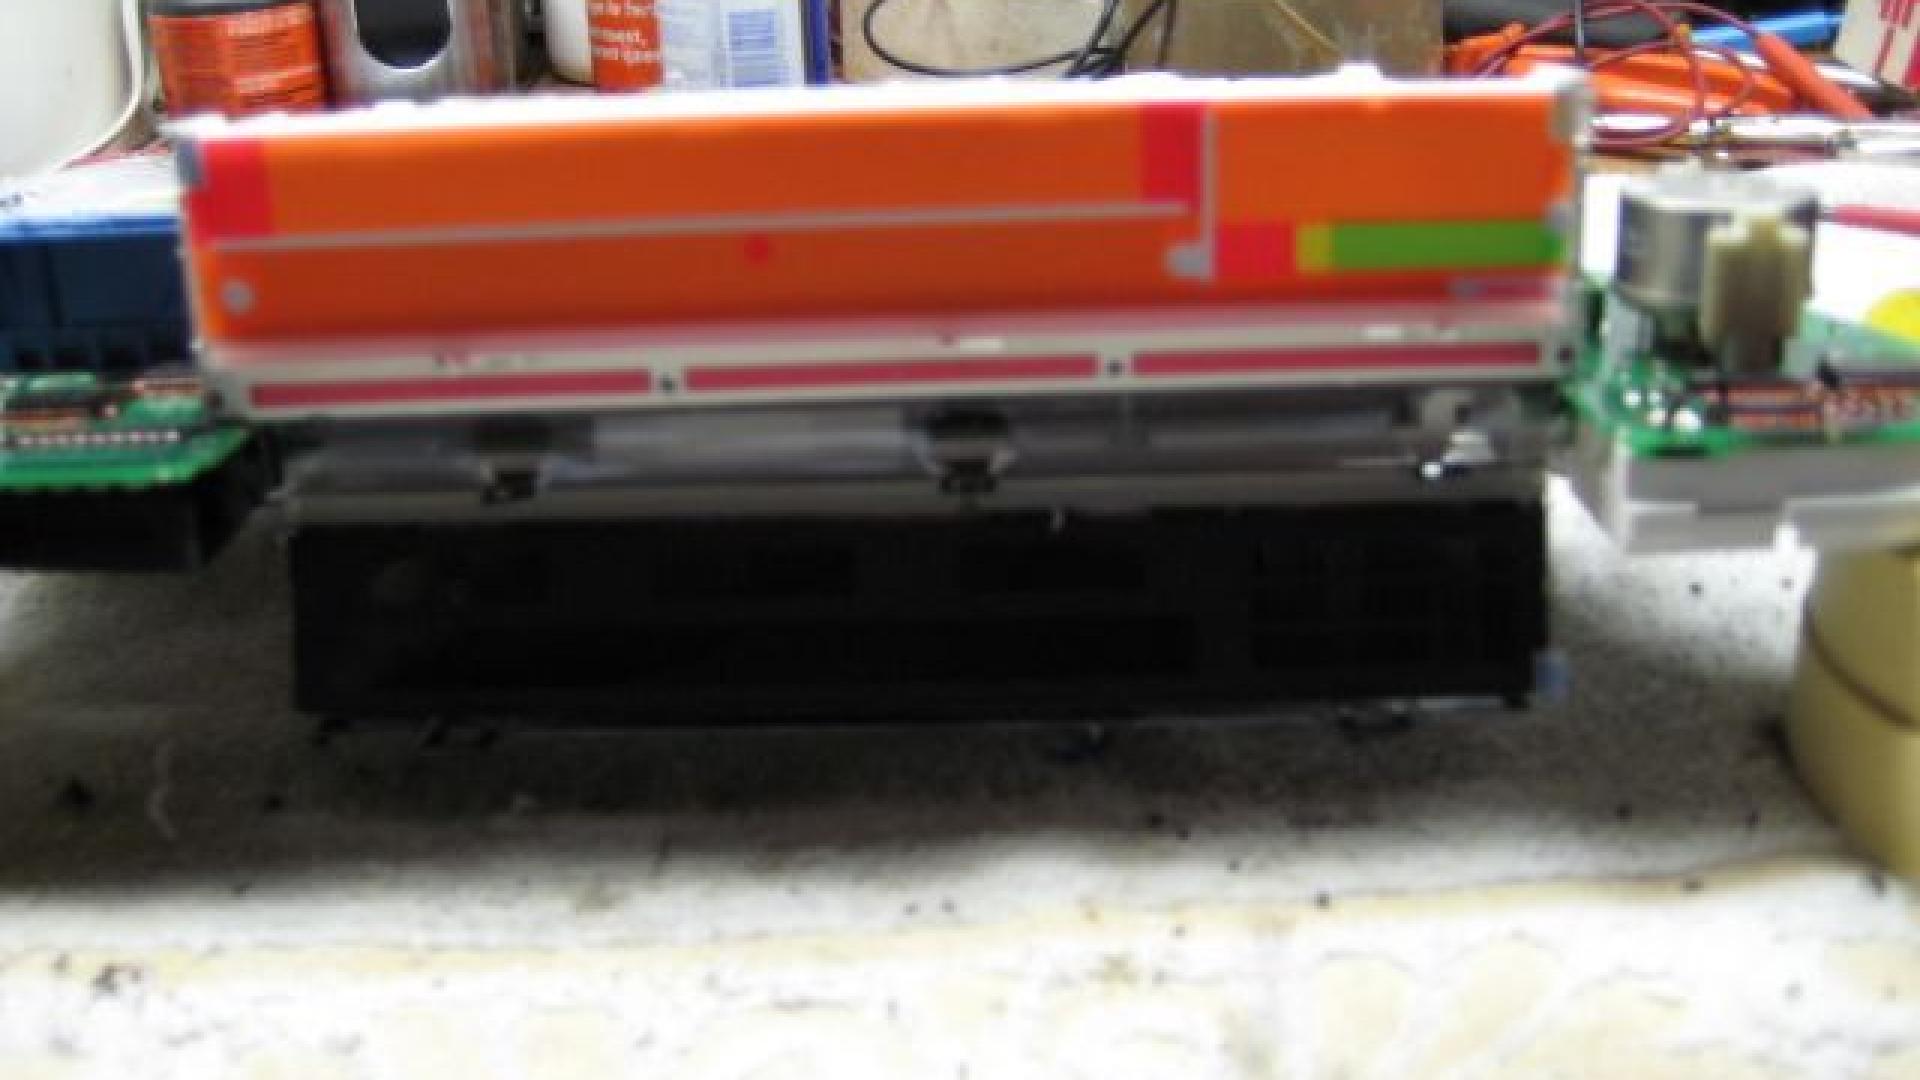
This is how it should look like,
Gelukt? Fijn gevoel hè?
Is de reparatie gelukt?
Ja!

