Repairing a hole or tear in a waterproof jacket

A good jacket can be a significant investment, so you hope it will last you a long time. It is an excellent piece of clothing that you grow attached to over time. The last thing you want is a hole or tear in your jacket.
Fortunately, a tear or hole does not necessarily mean the end of your jacket. At Bever we have everything you need to repair your jacket at home or while traveling.
In this manual we explain how to carry out this repair.
The repair patch we use in this repair guide is waterproof and strong. That way your jacket does not compromise on quality and can last for years to come.
Are you going into nature? Then add this repair kit to your equipment just to be sure. It t is not only useful for jackets, but also for repairs to tents, sleeping mats or bags. You can immediately order the kit online via the links in this manual, or visit one of the Bever locations.
Supply needed

Warning: any repairs done are at your own responsibility. See terms of use.
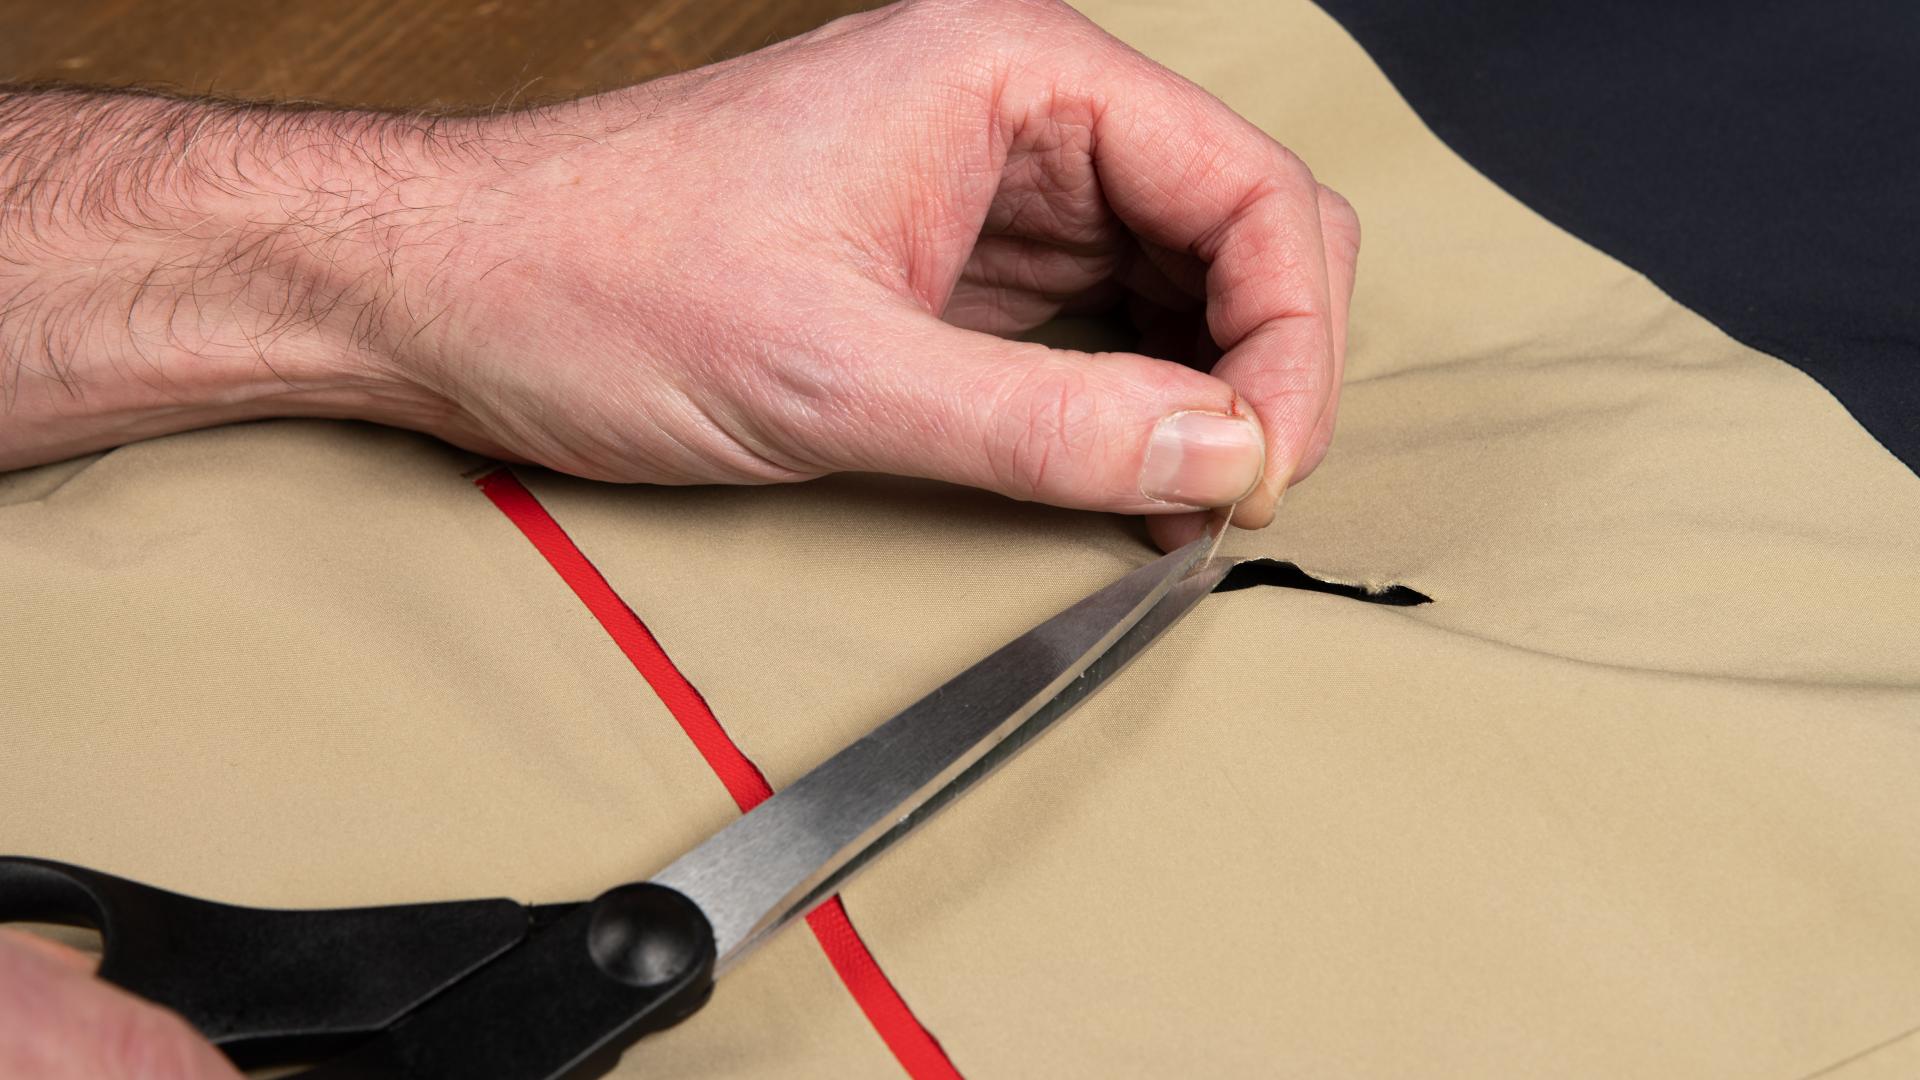
Check the damage. Cut off any hanging or loose threads, fabric or feathers using scissors.
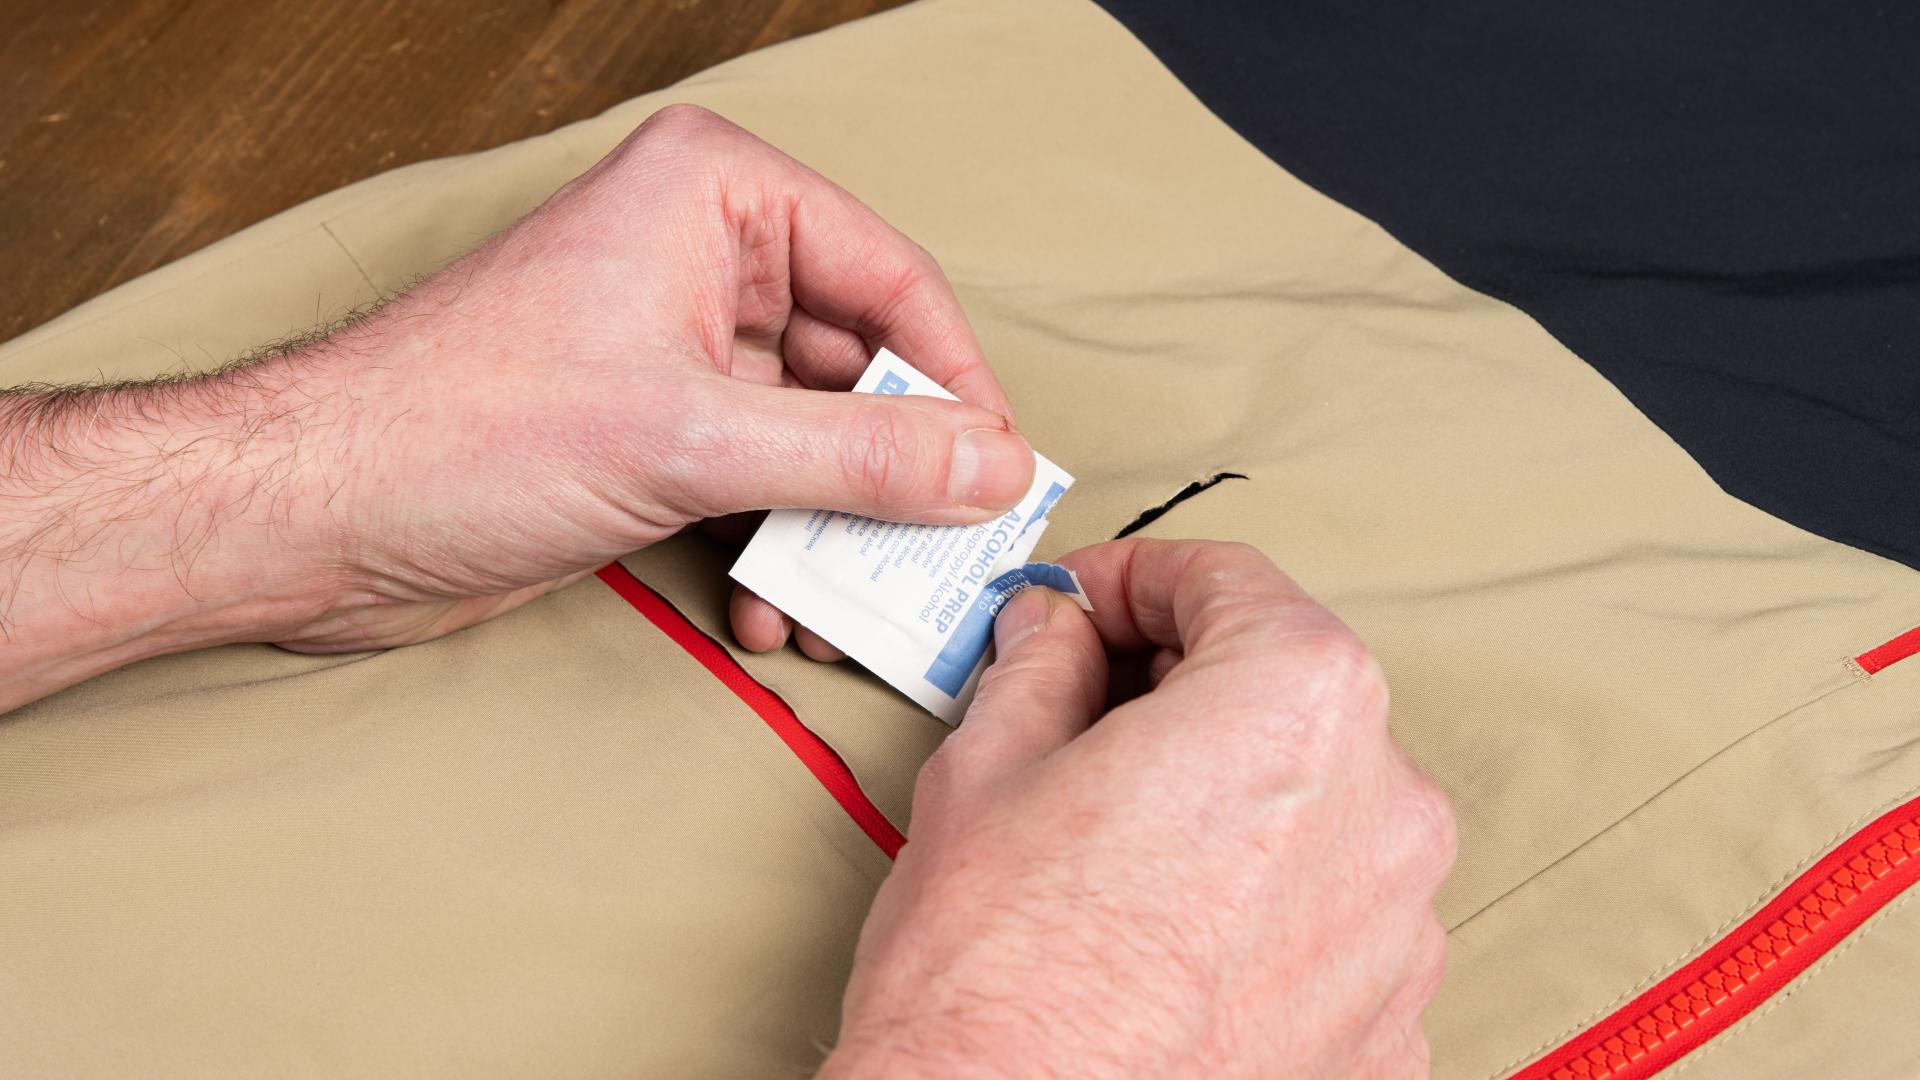
Clean and dry the area around the tear thoroughly. Use an alcohol wipe, alcohol from a bottle or another non-aggressive degreaser. Make sure that it does not use any aggressive agent that will damage the material of your jacket or discolor the fabric. You can test the degreaser on the inside of your jacket in advance.
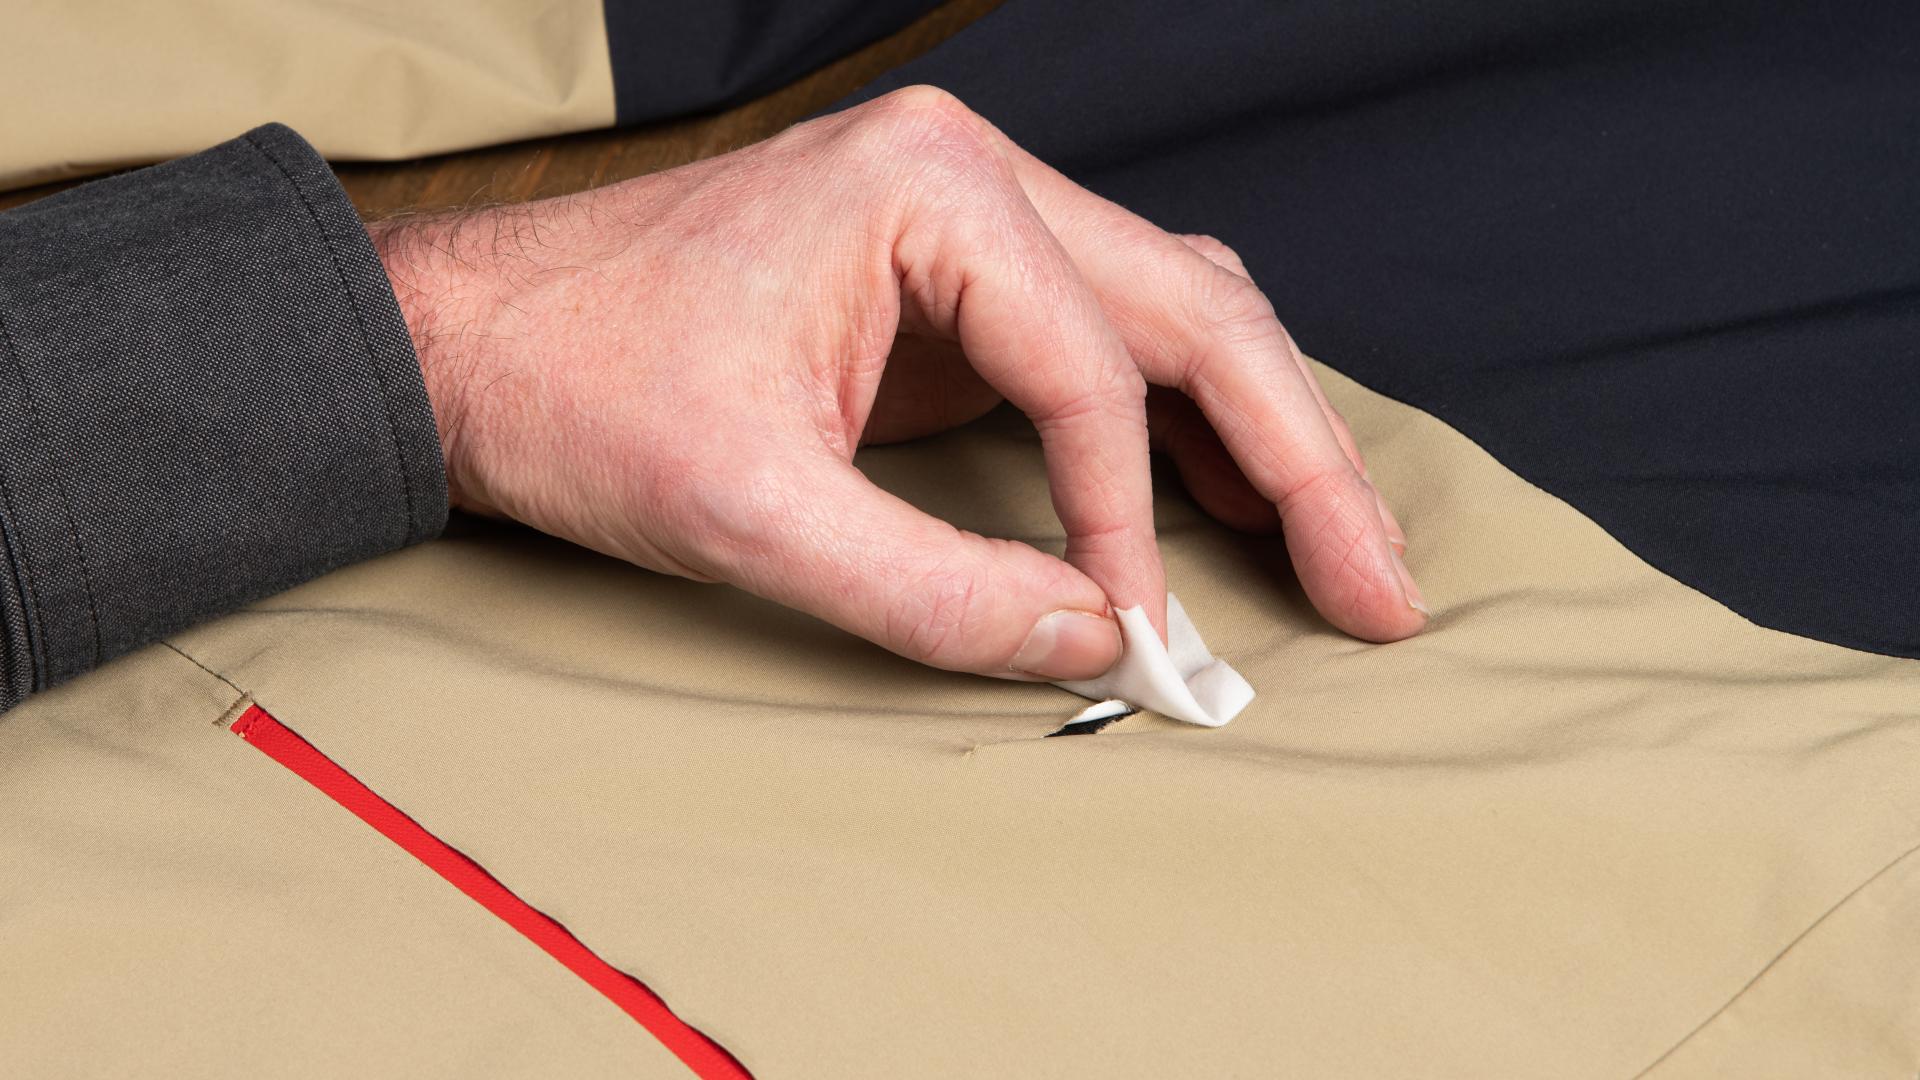
Then make sure that the area around the crack is thoroughly dry. You can use a hairdryer for this if necessary. Be careful that the fabric does not get too warm.
Do not touch the area around the tear afterwards. Your fingers are often a bit greasy, which means that the patch may not adhere well everywhere and may come off again over time.
Measuring the patch
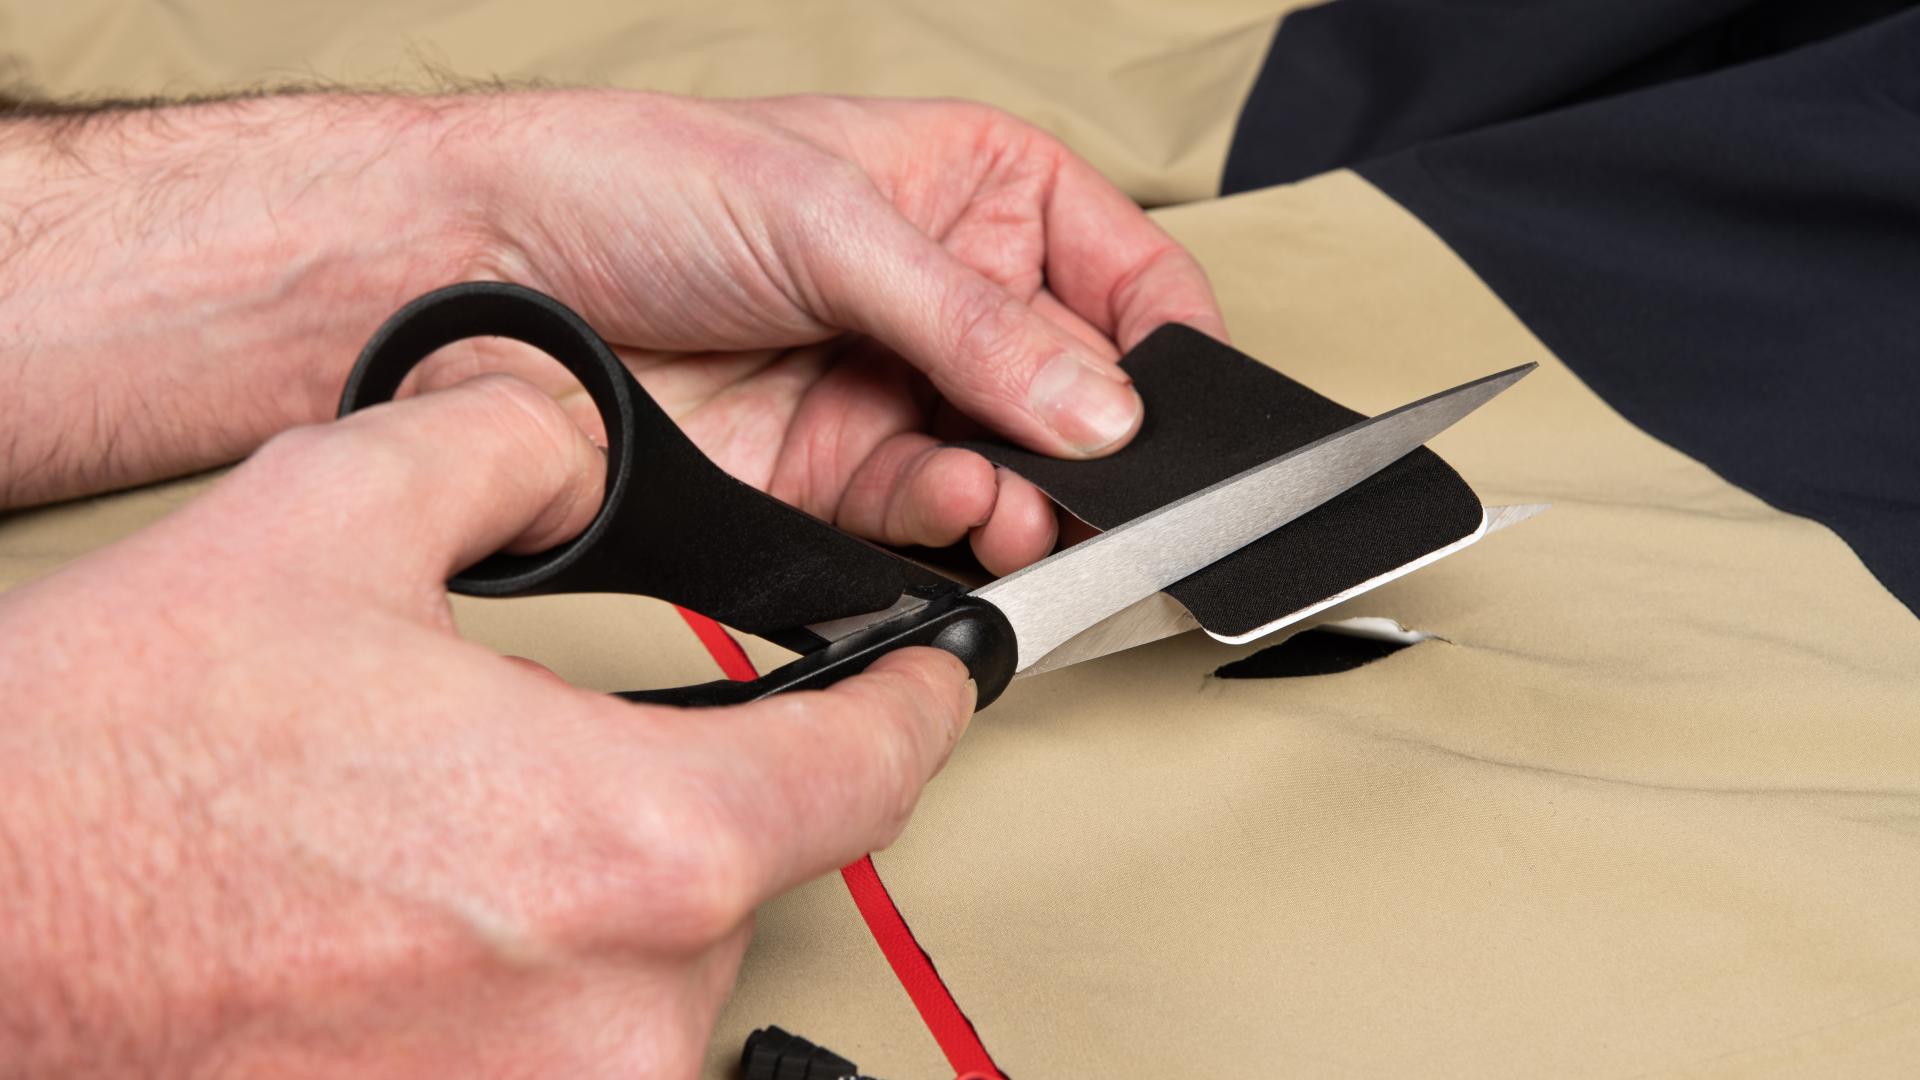
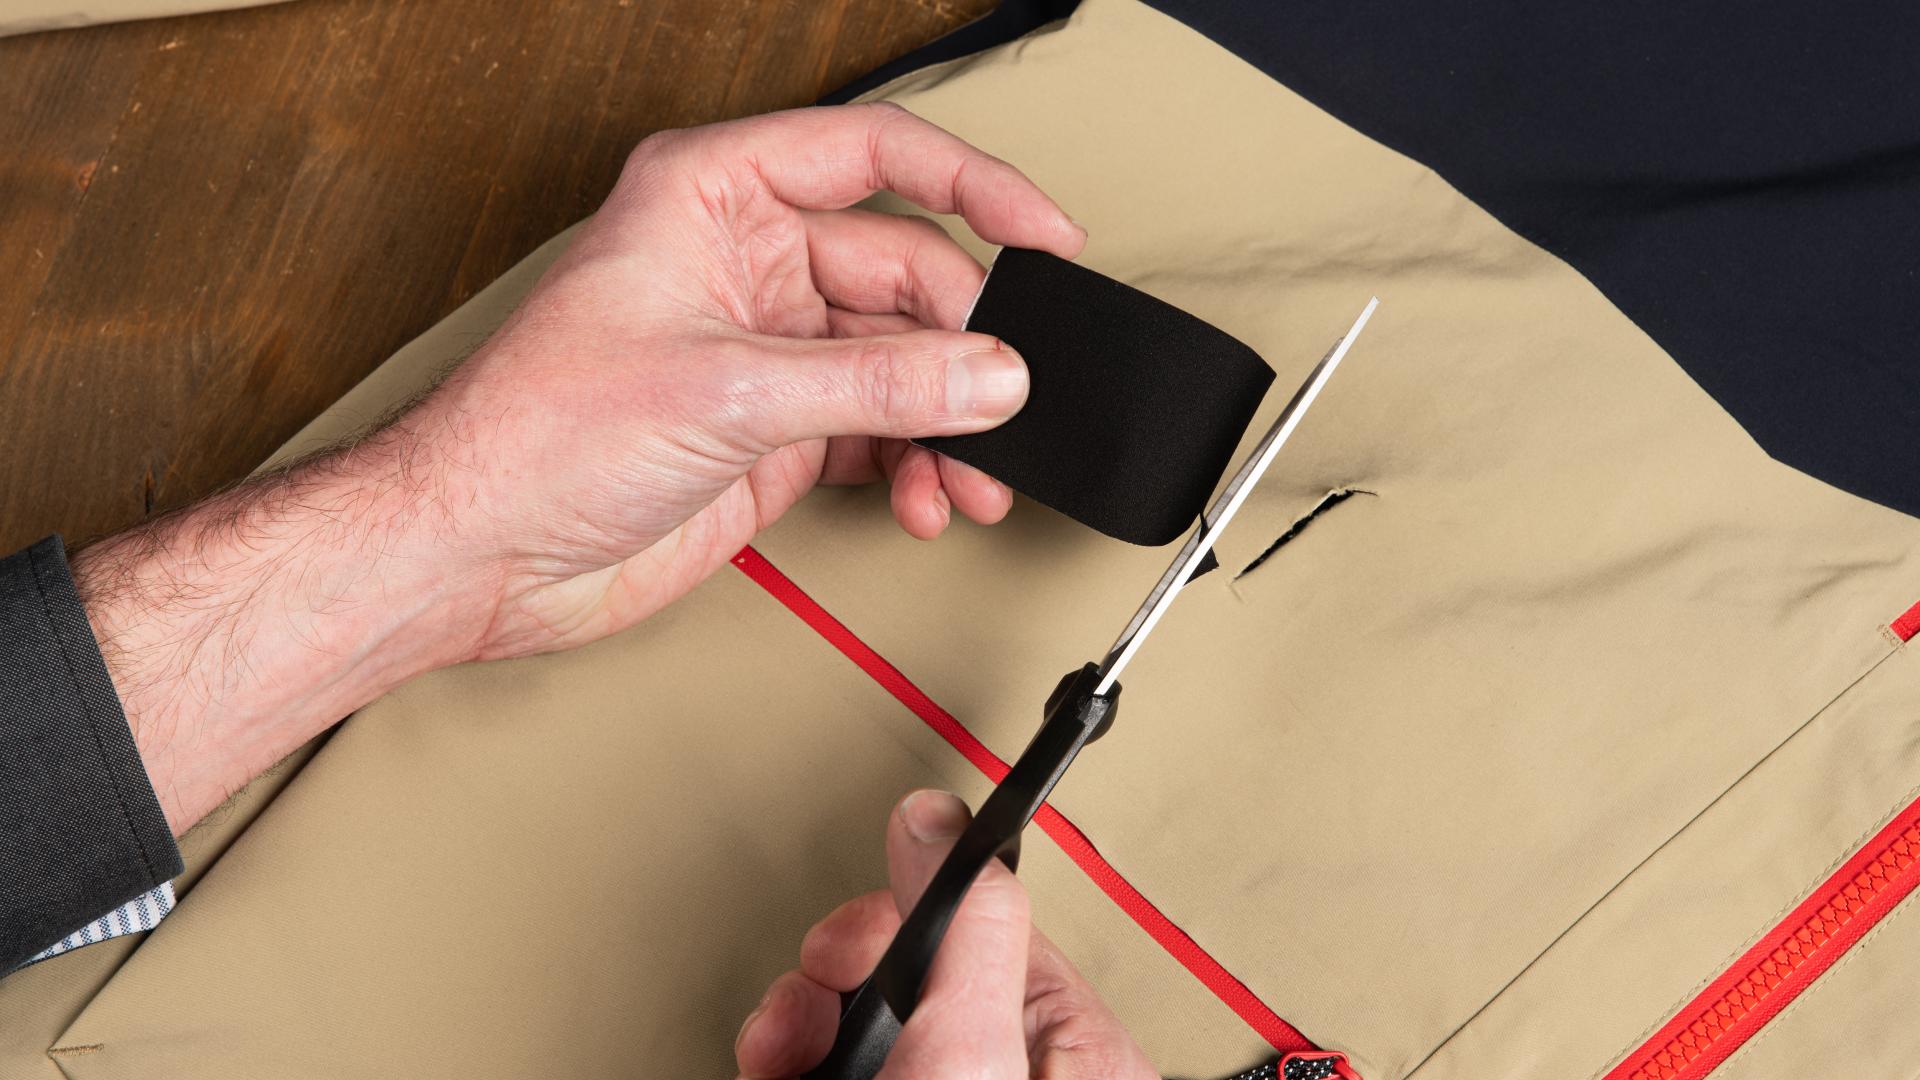
Place the repair patch over the tear with the protective film still on it and measure how large your repair patch should be. Use between 2 and 2.5 cm of extra tape on all sides of the tear; therefore also in the extension of the tear. Then cut the repair tape to size. Be sure to cut the corners of the tape rounded, as straight corners are more vulnerable to peeling.
Pasting the patch
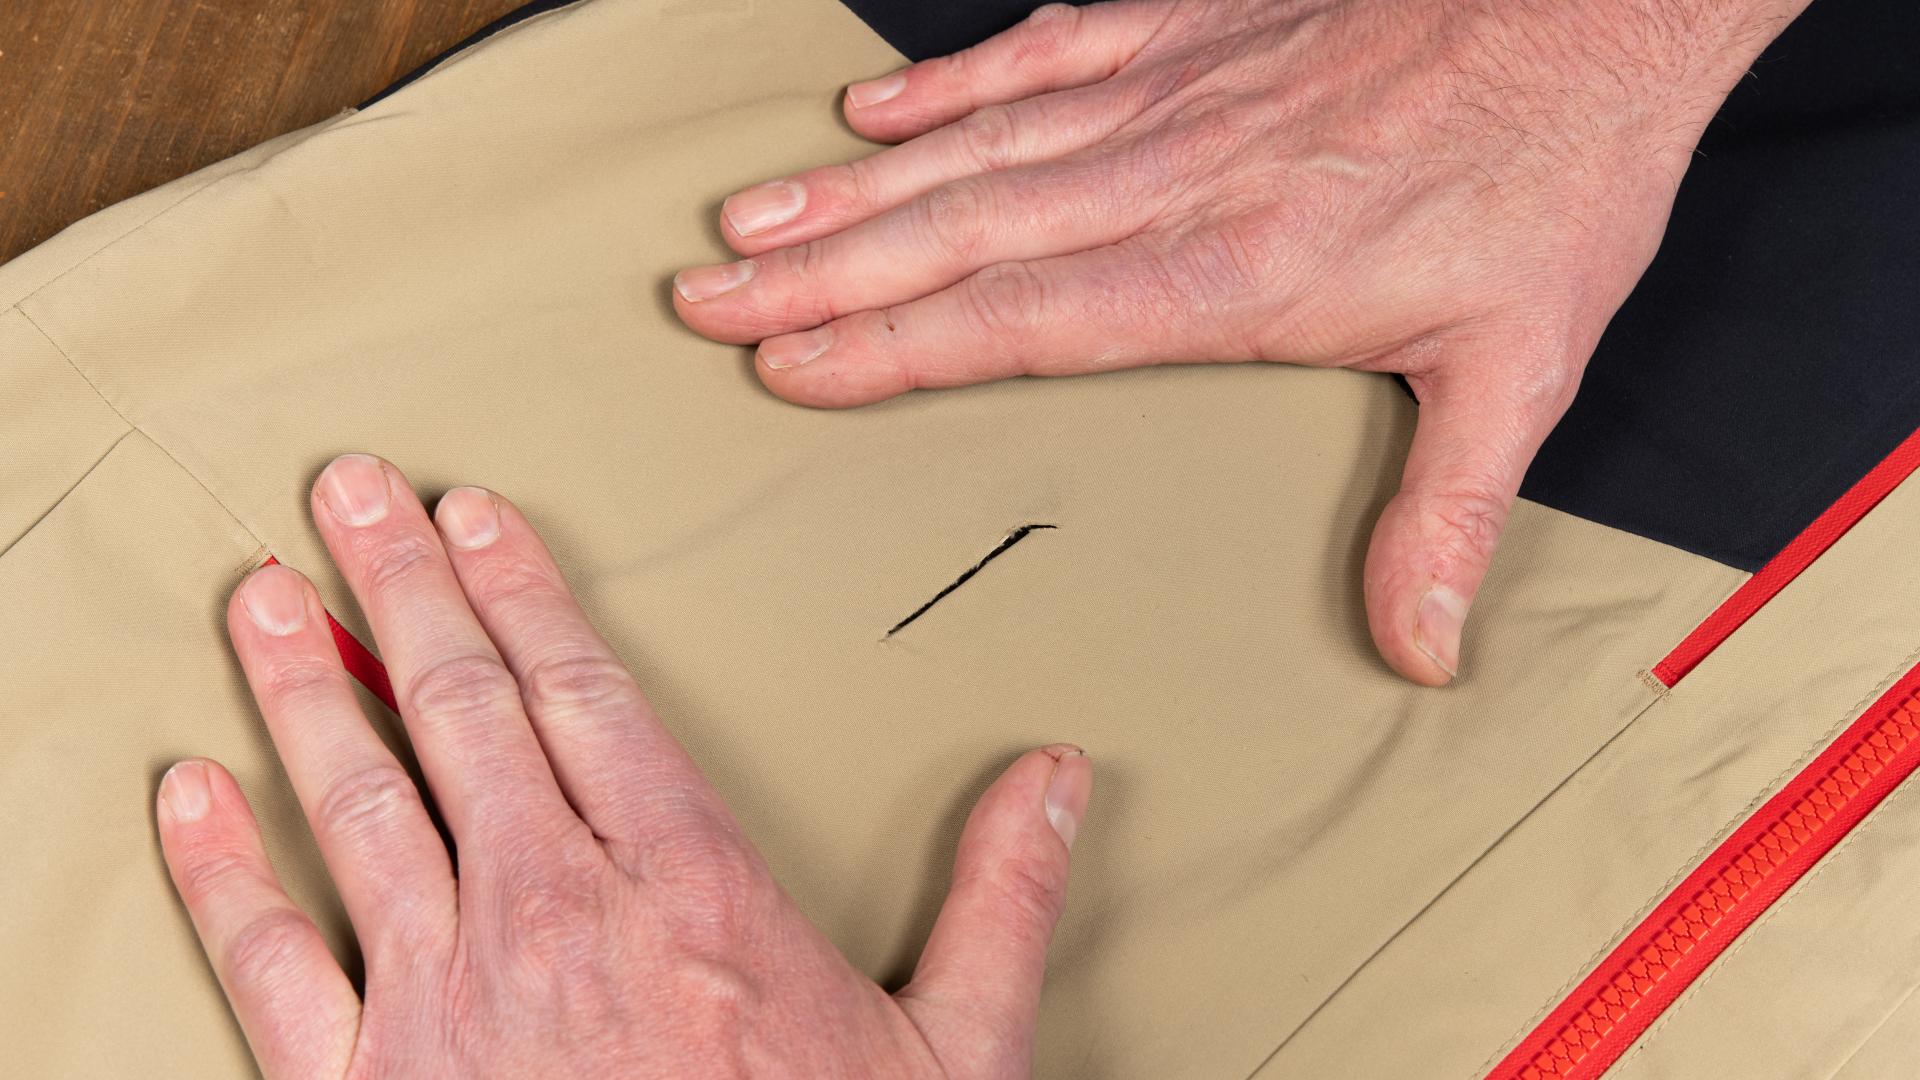

Pull the fabric tight around the tear so that the fabric does not wrinkle. If someone is around to help, they can straighten the fabric while the other person applies the patch. Make sure that the edges of the tear are put against each other.
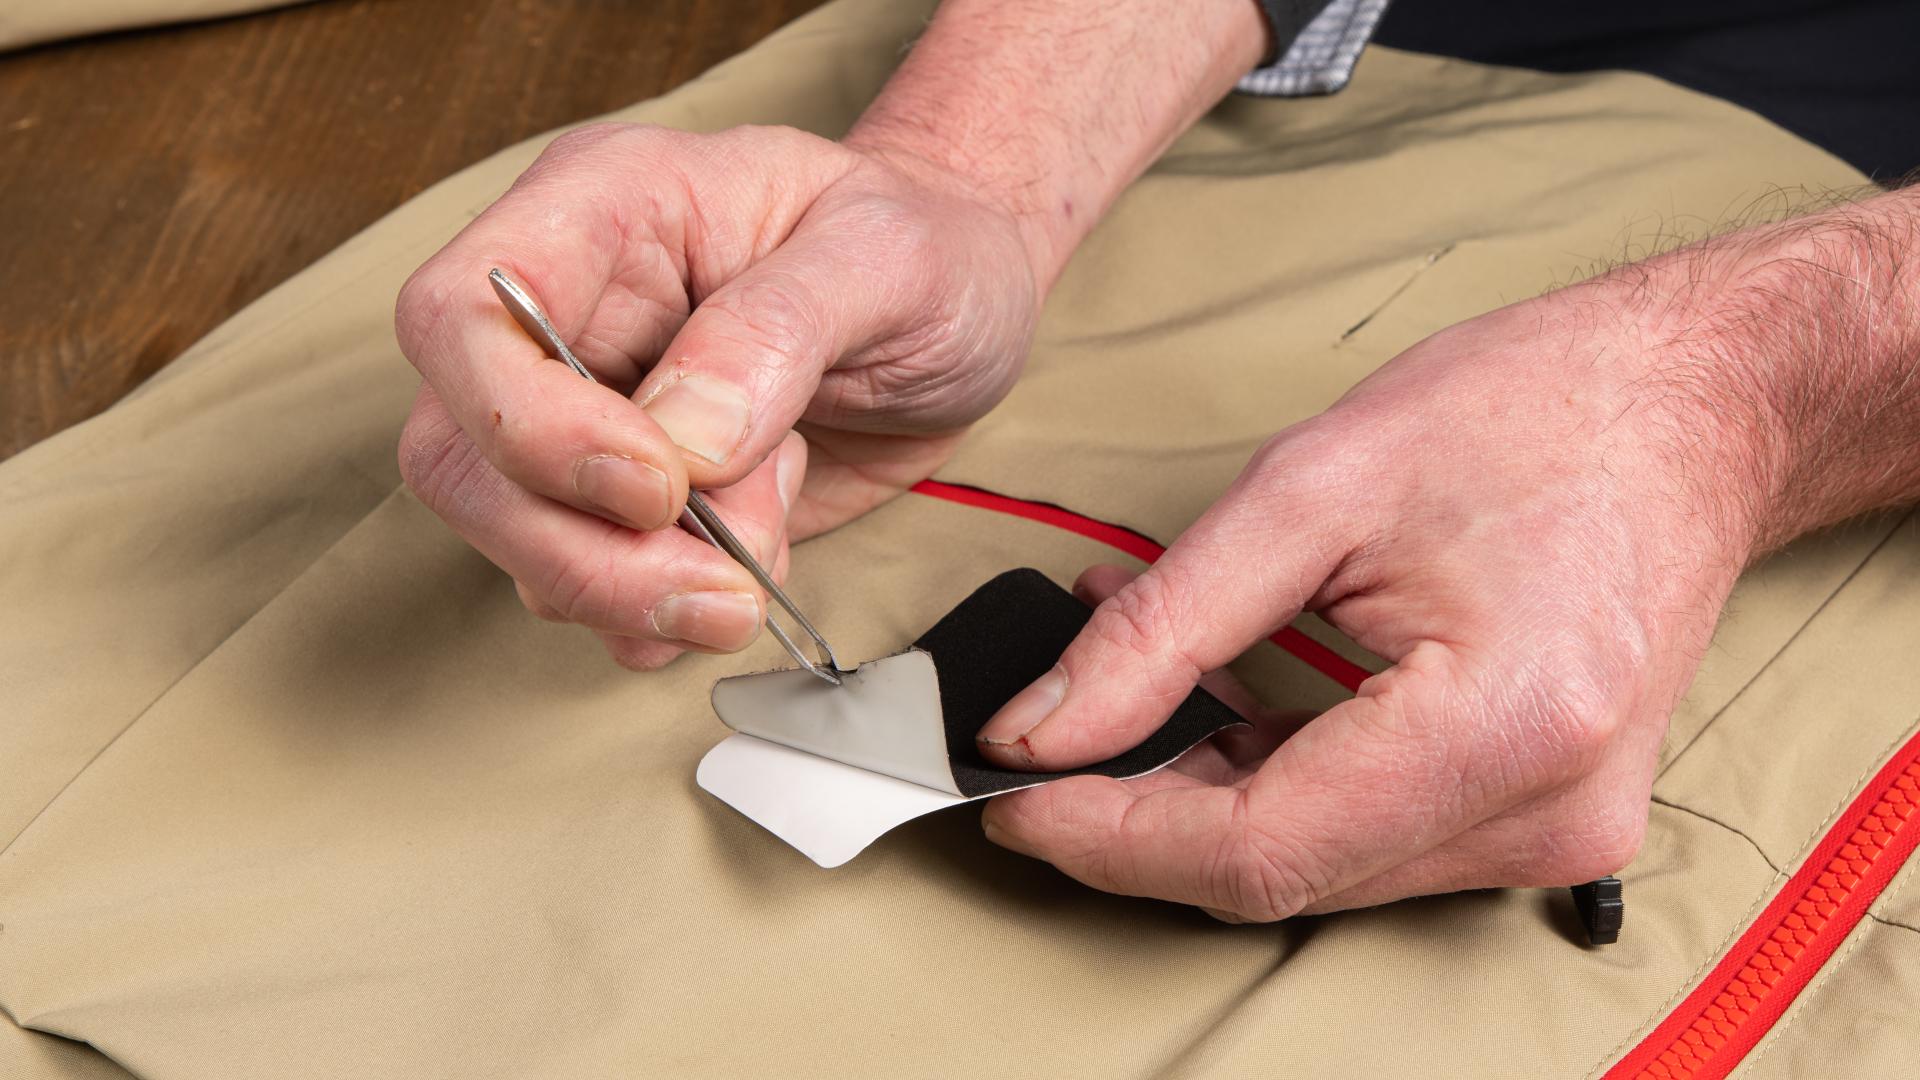
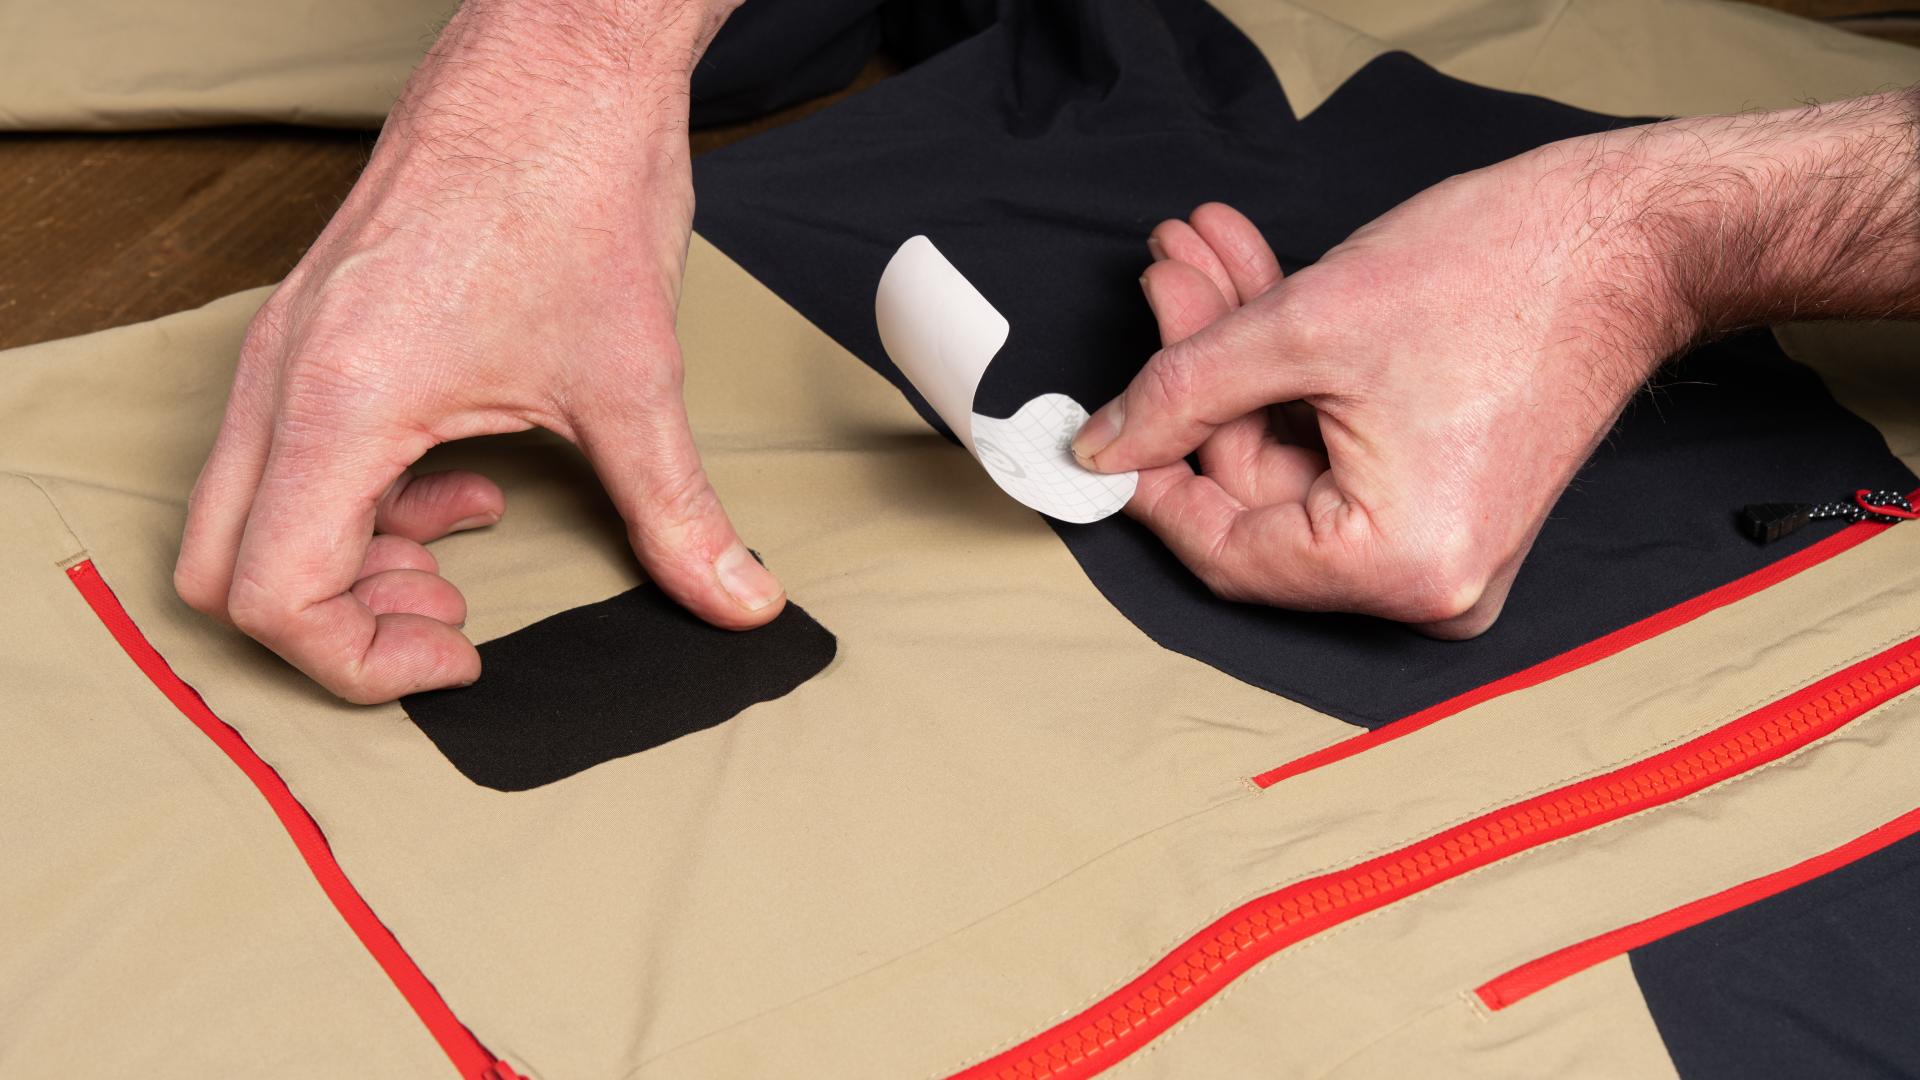
Carefully peel off a piece of approximately 1 centimeter of the protective film from the patch. Use the tweezers for this. If you don't have one at hand, avoid touching the adhesive side of the tape with your fingers. Otherwise you run the risk of the patch coming loose on those parts over time.
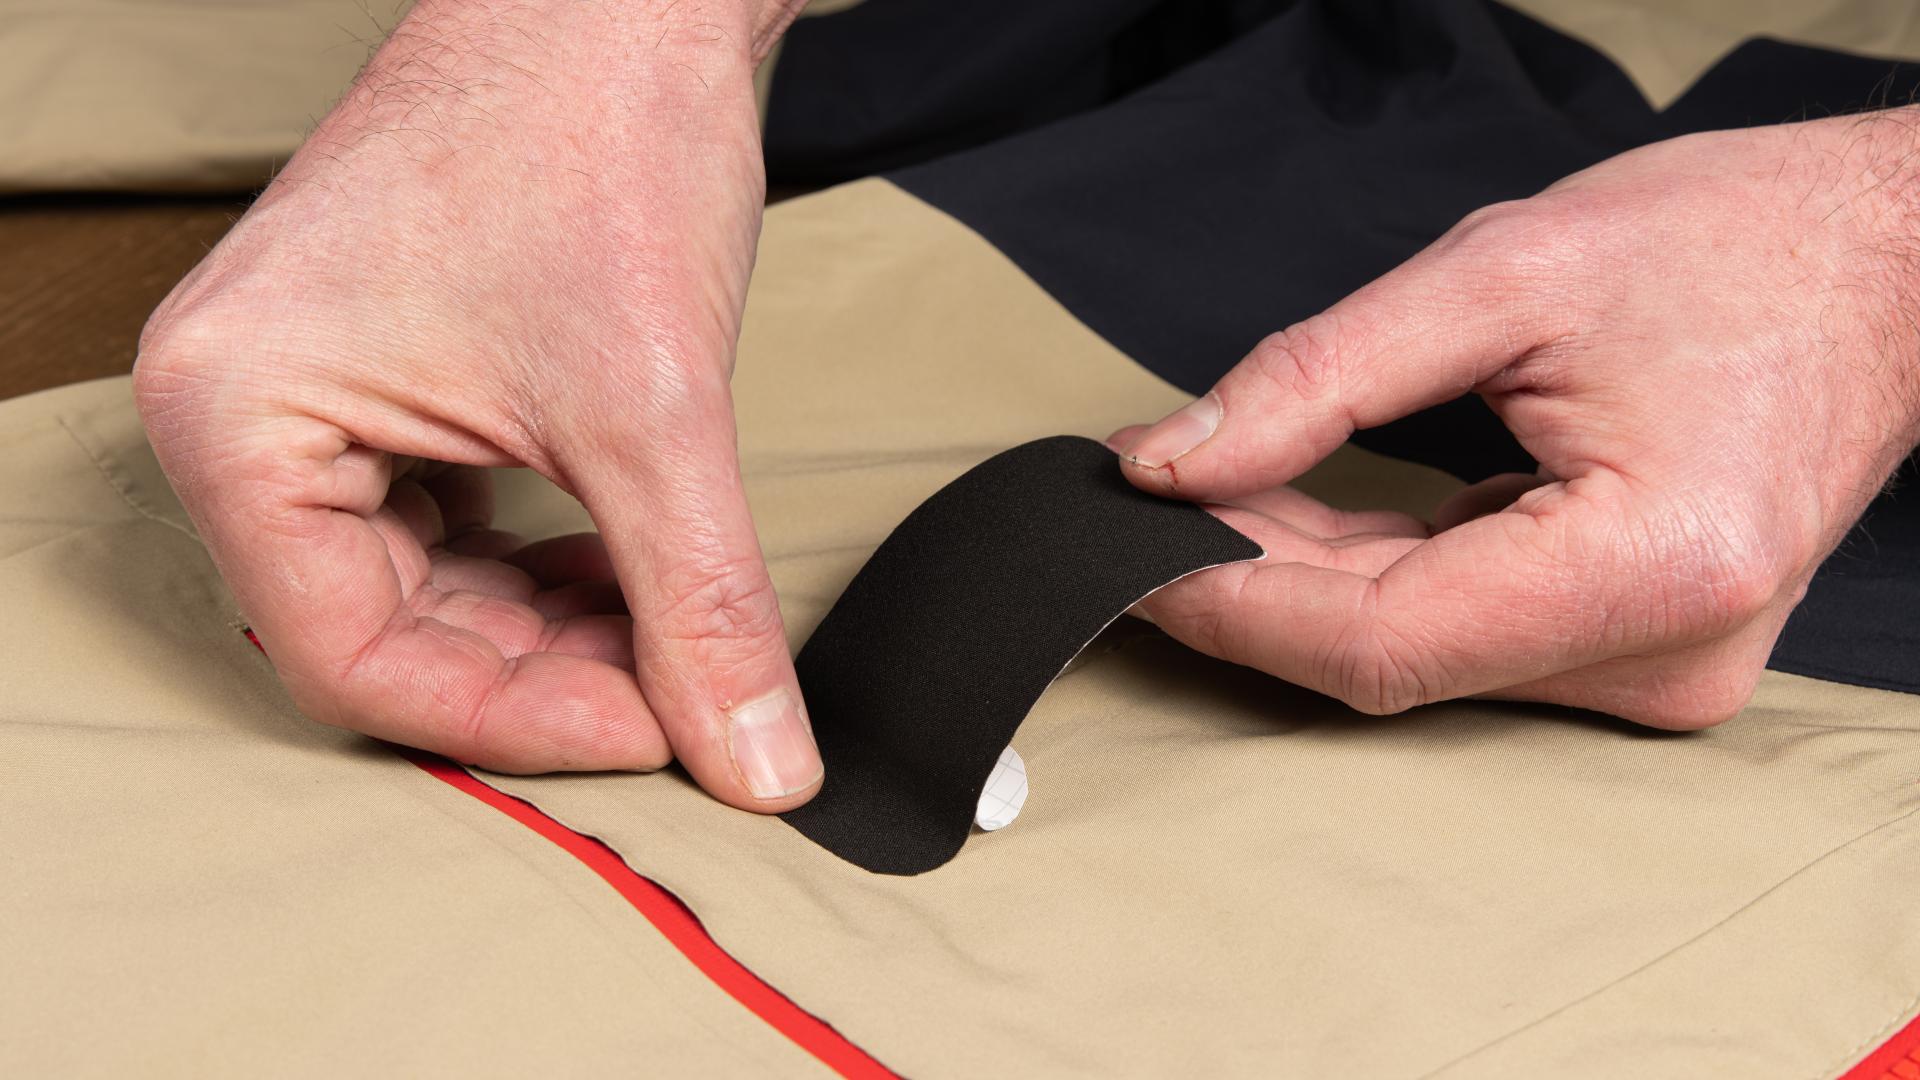
Apply the released piece of tape to the tear approximately 2 to 2.5 centimeters from the start of the tear. Remove the rest of the protective film while simultaneously unrolling the rest of the patch over the tear. Make sure that no air bubbles get under the tape.
Pressing the patch

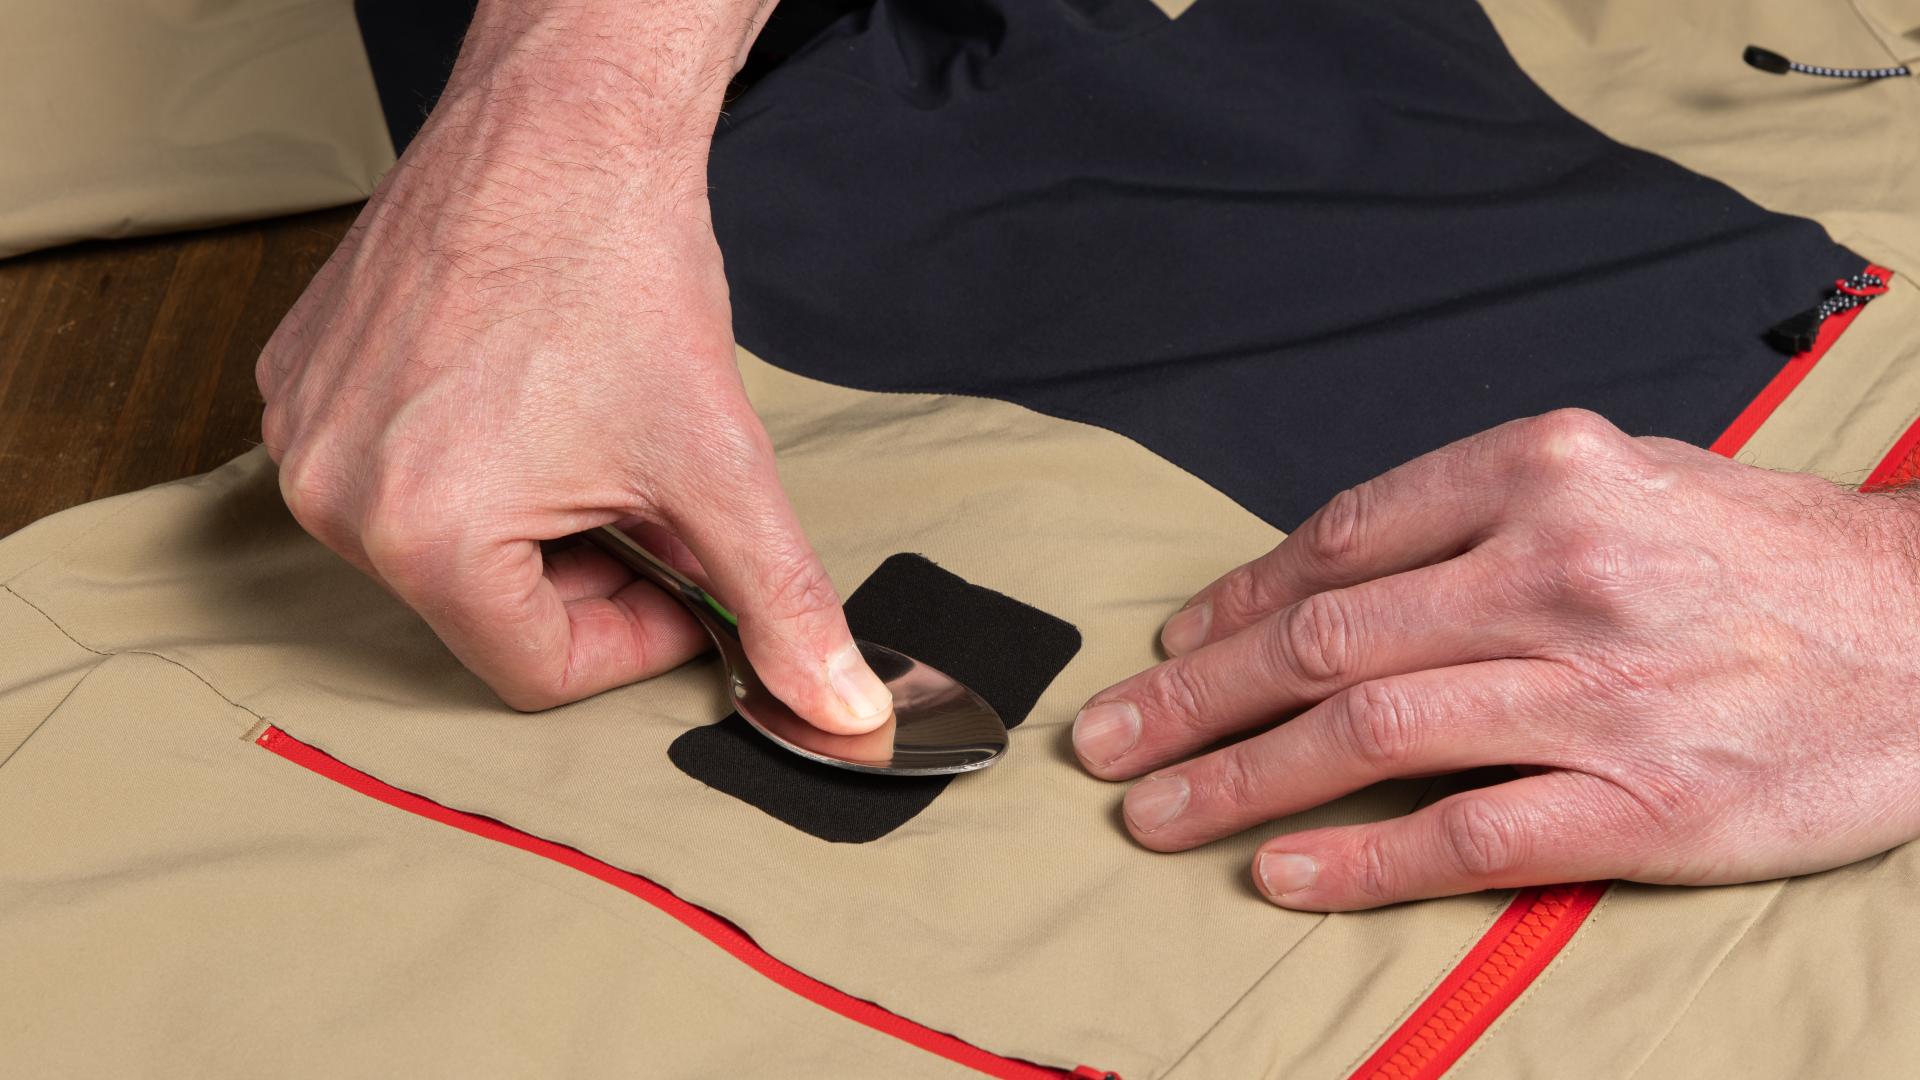

Now rub the tape firmly with the rounded side of a spoon. Start in the center of the tape and work outward. Finally, warm the tape with a hairdryer to ensure that it is firmly attached. Please note that it takes 24 hours for the tape to fully adhere.
Result
Your jacket is ready for the next adventure.
And done! What a feeling!
Did you manage to fix it?
Yes!
