Maintaining and repairing your MSR burner pump
If you are the proud owner of an MSR liquid burner, it is wise to regularly check the burner pump for correct and safe operation. Think of it as the annual maintenance of the burner pump. This way you prevent problems and dangerous situations. It is better to check the burner pump carefully before a trip and replace small parts than to not be able to make coffee while on the road.
In this manual we explain step by step how to disassemble the various parts of the MSR burner pump, check for any leaks or wear and how to replace essential parts.
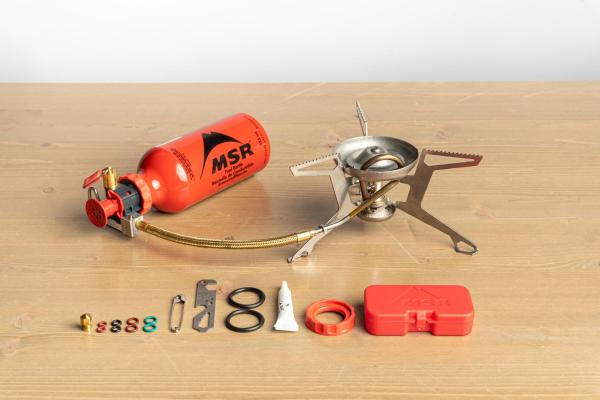
Supply needed

Fuel bottle seal
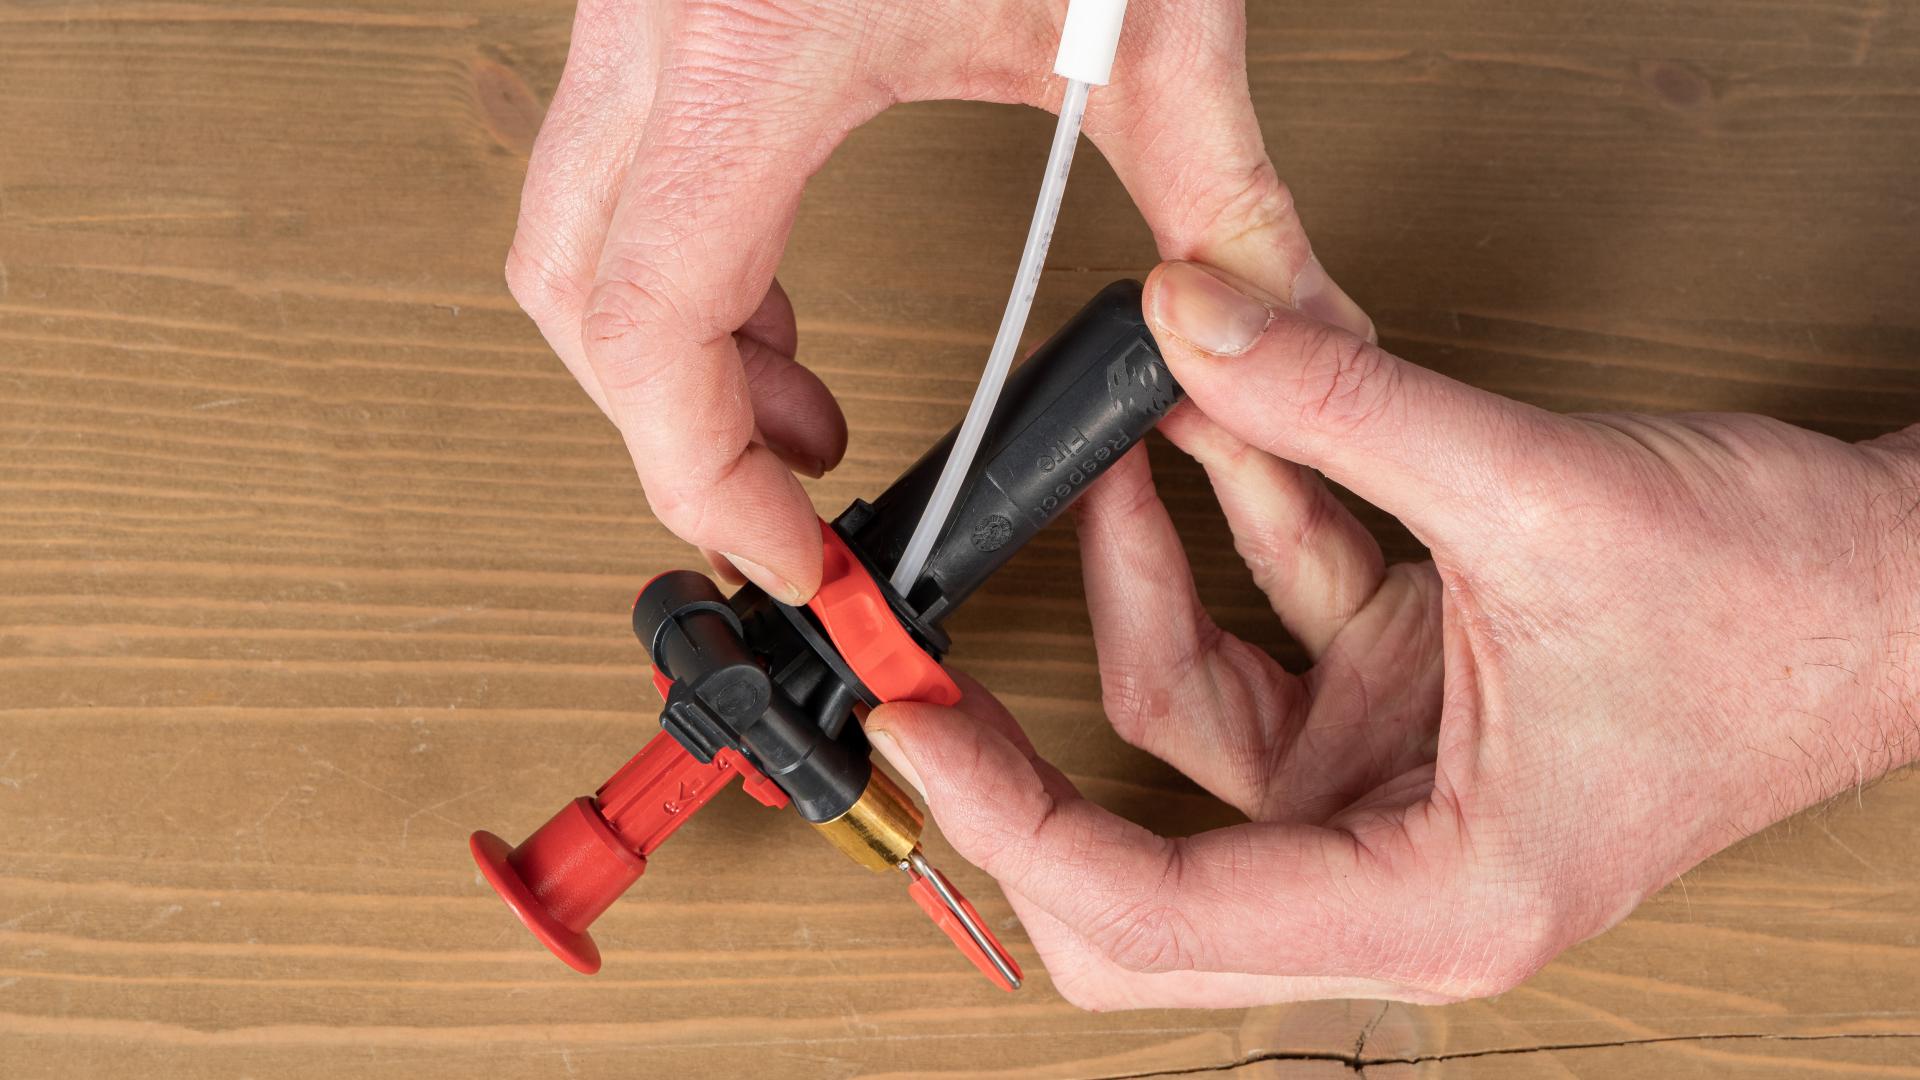
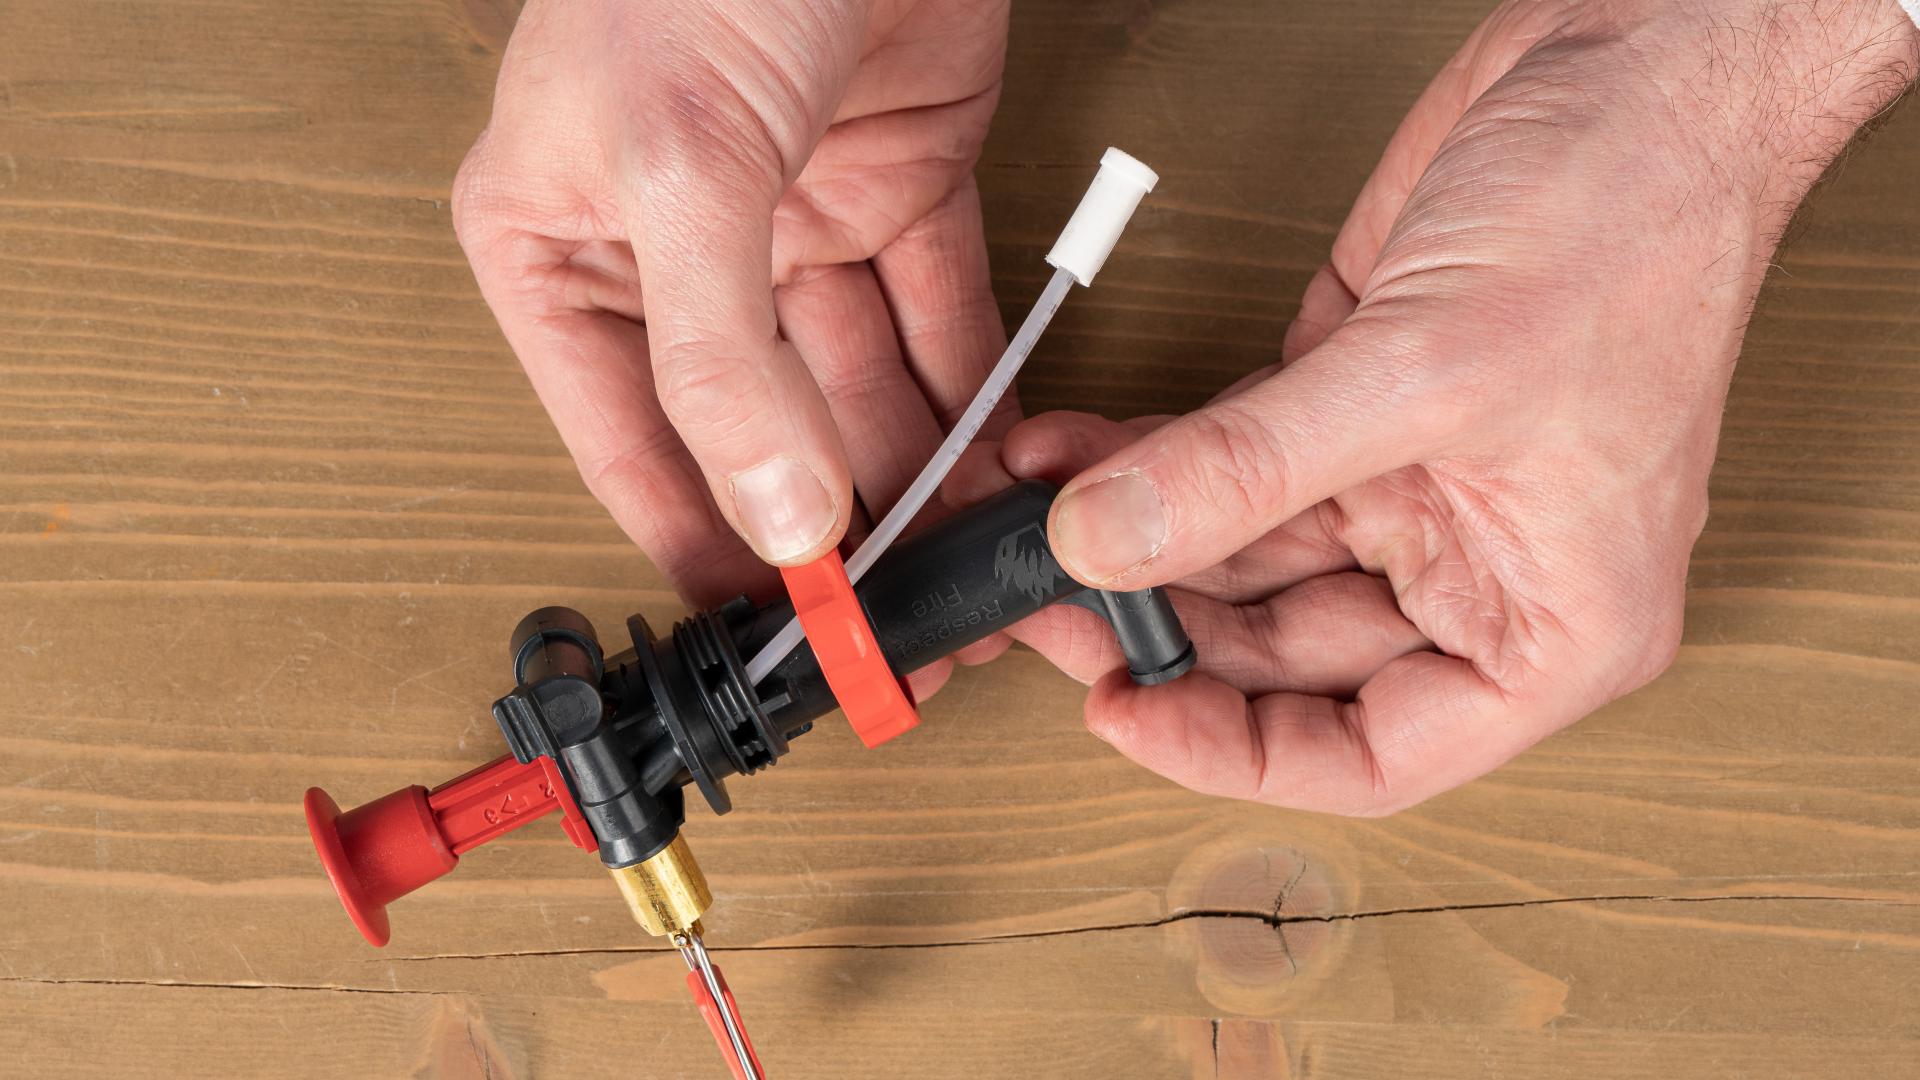
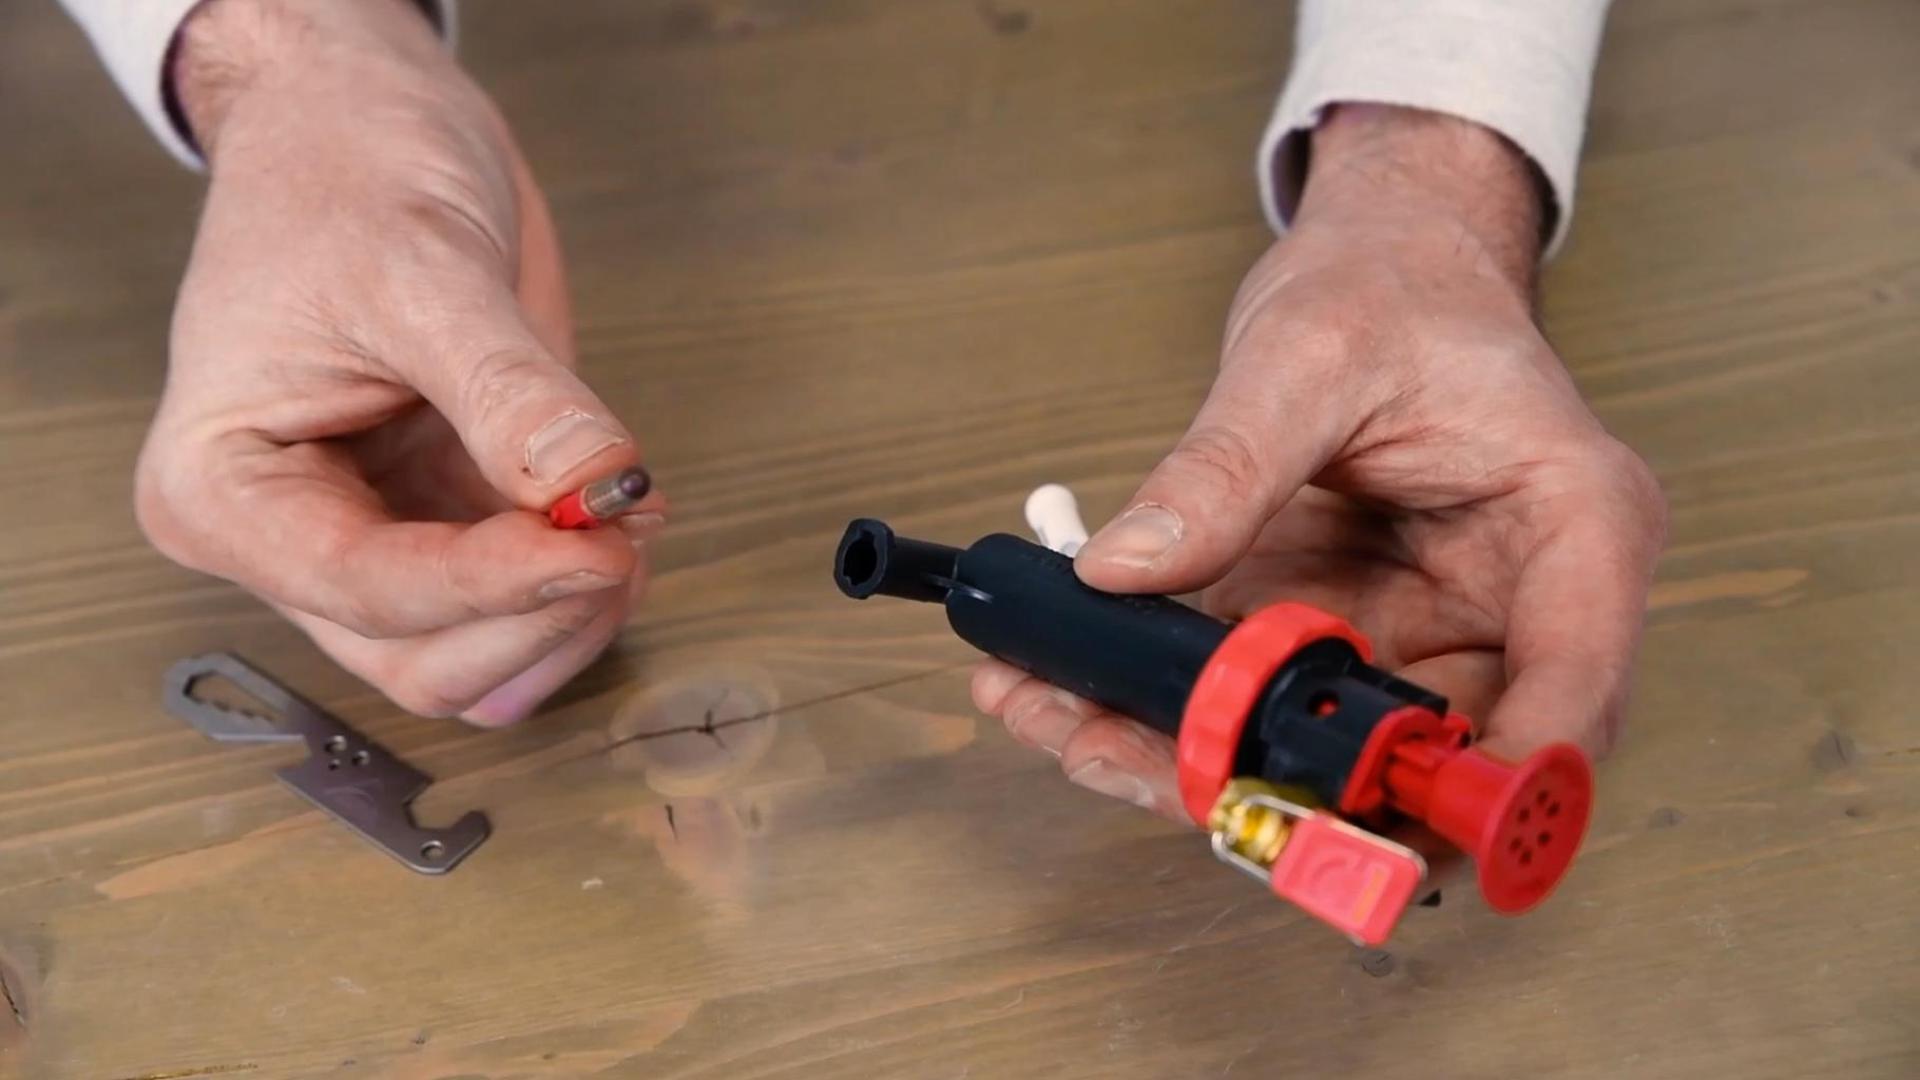
We start with the seal between the fuel bottle and the pump itself. If you cannot see whether it is still completely in order, remove it as follows.
Use your thumbs to slide the red seal ring off the pump assembly. You can now check the seal for cracks or damage. If the sealing ring is no longer in order, replace it with a new one.
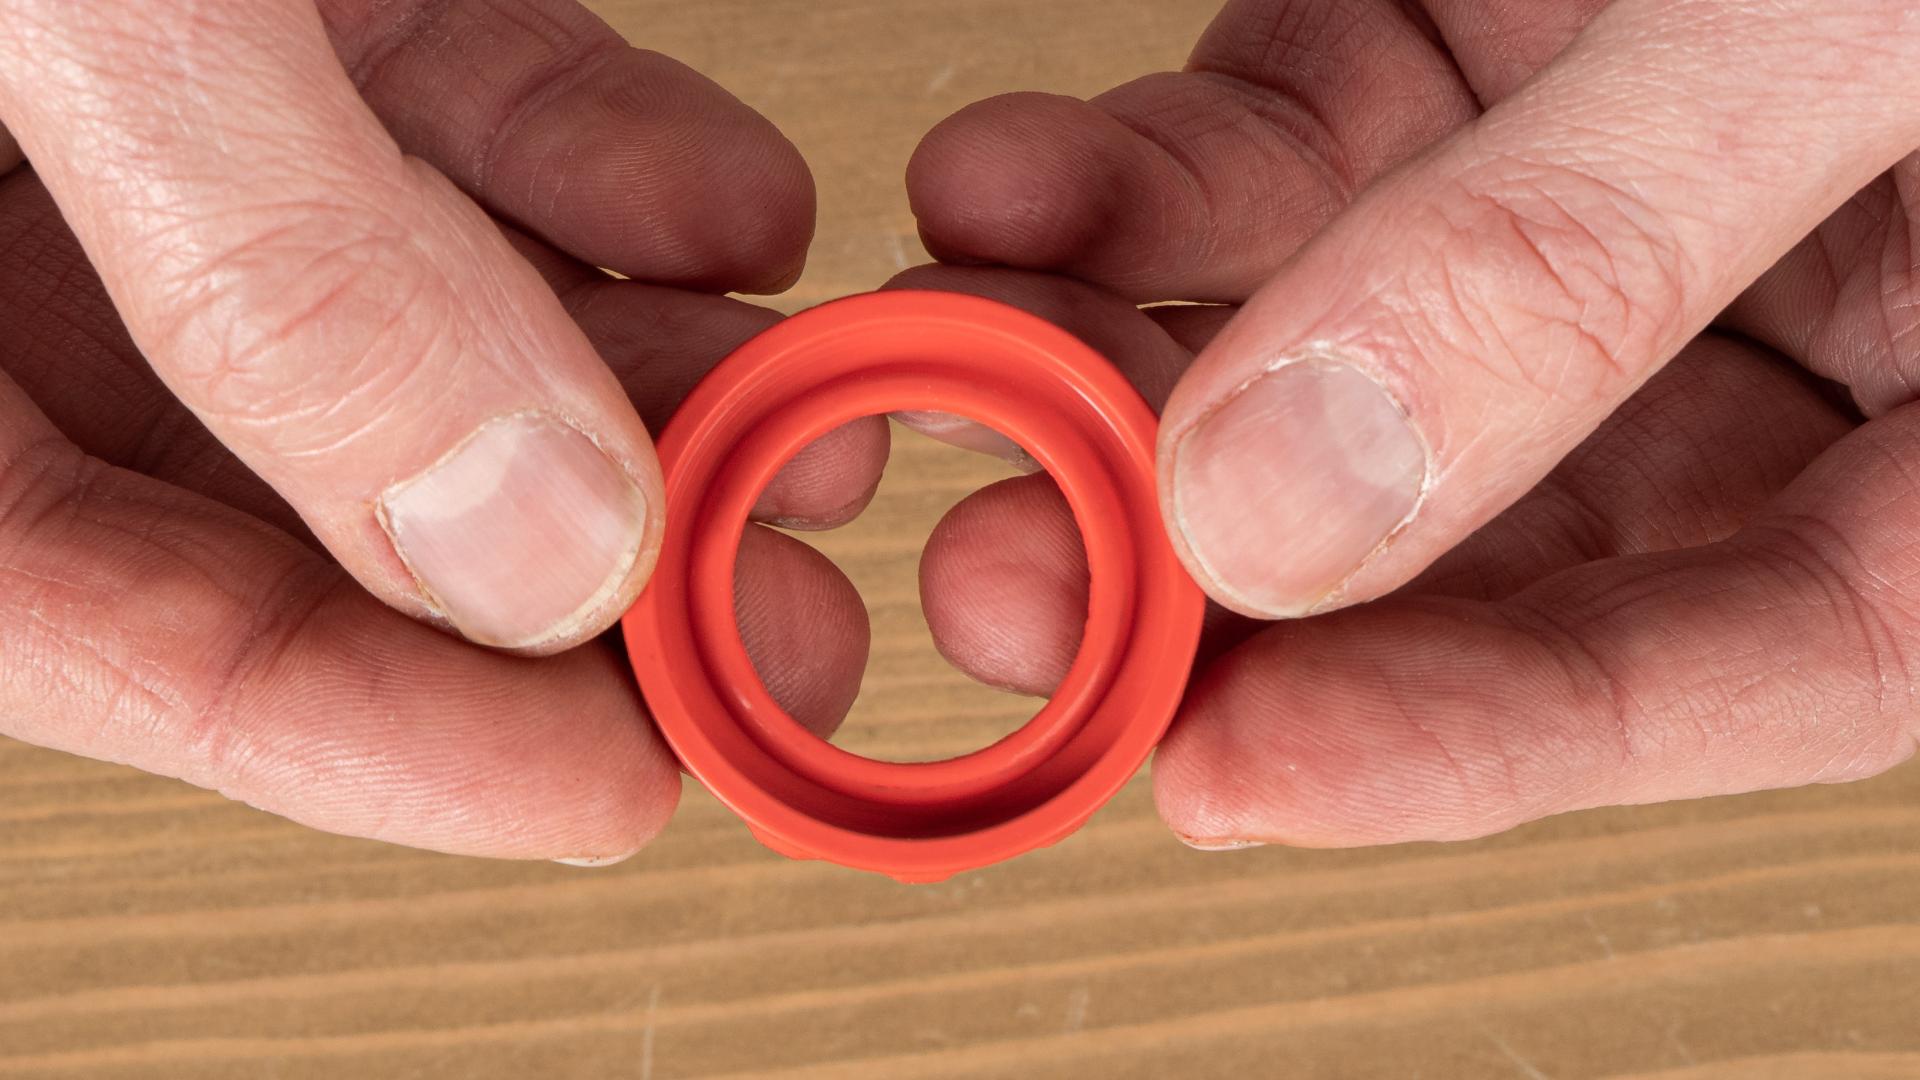
To reinstall the (new) sealing ring, slide it over the pump. Pay attention to the correct position of the ring: the sealing ring is smooth on one side and has a kind of groove on the other side. The side with the groove will be on the side of the fuel tank. The ring must be pushed up so far that the two ventilation holes are visible.
Note: if you want to replace the sealing ring, use the original red sealing ring and not a regular O-ring. The regular O-ring does not close properly, causing the pump to leak and creating a dangerous situation.

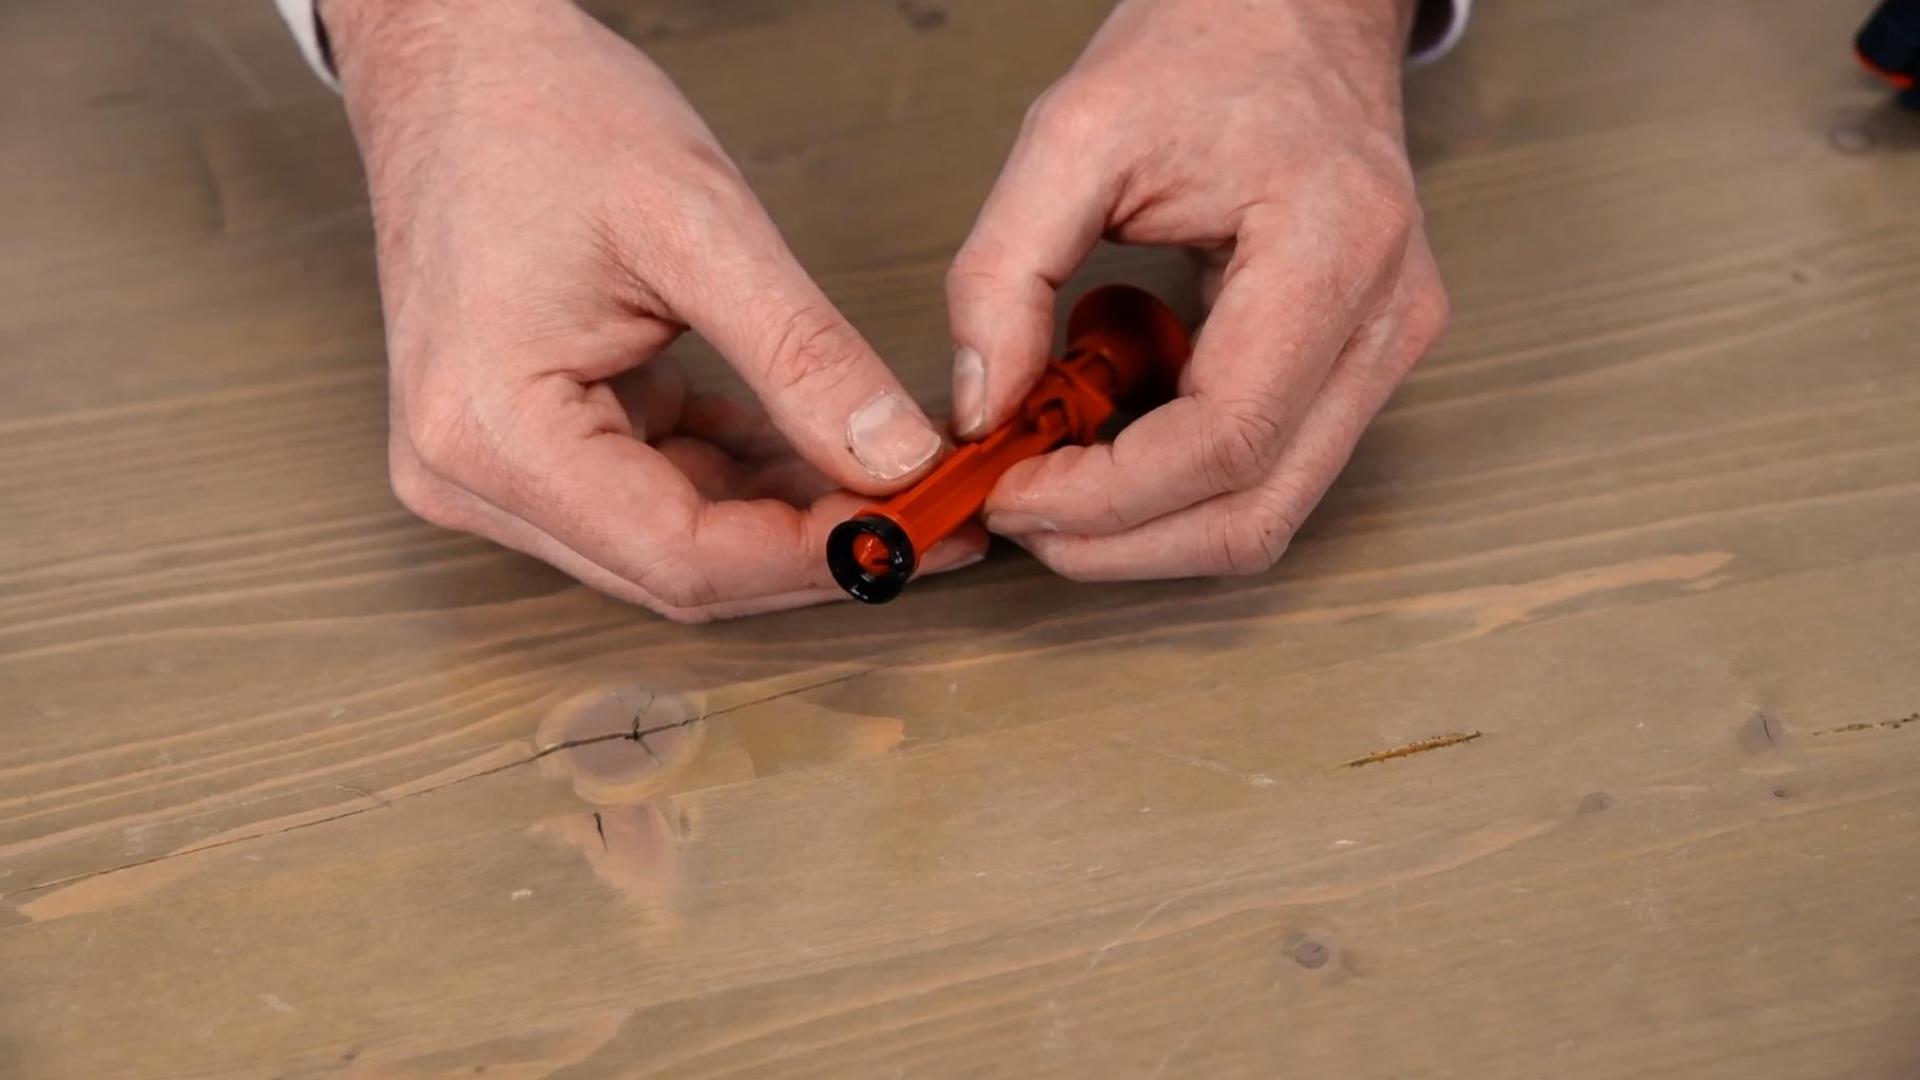
If you can no longer pressurize the pump properly, the plunger - that's the black rubber thing at the end of the piston - may be broken or dried out.
To check or replace it, proceed as follows. First you remove the piston from the pump. The piston says 'open here'. Pull the piston out of the pump until the text is just visible. Now turn the piston a quarter turn to the left and pull the piston out completely.
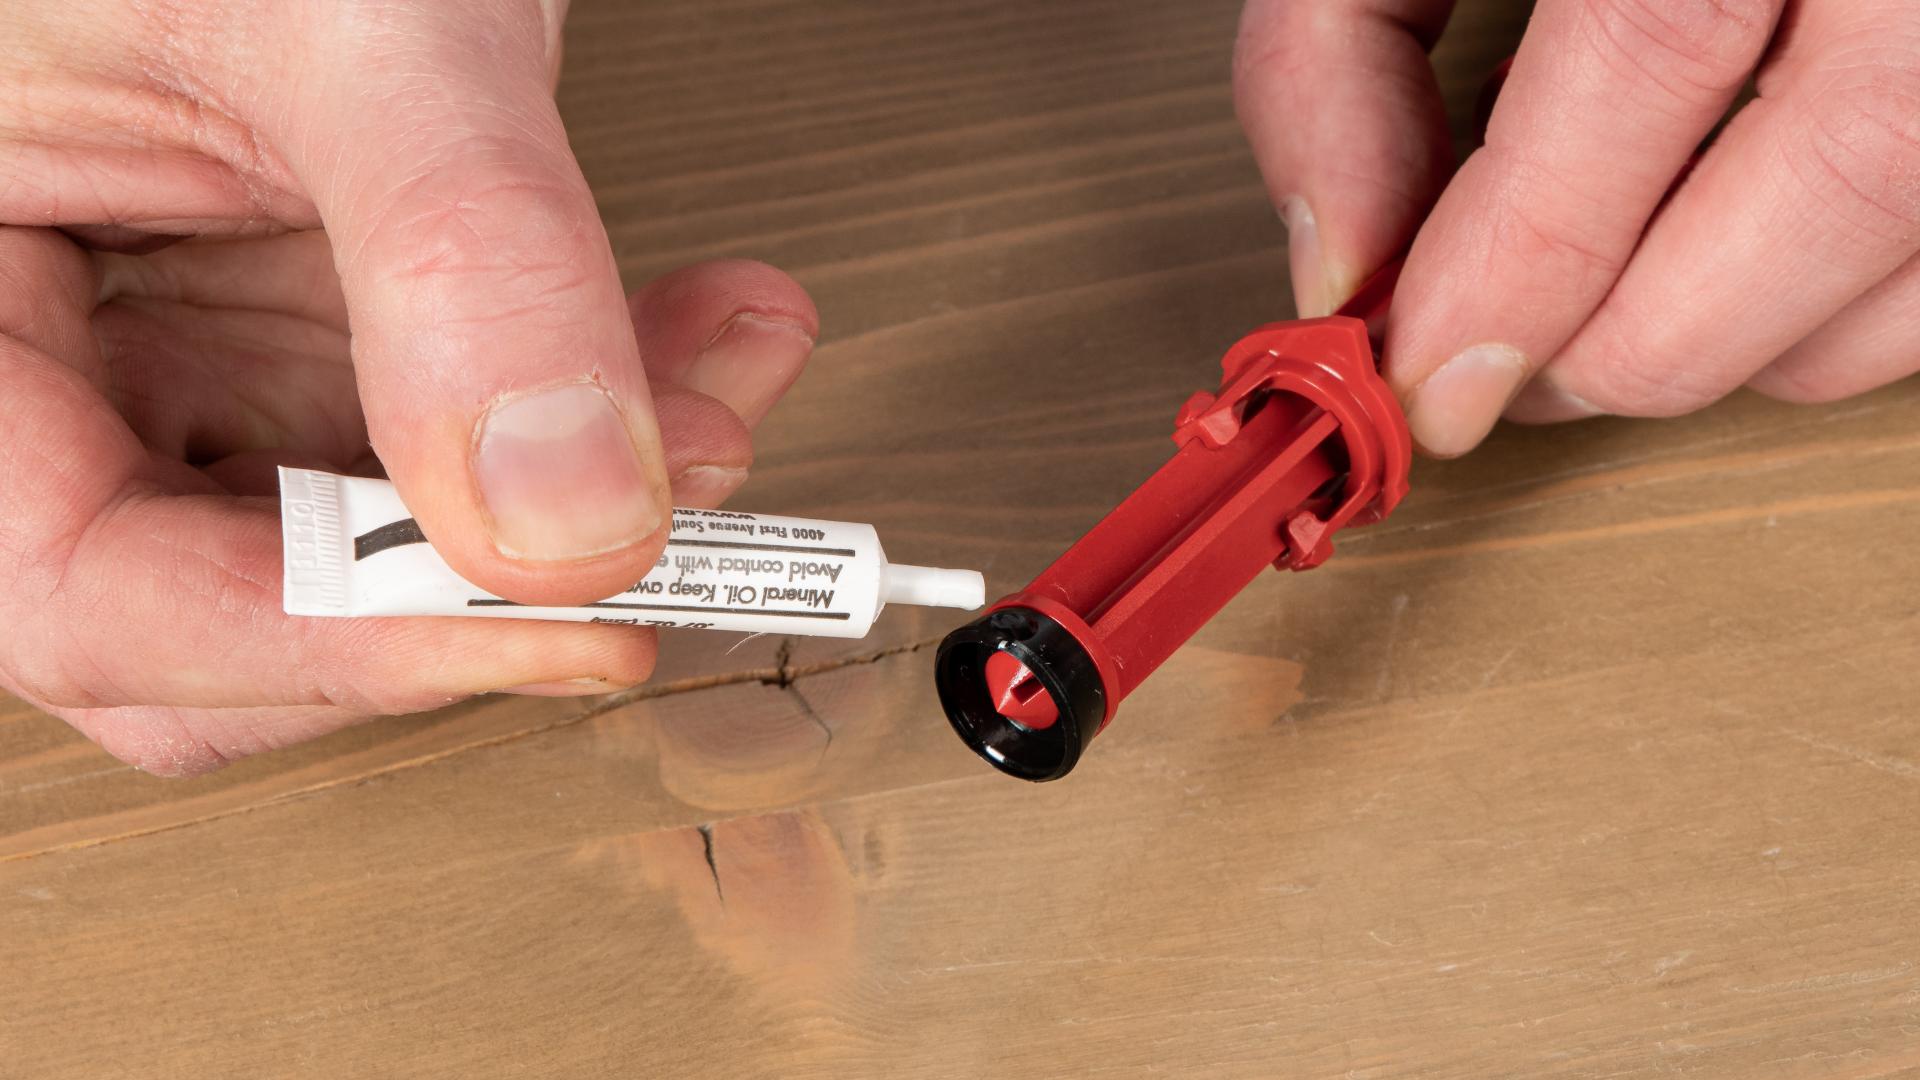
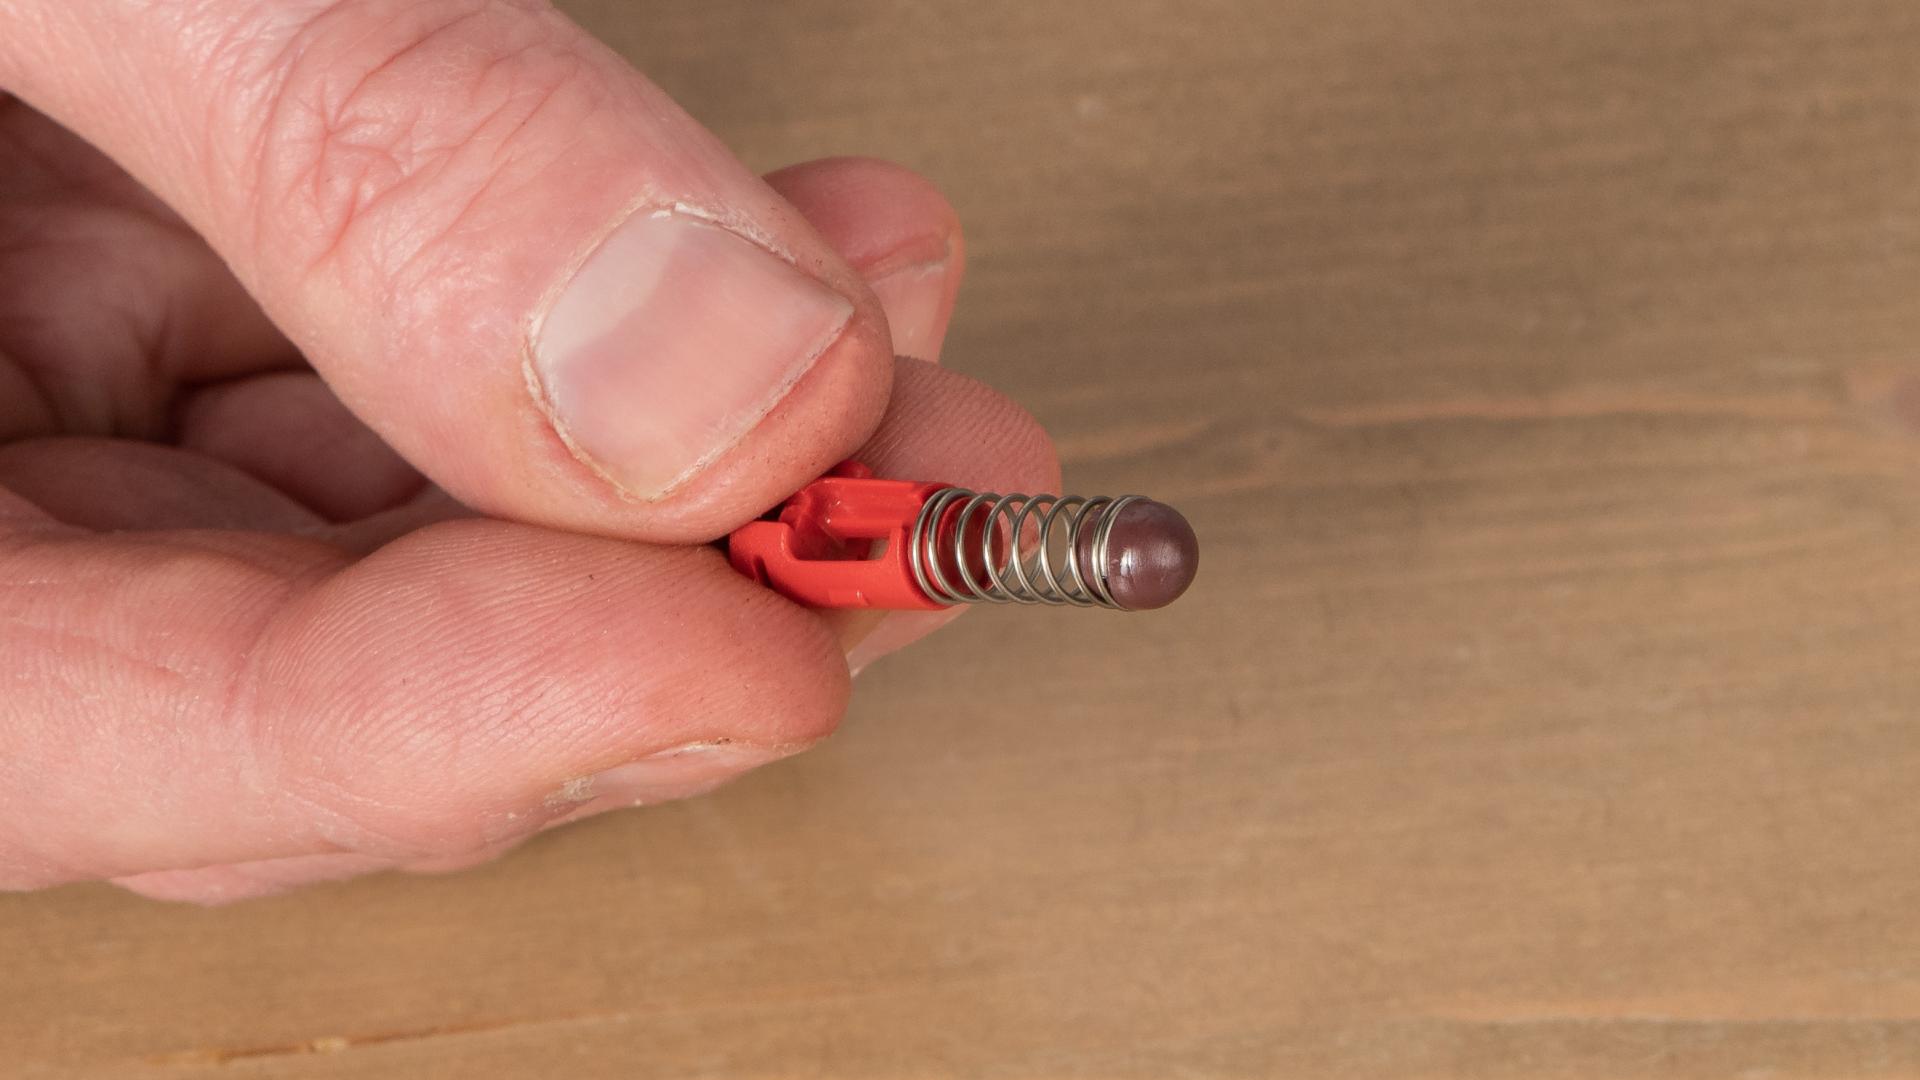
The plunger is located at the end of the piston. You can easily remove it from the piston and replace it with a new one. If the plunger only feels dry, lubricate it with a little oil from the supplied tube. Also, if you replace the plunger with a new one, lubricate it with some oil.
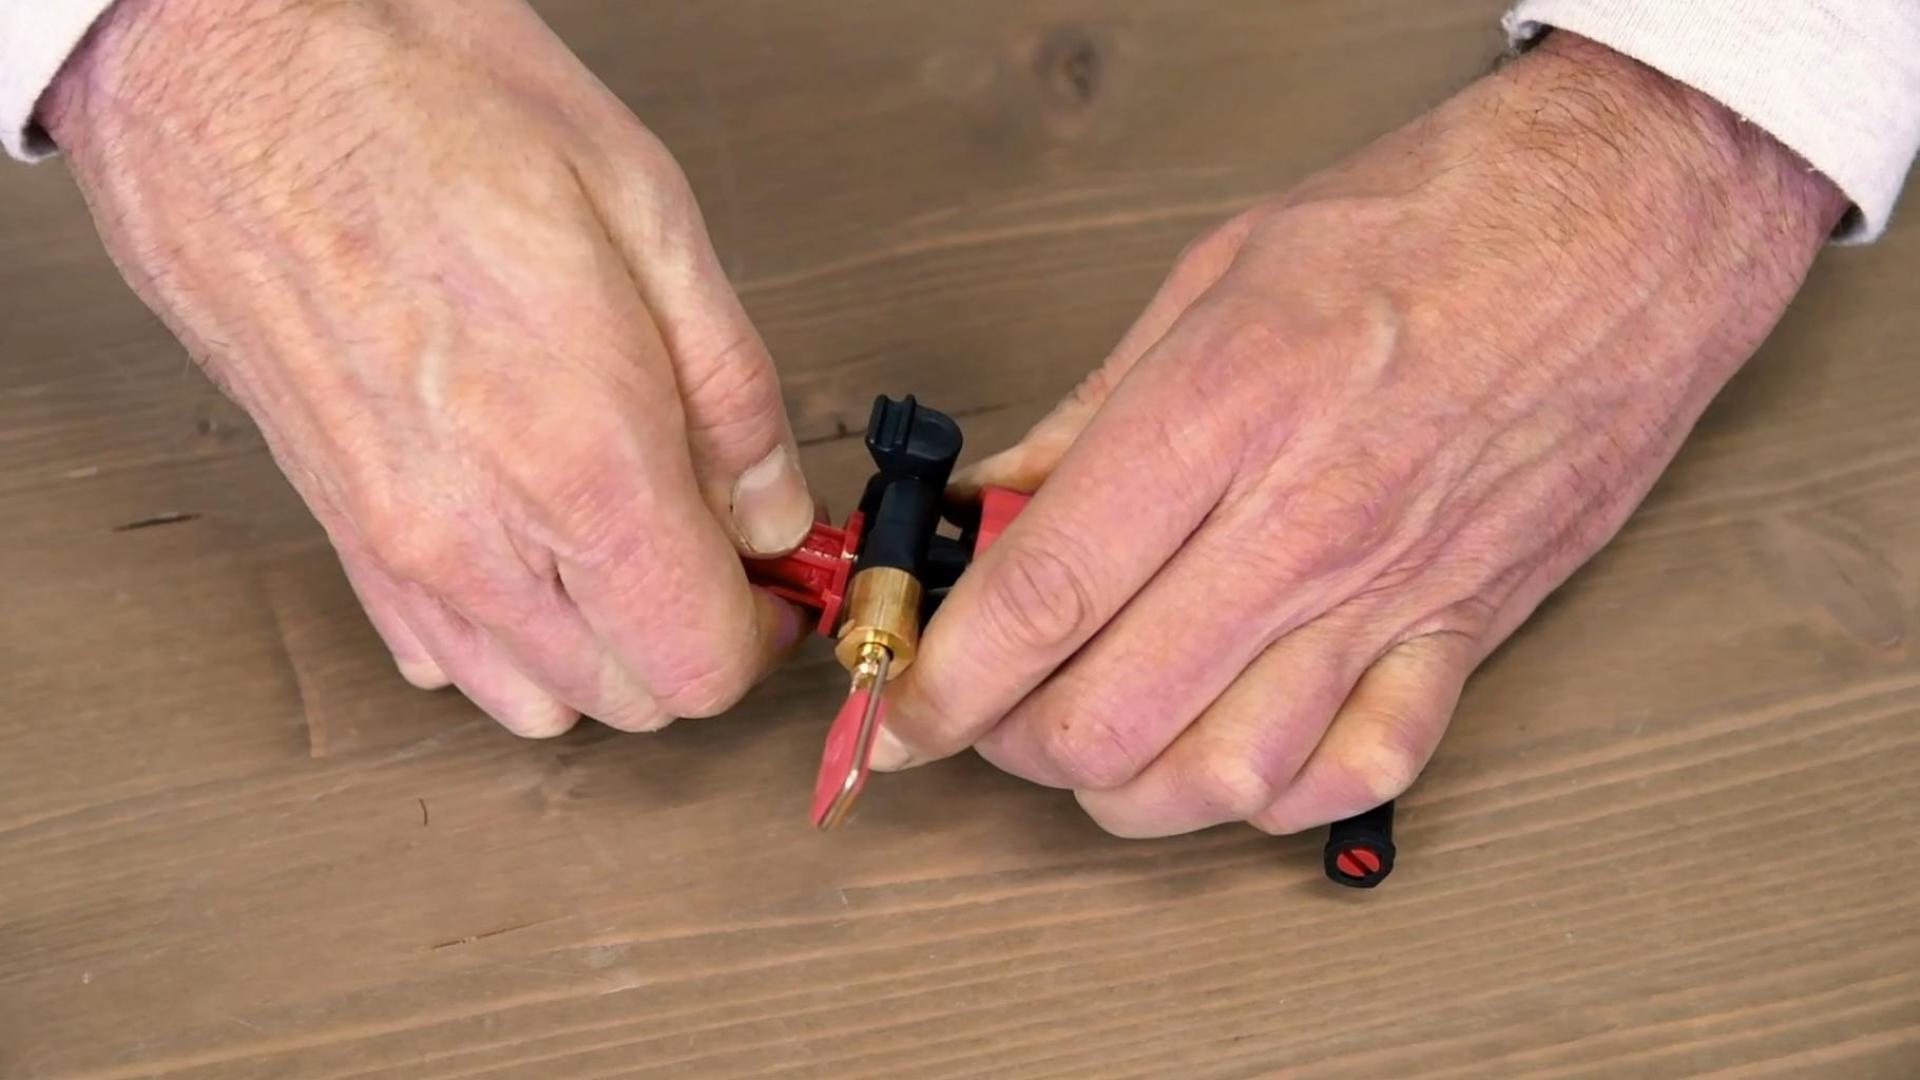
There is a check valve at the end of the pump mechanism. It must also be in good condition. Remove the check valve by turning the check valve a quarter turn to the left.
You do this with the supplied MSR tool or a screwdriver.
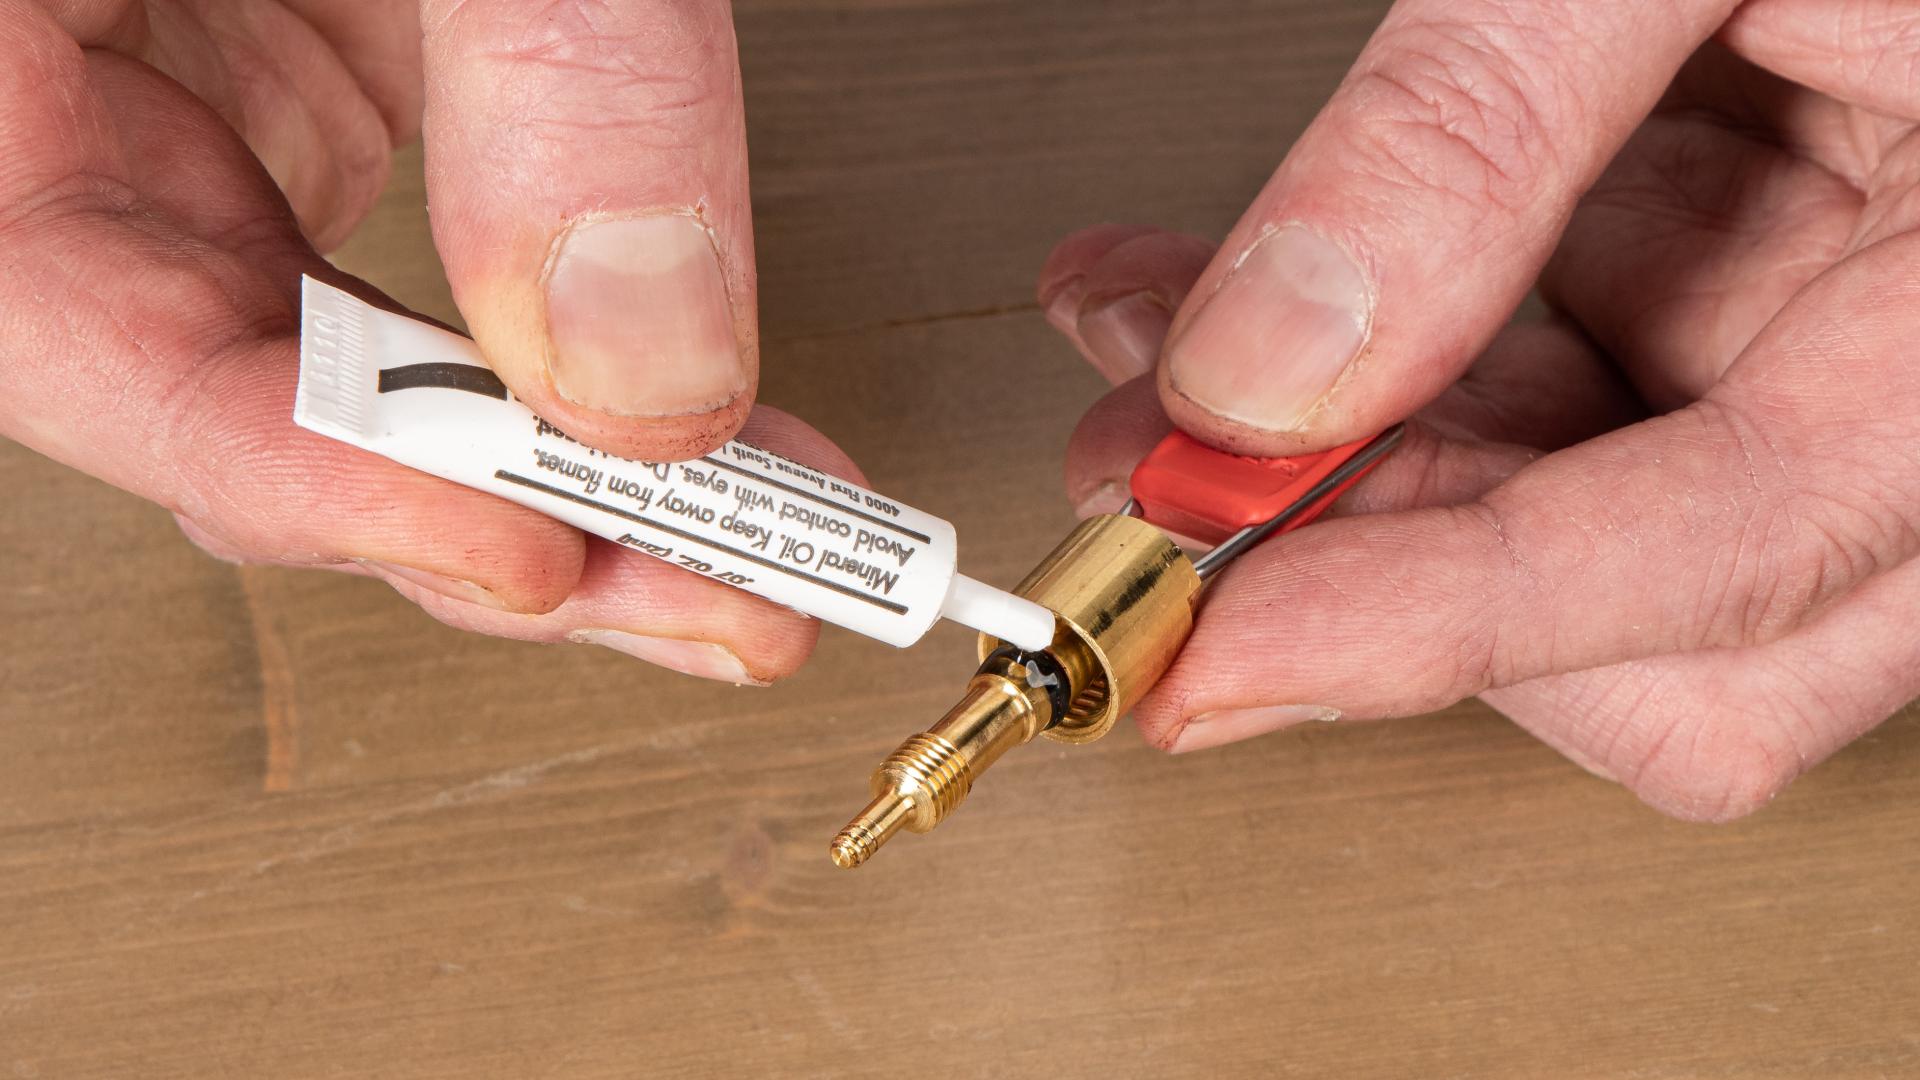
If the spherical seal is in poor condition, replace it with a new one and put the check valve back in place. A drop of oil is also a good idea here.

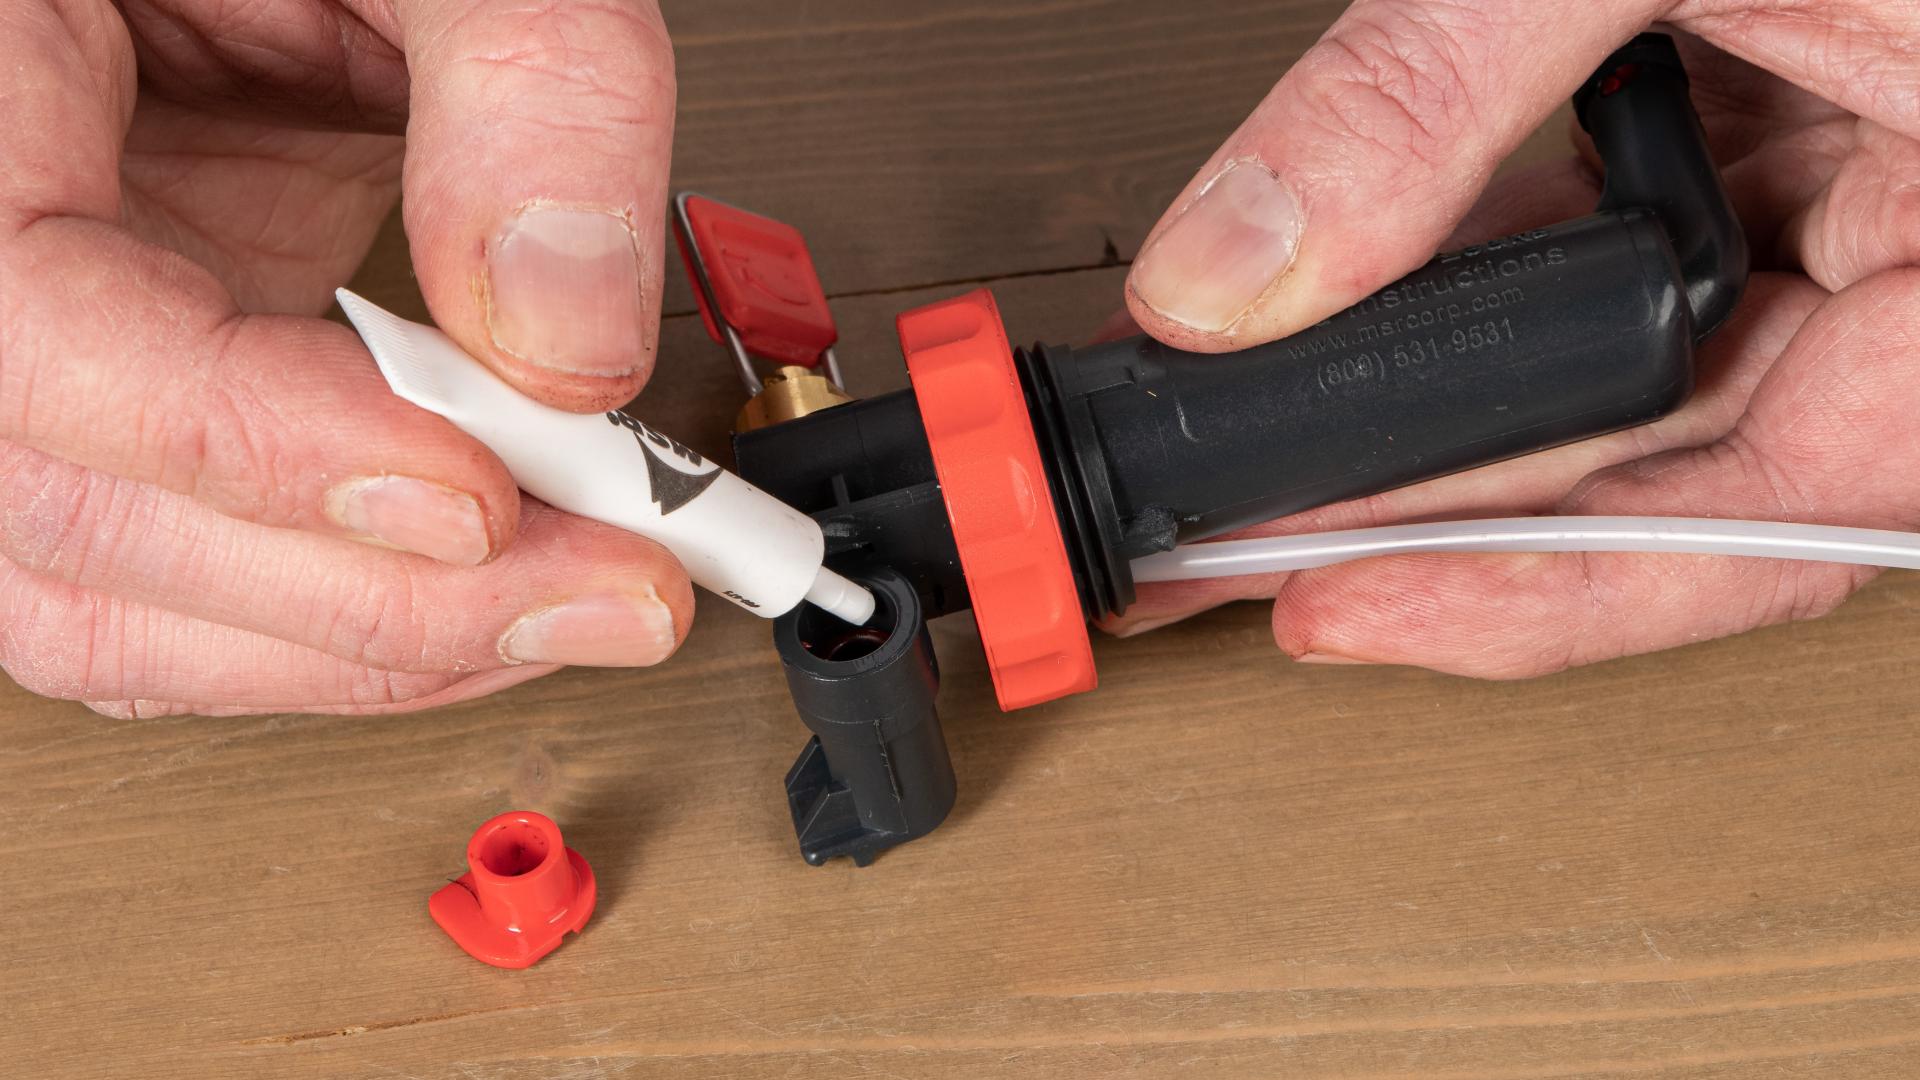
At the bottom of the pump piston you will find the fuel line connection. This is also easy to remove for inspection or repair. To do this, first remove the piston as described in step 2.
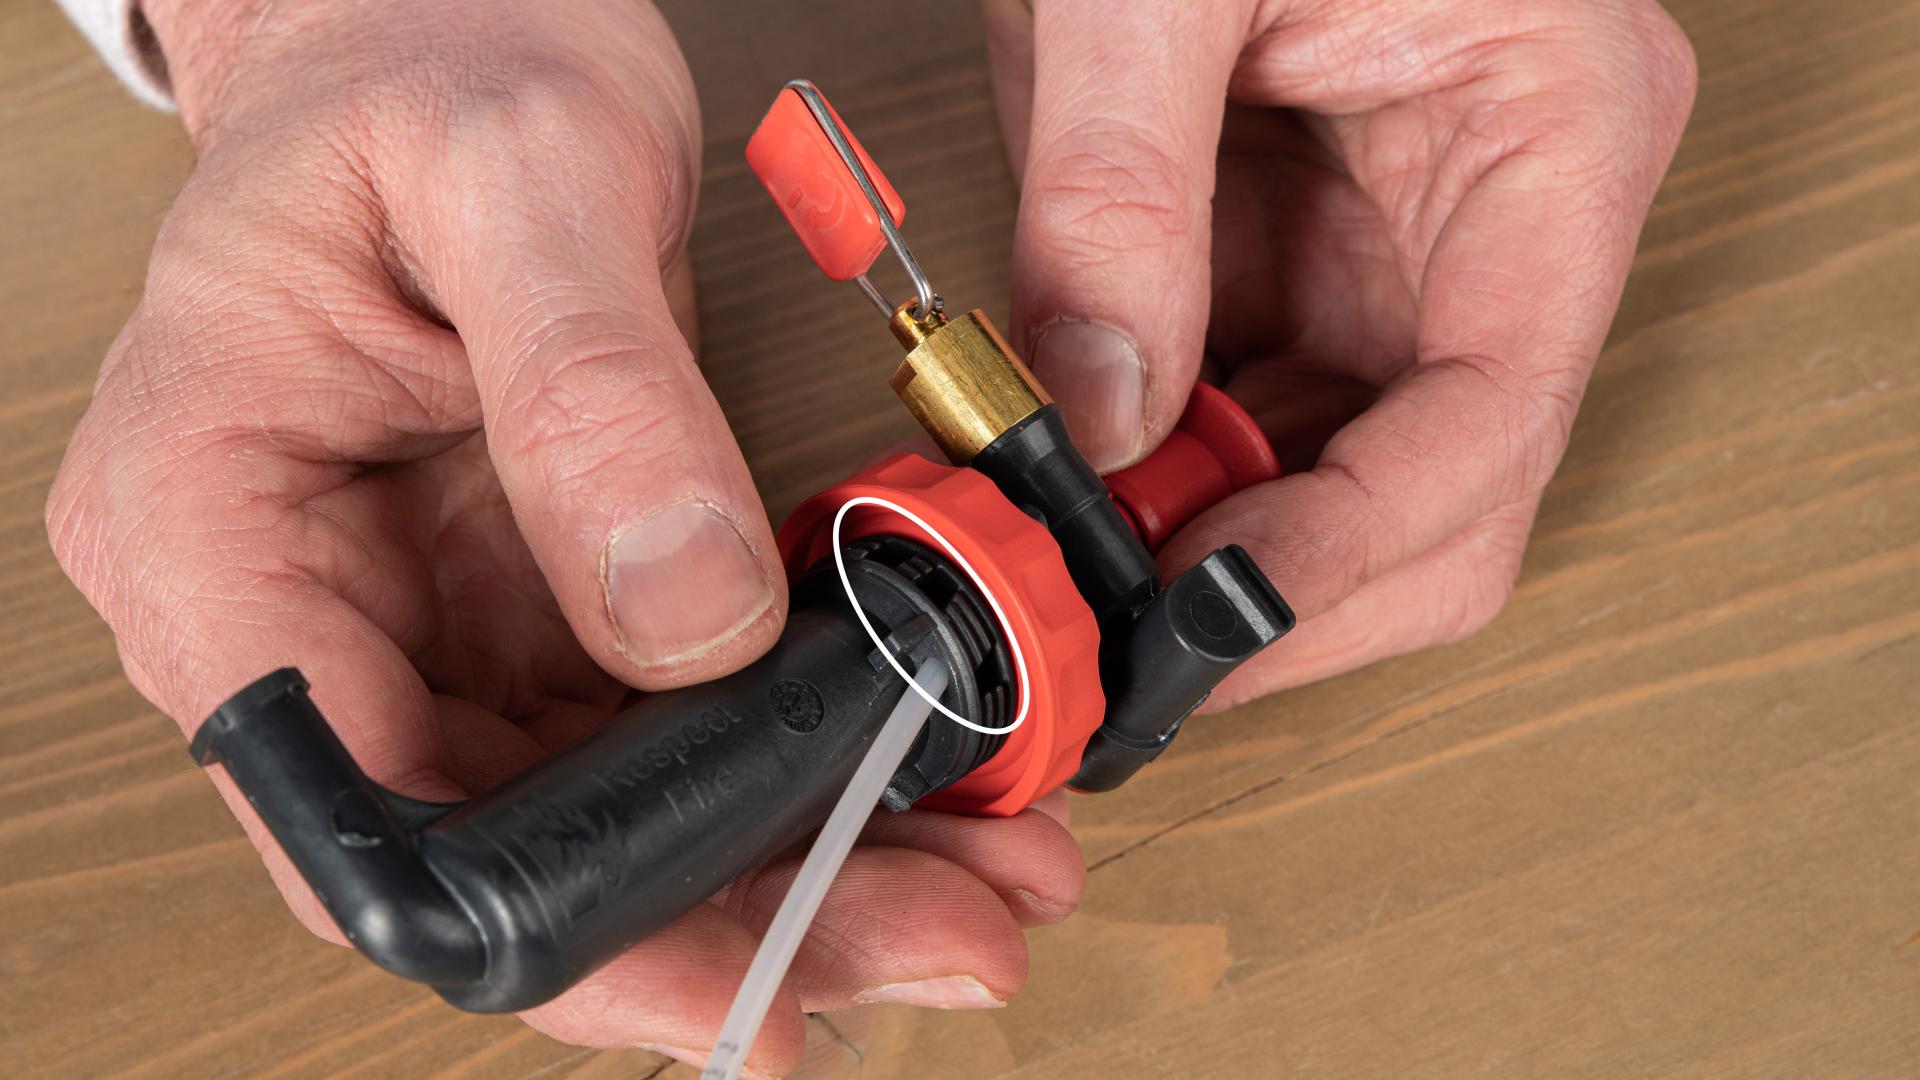
Use the MSR tool to loosen the red fuel line bushing a quarter turn counterclockwise. Check that there are no cracks or tears in the bushing. In that case, replace the bus with a new one.
You will find an O-ring on the inside where the bushing goes into the pump housing. If it has cracks or has dried out, replace it, if the O-ring is only a little dry, apply a little oil. If in doubt, it is best to replace the ring.
After lubricating or replacing the O-ring, you can reassemble the bushing and replace the piston.
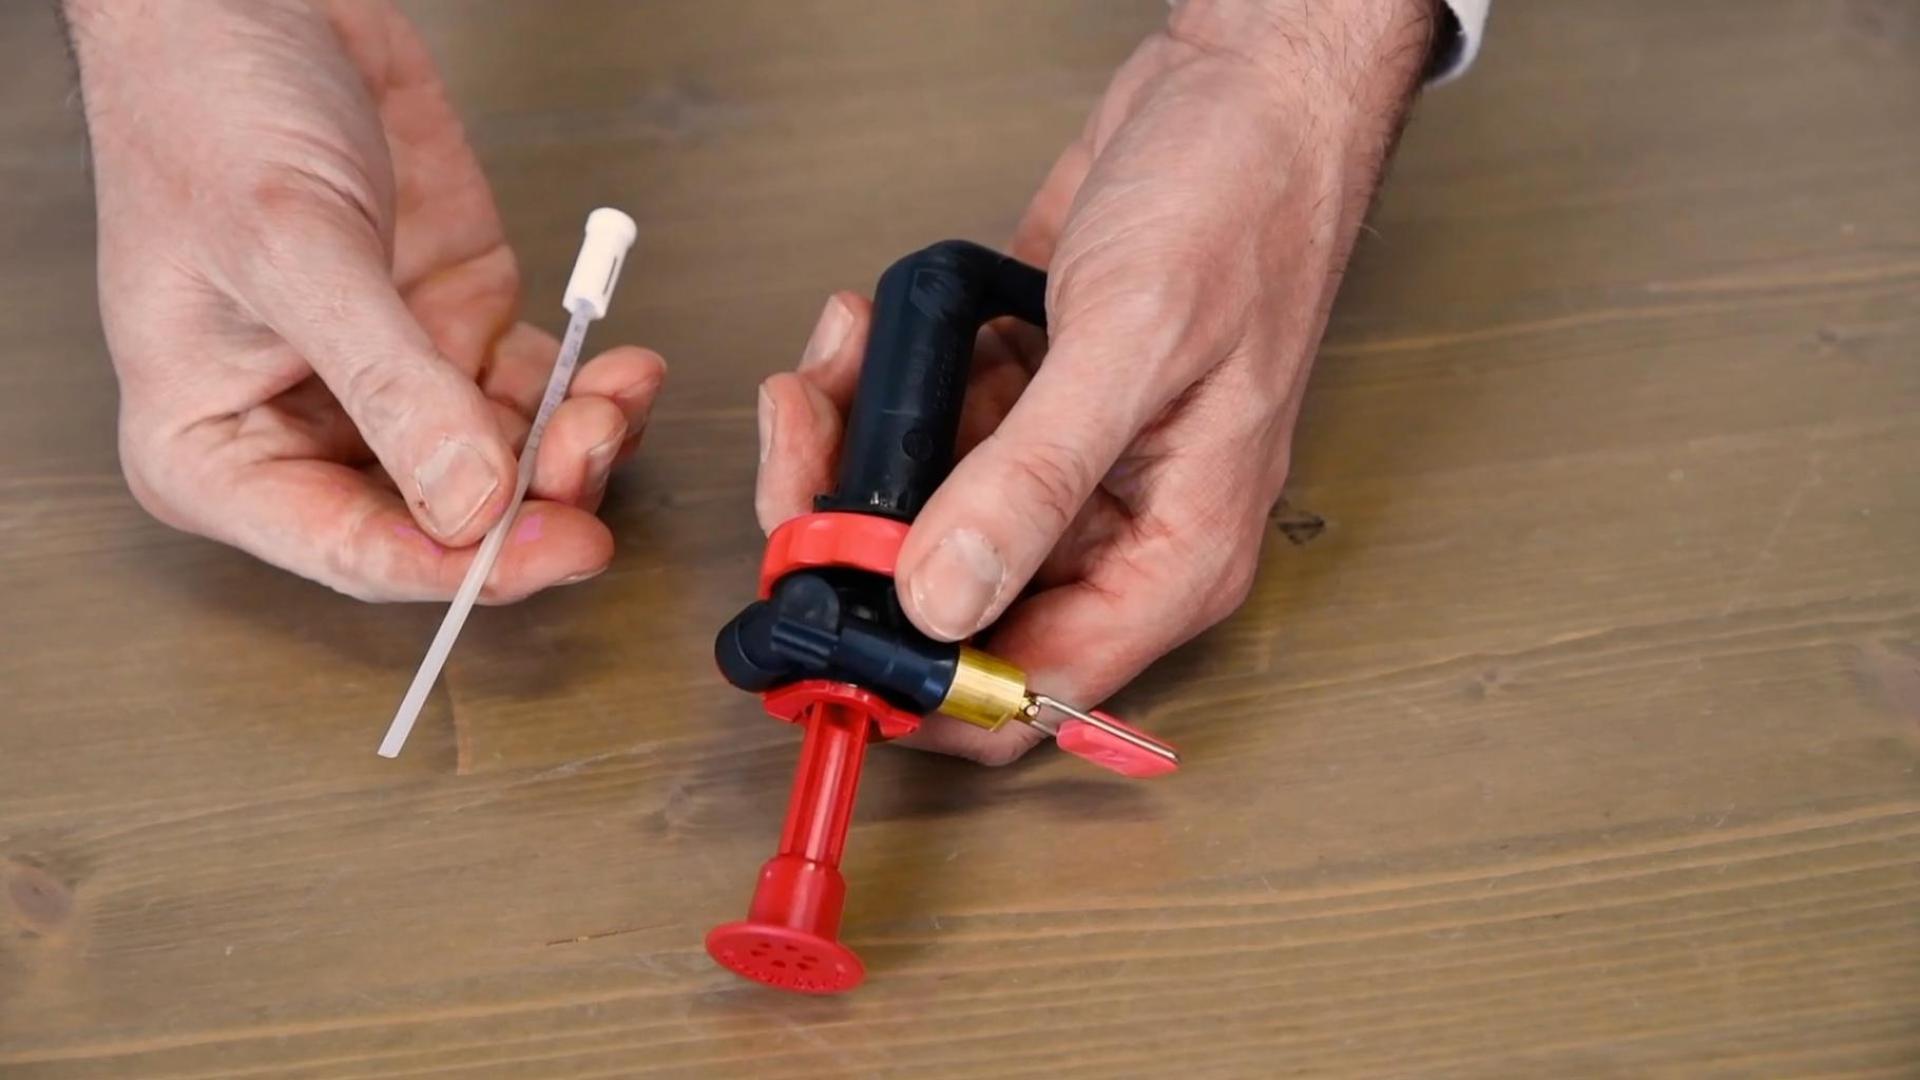
Then the fuel filter. If there is not enough fuel coming through the system, there is a chance that the fuel filter is clogged. Check whether the fuel filter is dirty or clogged and, if so, replace it. Replacing is simple: the filter - and the tube to which the filter is attached - are clamped in the pump housing. Just a matter of pulling it off and pushing the new one into place.
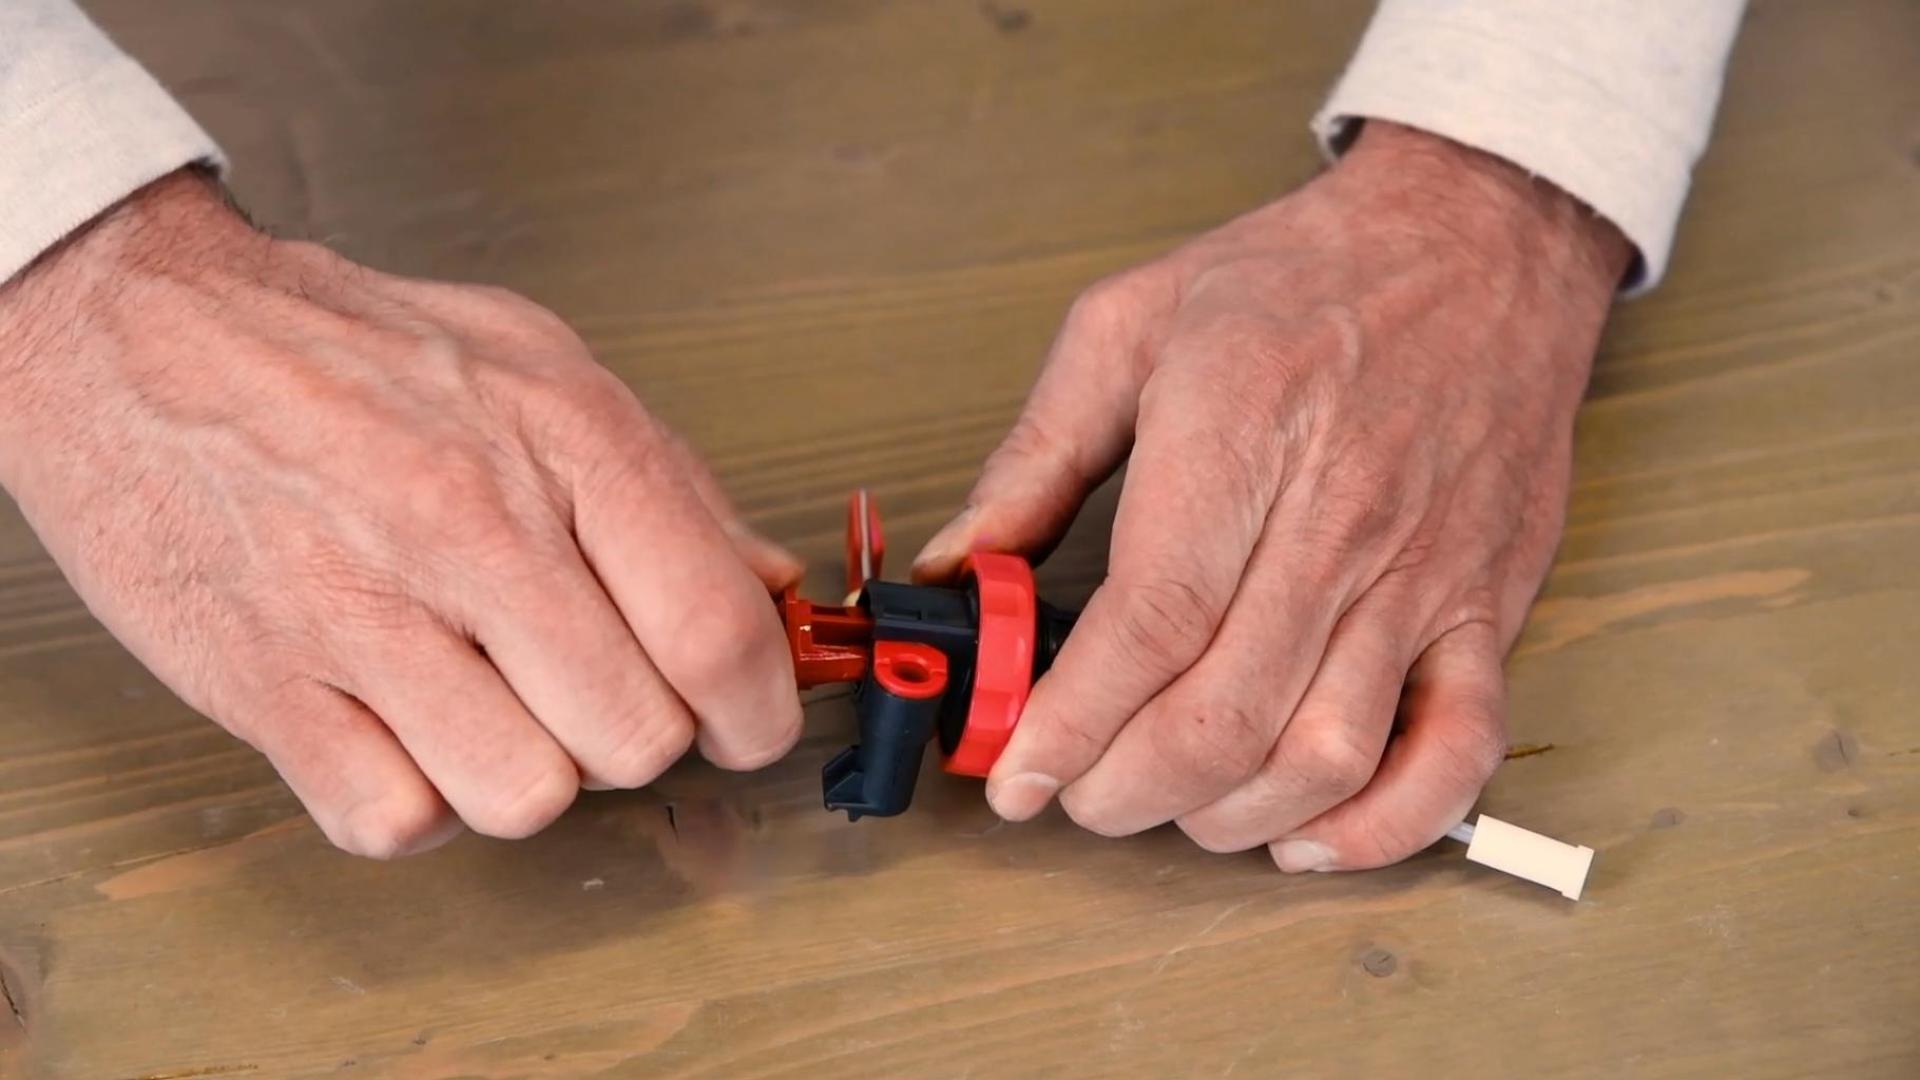
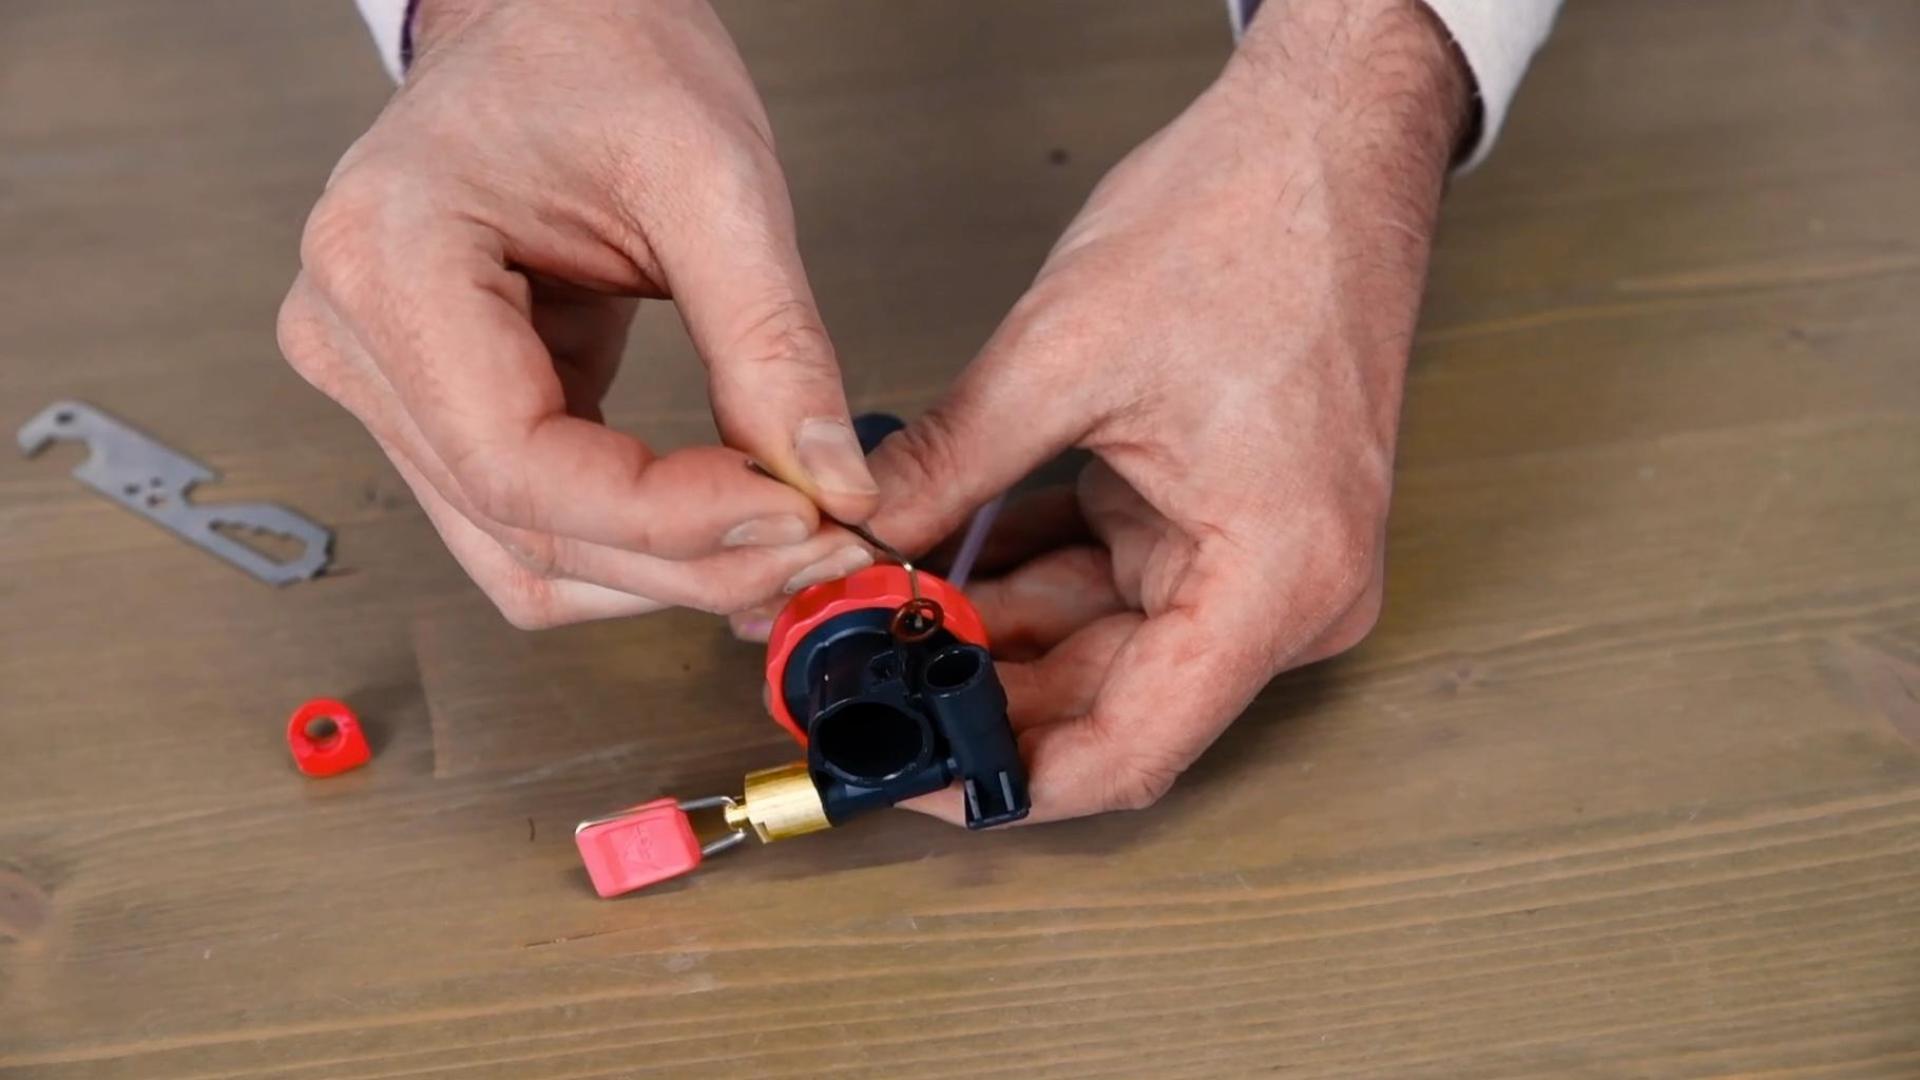
Finally check the O-ring of the control valve.
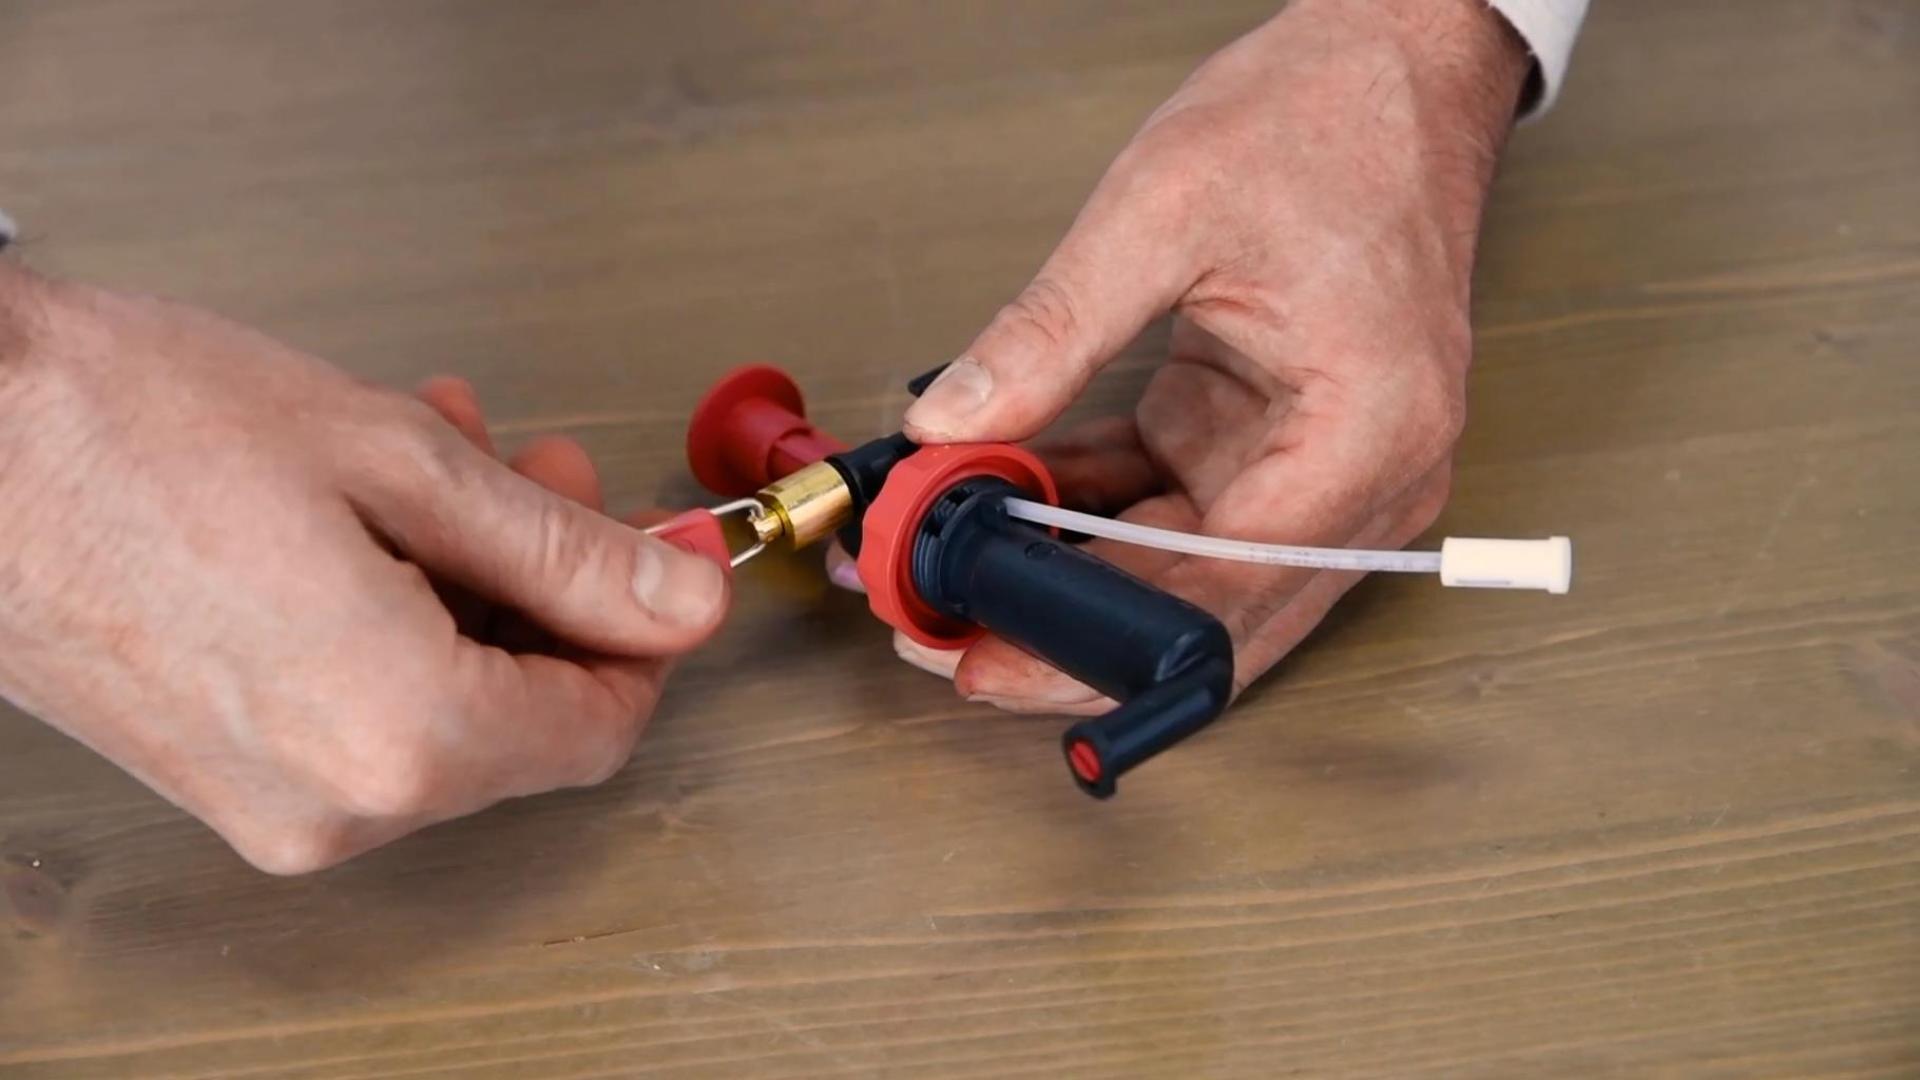
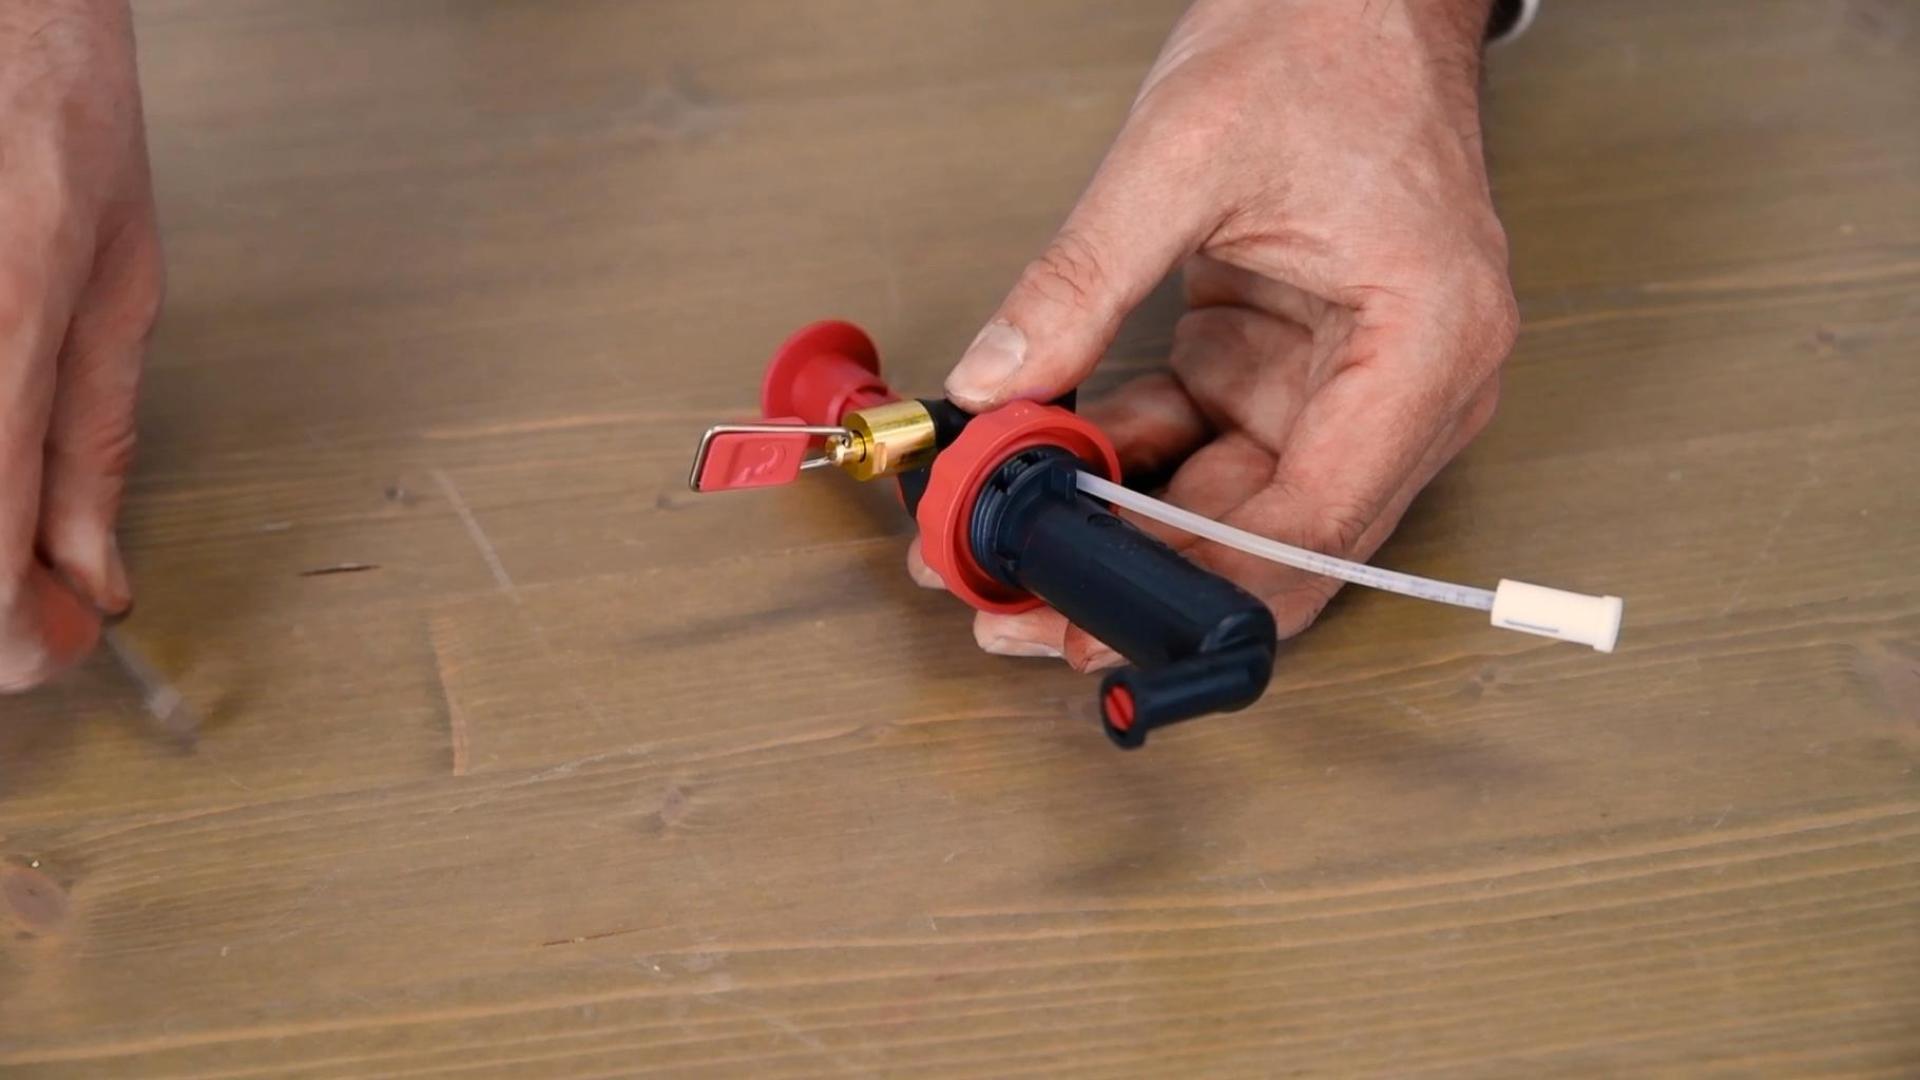
The control valve is secured with a so-called brass 'stop nut'. You loosen the stop nut with the supplied MSR tool. To take the control valve apart, first loosen the stop nut a few turns (always counterclockwise) and then the control valve itself a few turns.
Do this alternately until the control valve is completely loose and can be removed. Now you can access the O-ring itself. Check for damage or dryness and replace it if necessary. Then reassemble the control valve in reverse order. To do this, retighten the stop nut and control valve by tightening them alternately with a few turns.
Result
Your burner pump is completely ready for the next trip. And most importantly, safe to use. Proper and timely maintenance of your belongings prevents premature wear and tear. And so they last much longer, great for you and great for the environment.
And done! What a feeling!
Did you manage to fix it?
Yes!

Meer tutorials van Bever