Replacing a bicycle chain

Bike chains get worn off and sometimes are in need of a replacement, to prevent accidents and extra repairs.
Remove the old chain
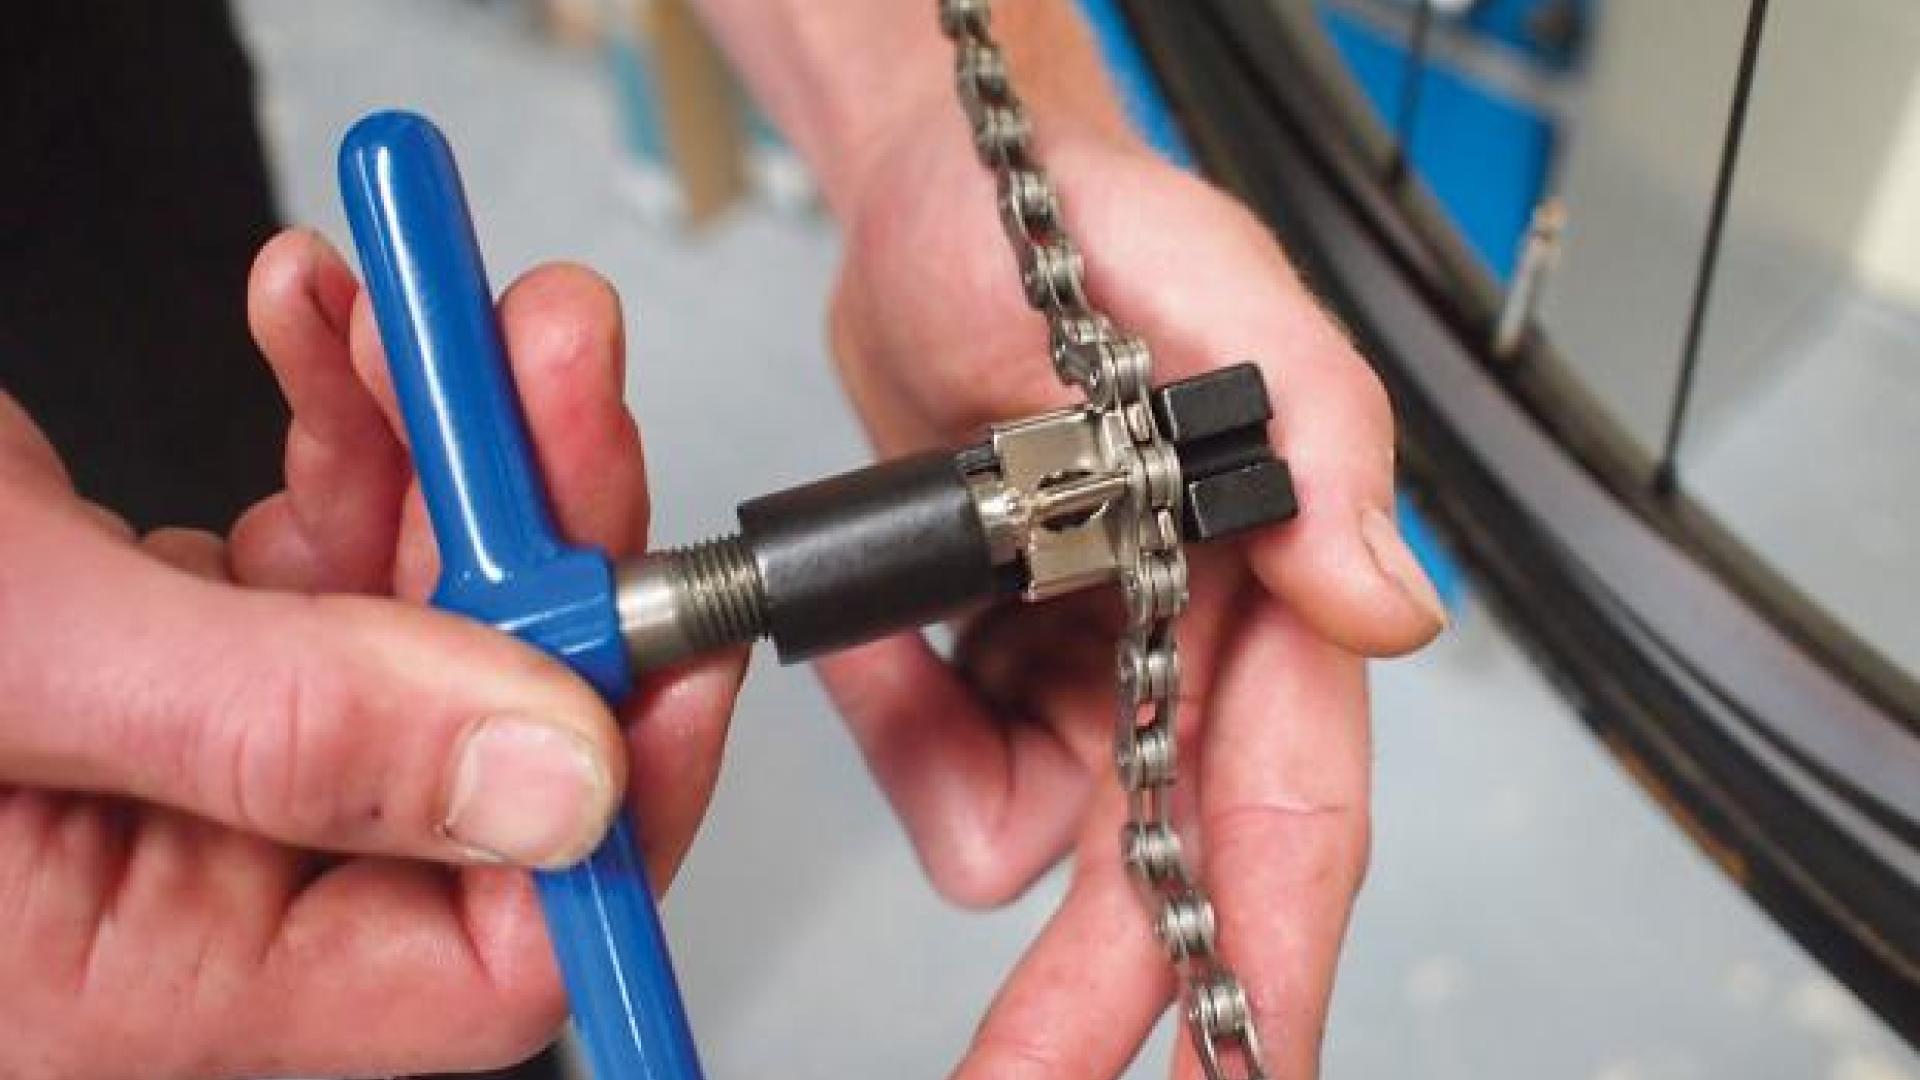
First, jettison the old chain. If it has a quick link (a two-piece link that can be squeezed together to unfasten it), you can compress this to split the chain. We’re working on a Shimano chain – like most brands, you’ll need to use a chain tool to push one pin out to split the chain. Slot the links between the teeth of the tool and give it a twist until the pin pops out.
Clean the cassette
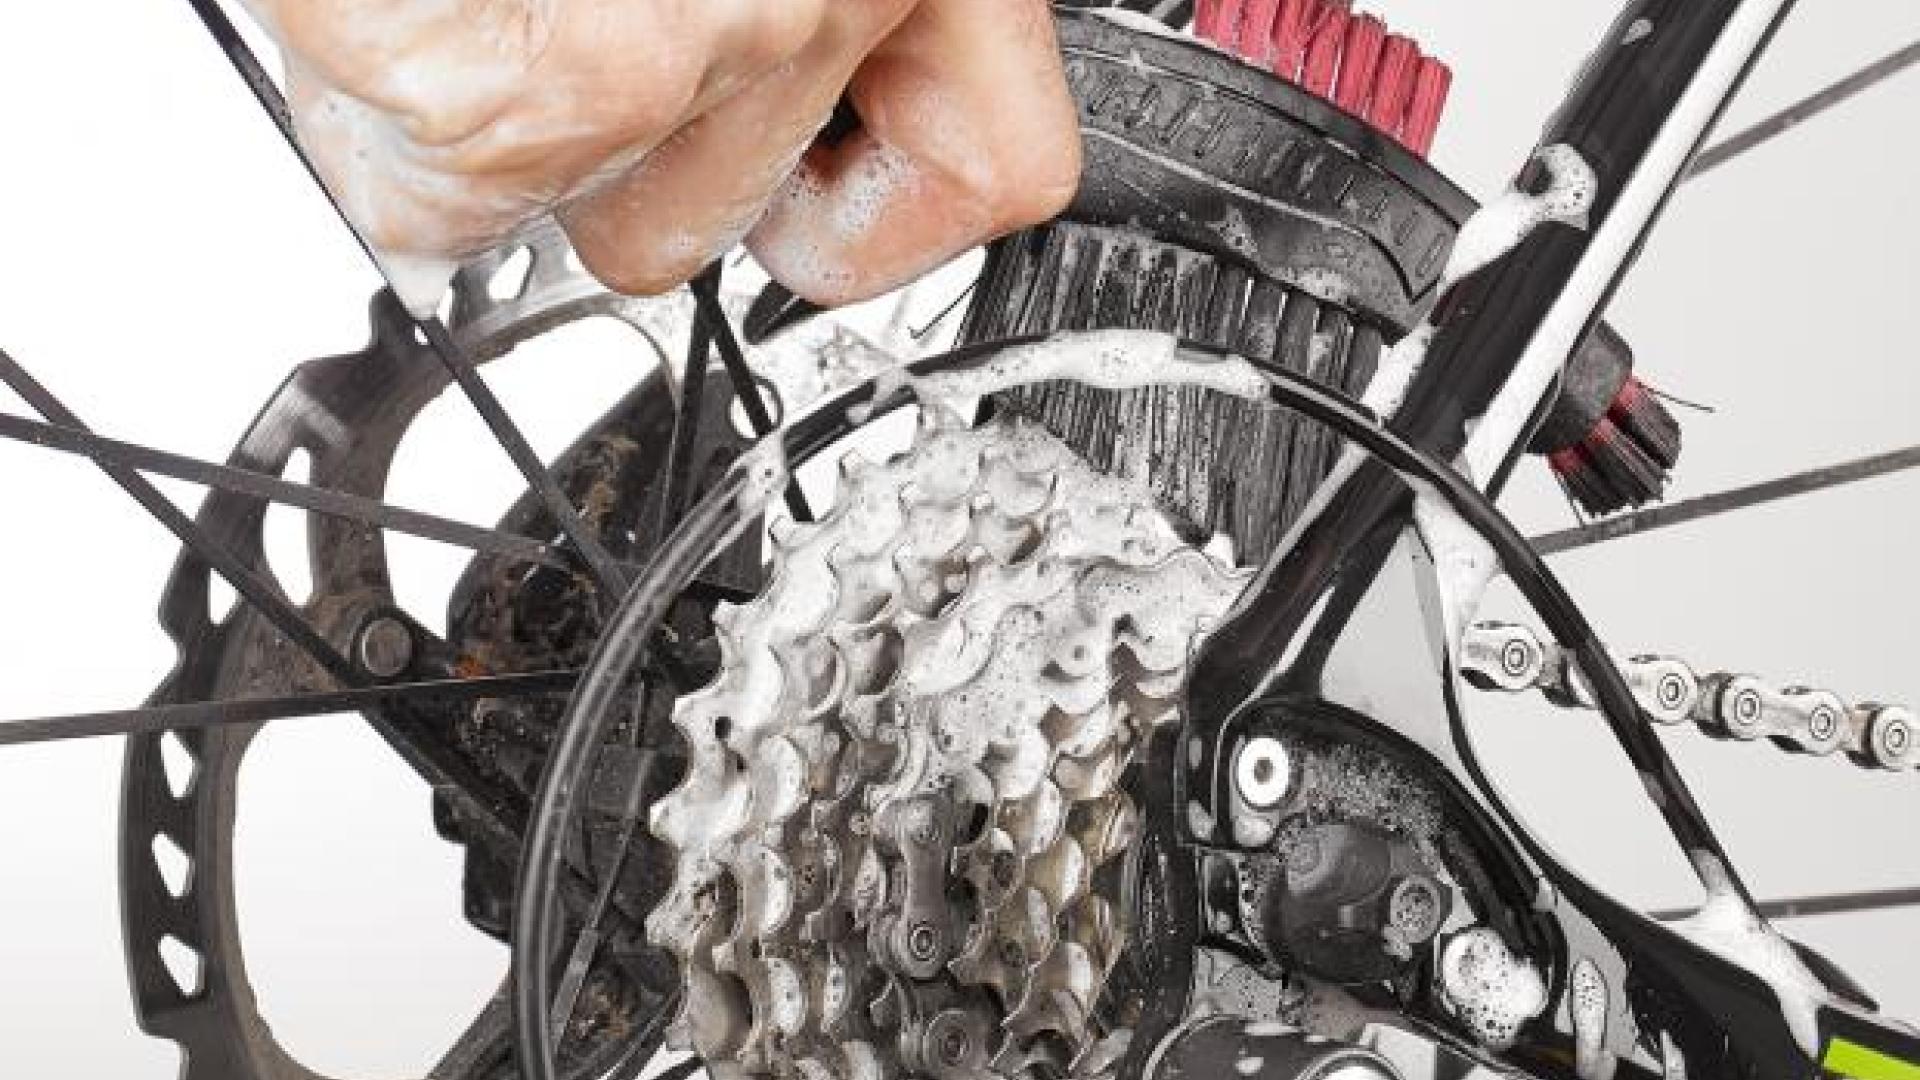
Now is a good time to clean and inspect your chainrings and cassette. Check that the profiles of all the teeth are symmetrical. Once excessively worn, they begin to take on a profile like a shark’s tooth as the chain eats into them. Assuming everything looks healthy, scrub both down with some solvent – no point fitting a clean chain onto dirty cogs!
Thread the new chain
Shift down to the smallest sprocket and chainring. Thread the new chain through the front derailleur cage. Next pull it across and loop it over the rear cassette and round the upper jockey wheel on the derailleur. Thread it through the cage, being careful to keep inside the divider between the plates, and then around the lower wheel.
Work out the correct length
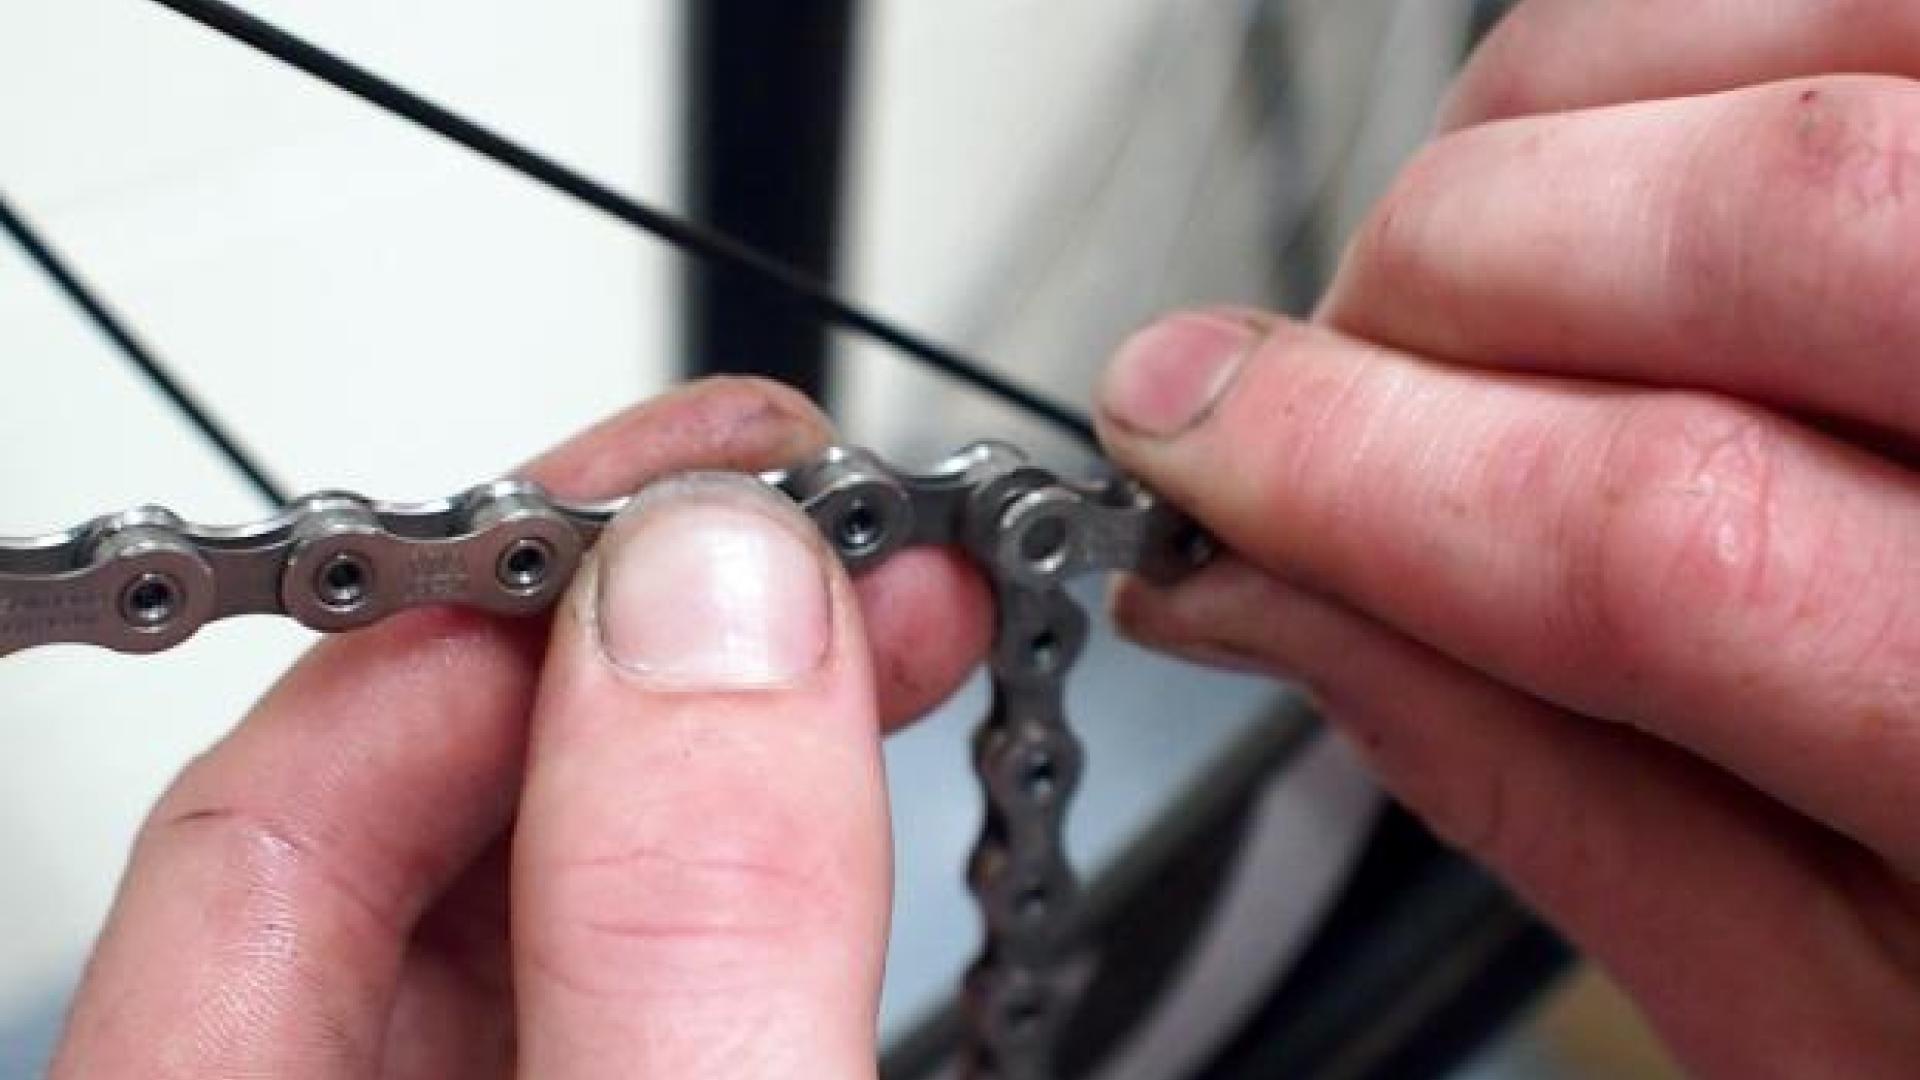
Your new chain will need to be cut to size. With the chain around the smallest sprocket and chainring, pull the ends together so they meet below the chainstay. You want to find the longest possible length that still generates some tension on the rear derailleur, so that it won’t drag. Remember, you’ll need to join an internal link to an external one.
Cut to size
Shimano recommends that the open end faces backwards. Having noted the link that you need to sever, it’s time to grab the chain tool again. Drop the link you want to work on in between the jaws of the tool. Turn the handle until the pin starts to push the centre of the link, Be careful that everything is aligned so as not to damage the tool.
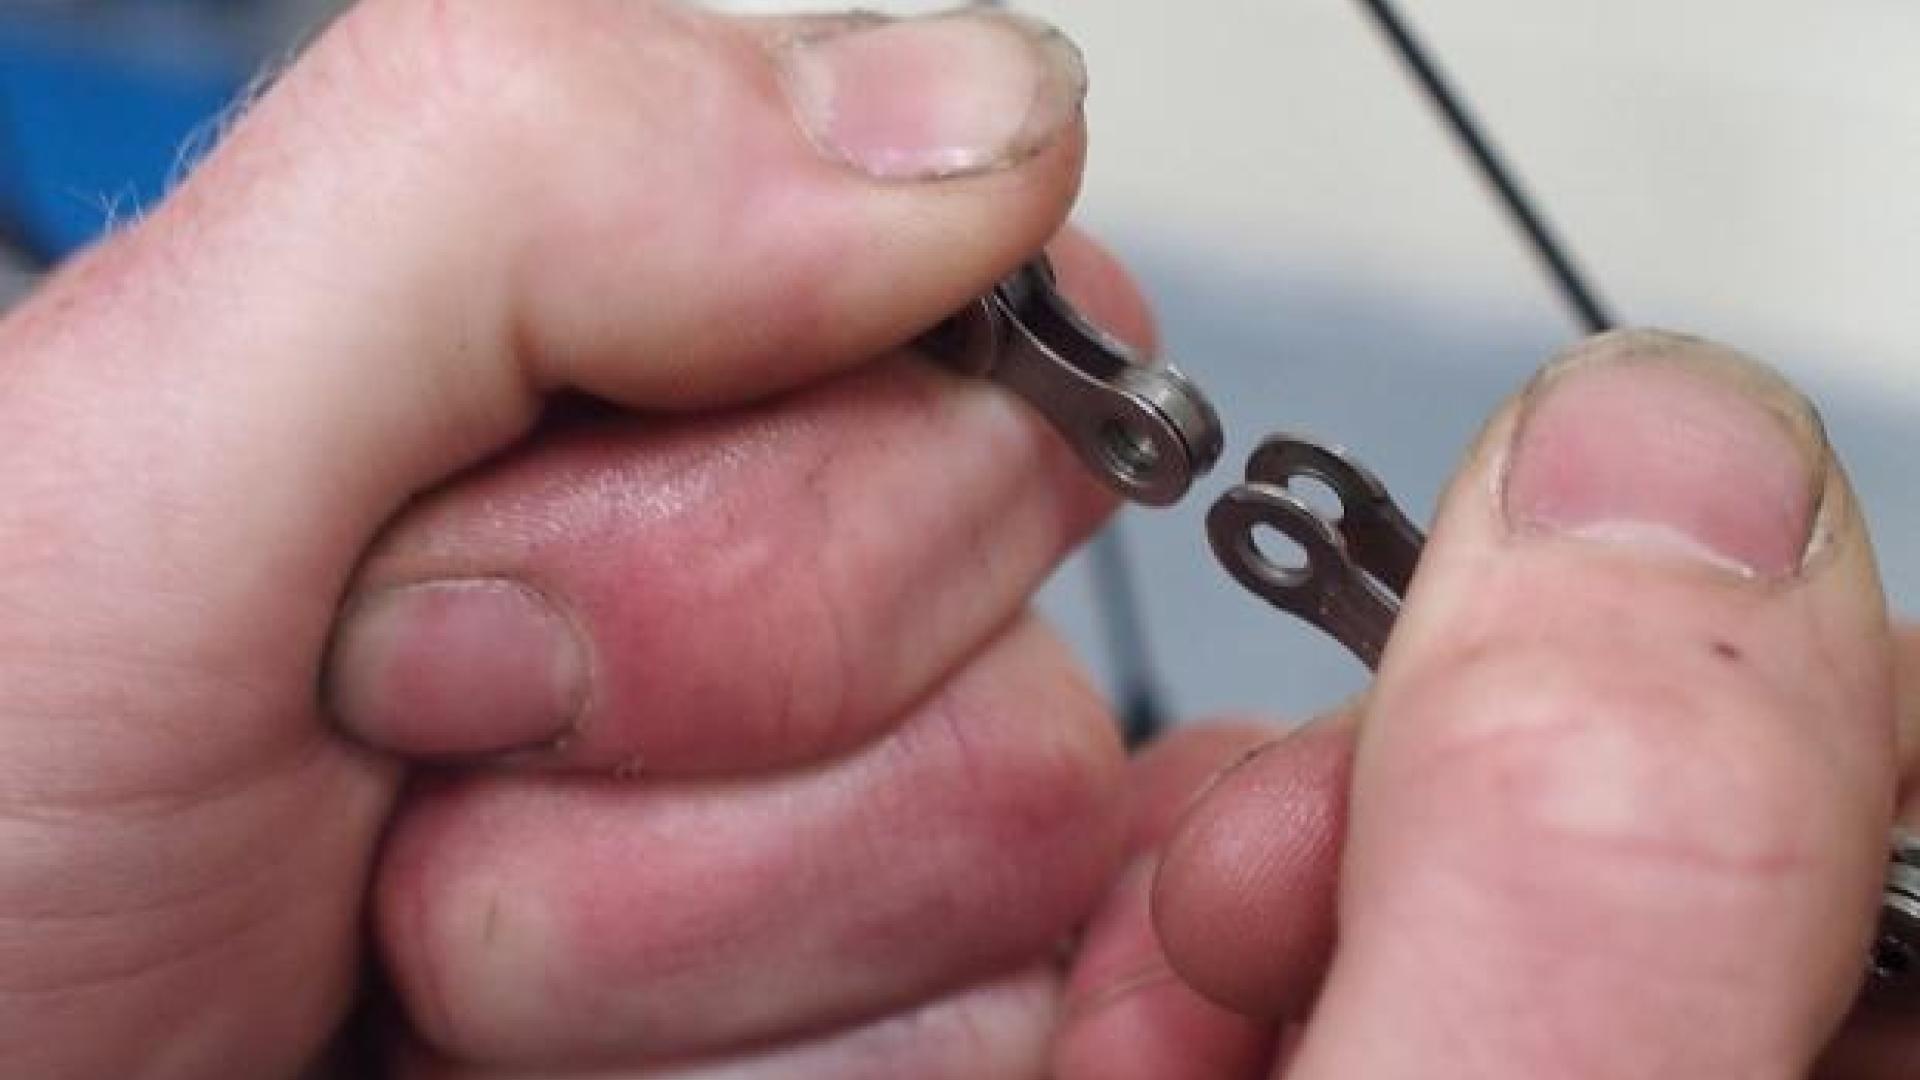
Insert the pin
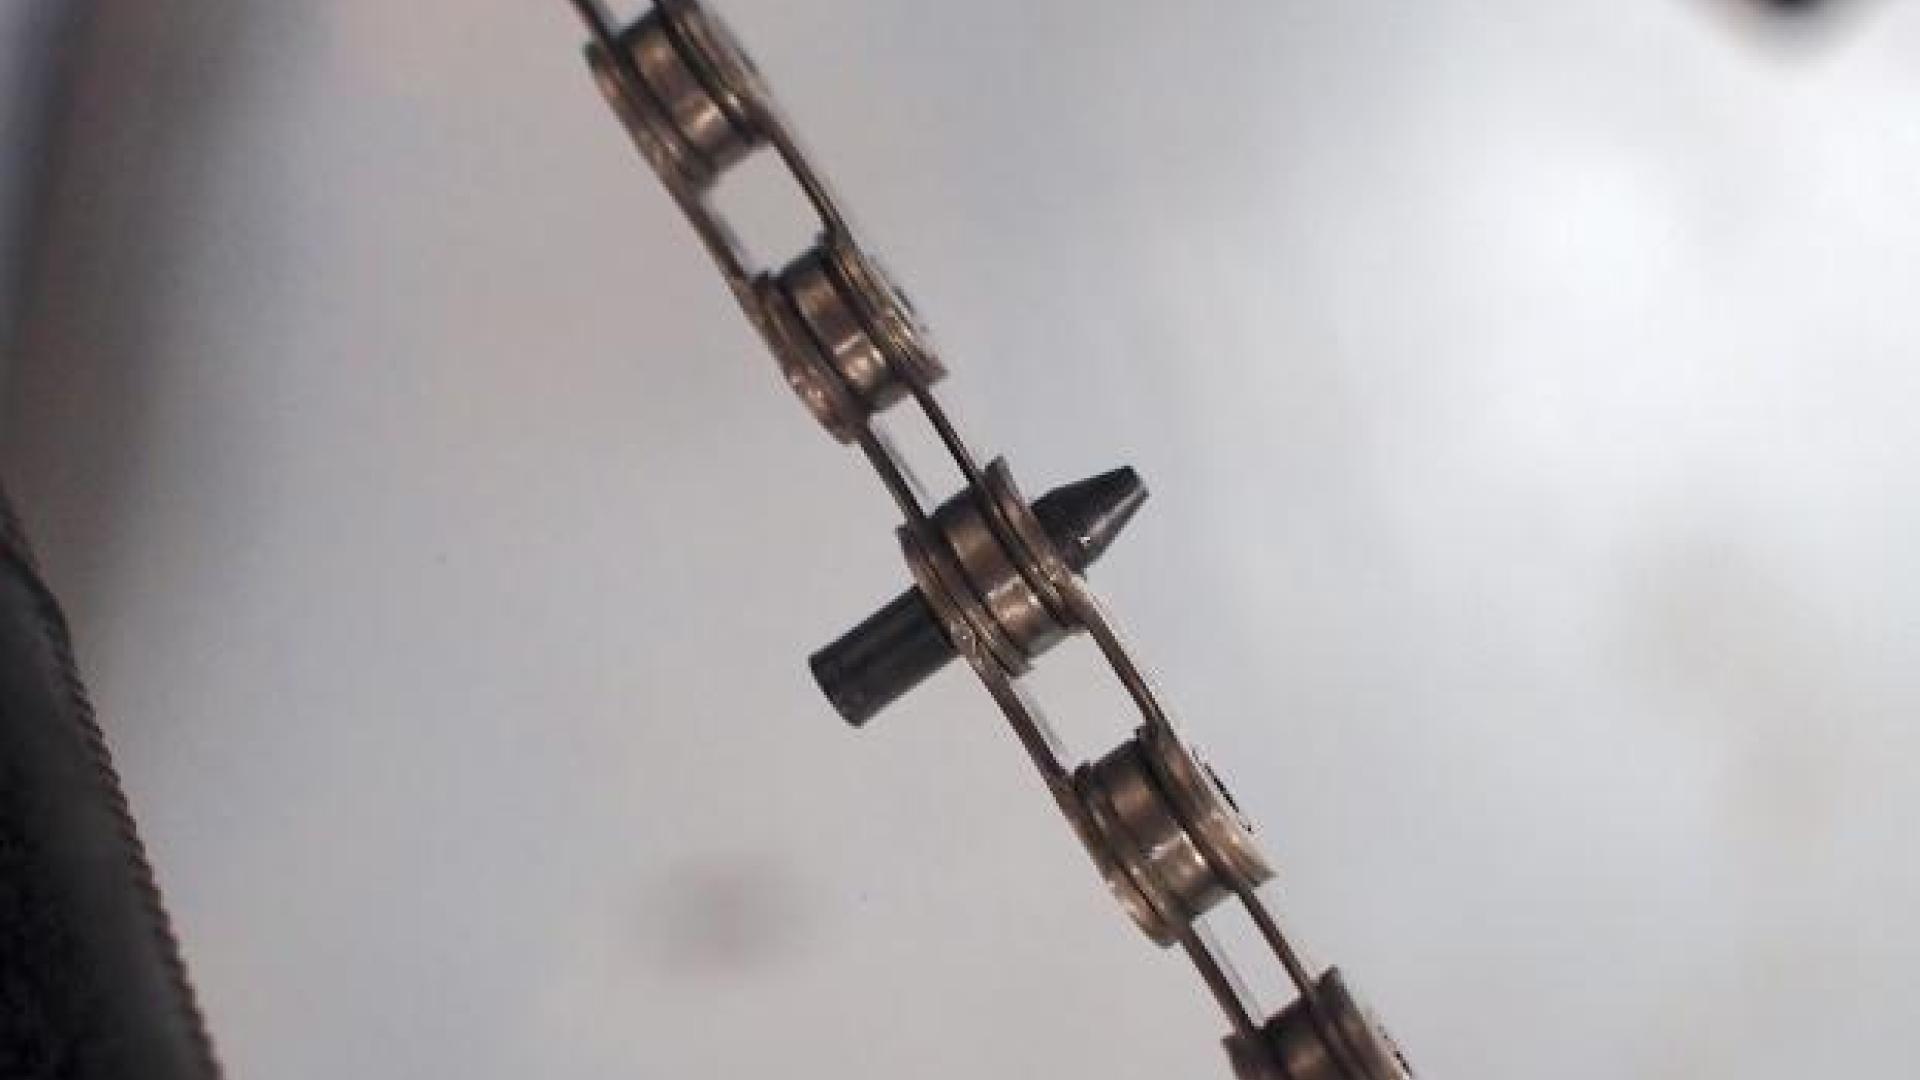
Find the pointy end of the joining pin that came packaged with your new chain. Take the ends of the chain and slot them together. Facing the bike from the drive side, push the pin into the chain to hold it together. It should stay in place without you needing to hold it. Pick up the chain tool again and unscrew the handle a few turns.
Push the pin
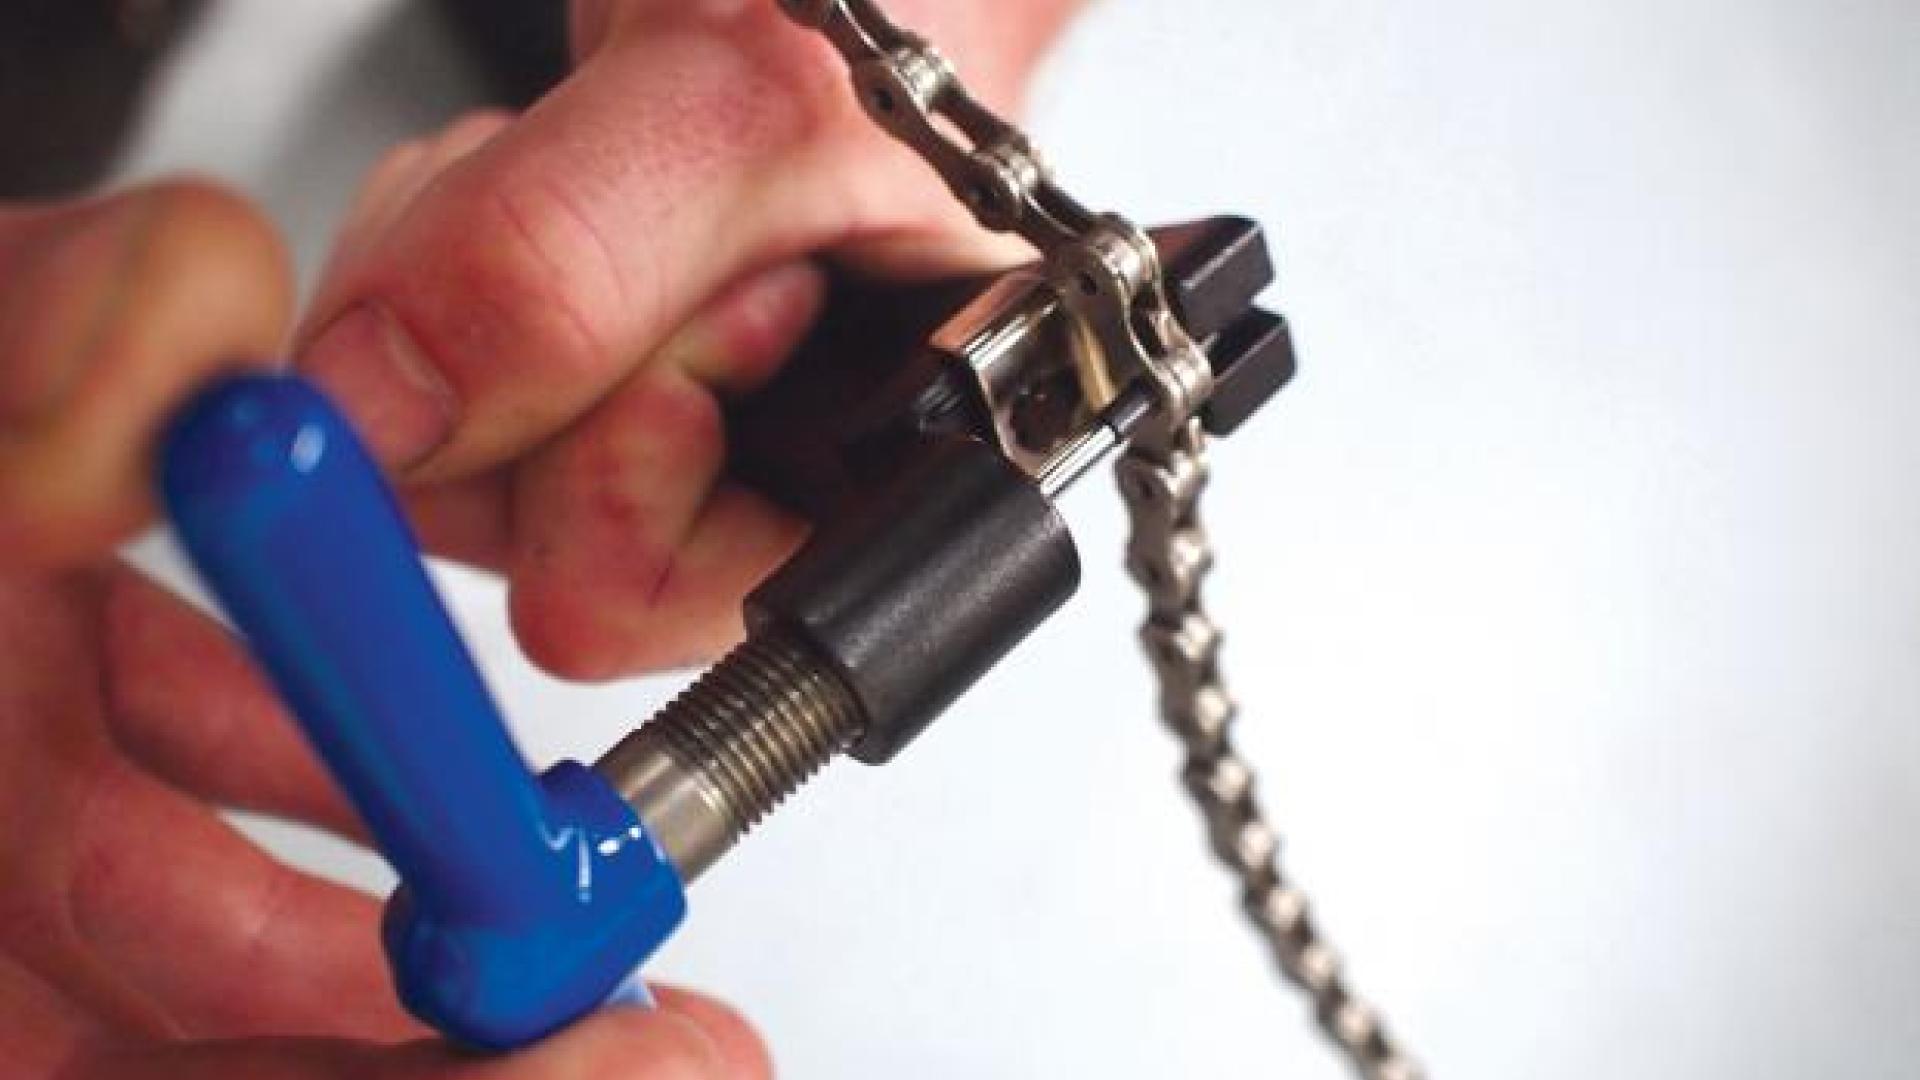
Slot the link held together with the pin into the chain tool. Screw the handle down to push the pin home. As the pin becomes almost flush with the outer plate of the link, it will become easier to turn the handle. Work very slowly – you want the end of the pin to be exactly flush with the outside of the plate. Once it’s there, remove the chain tool.
Last step
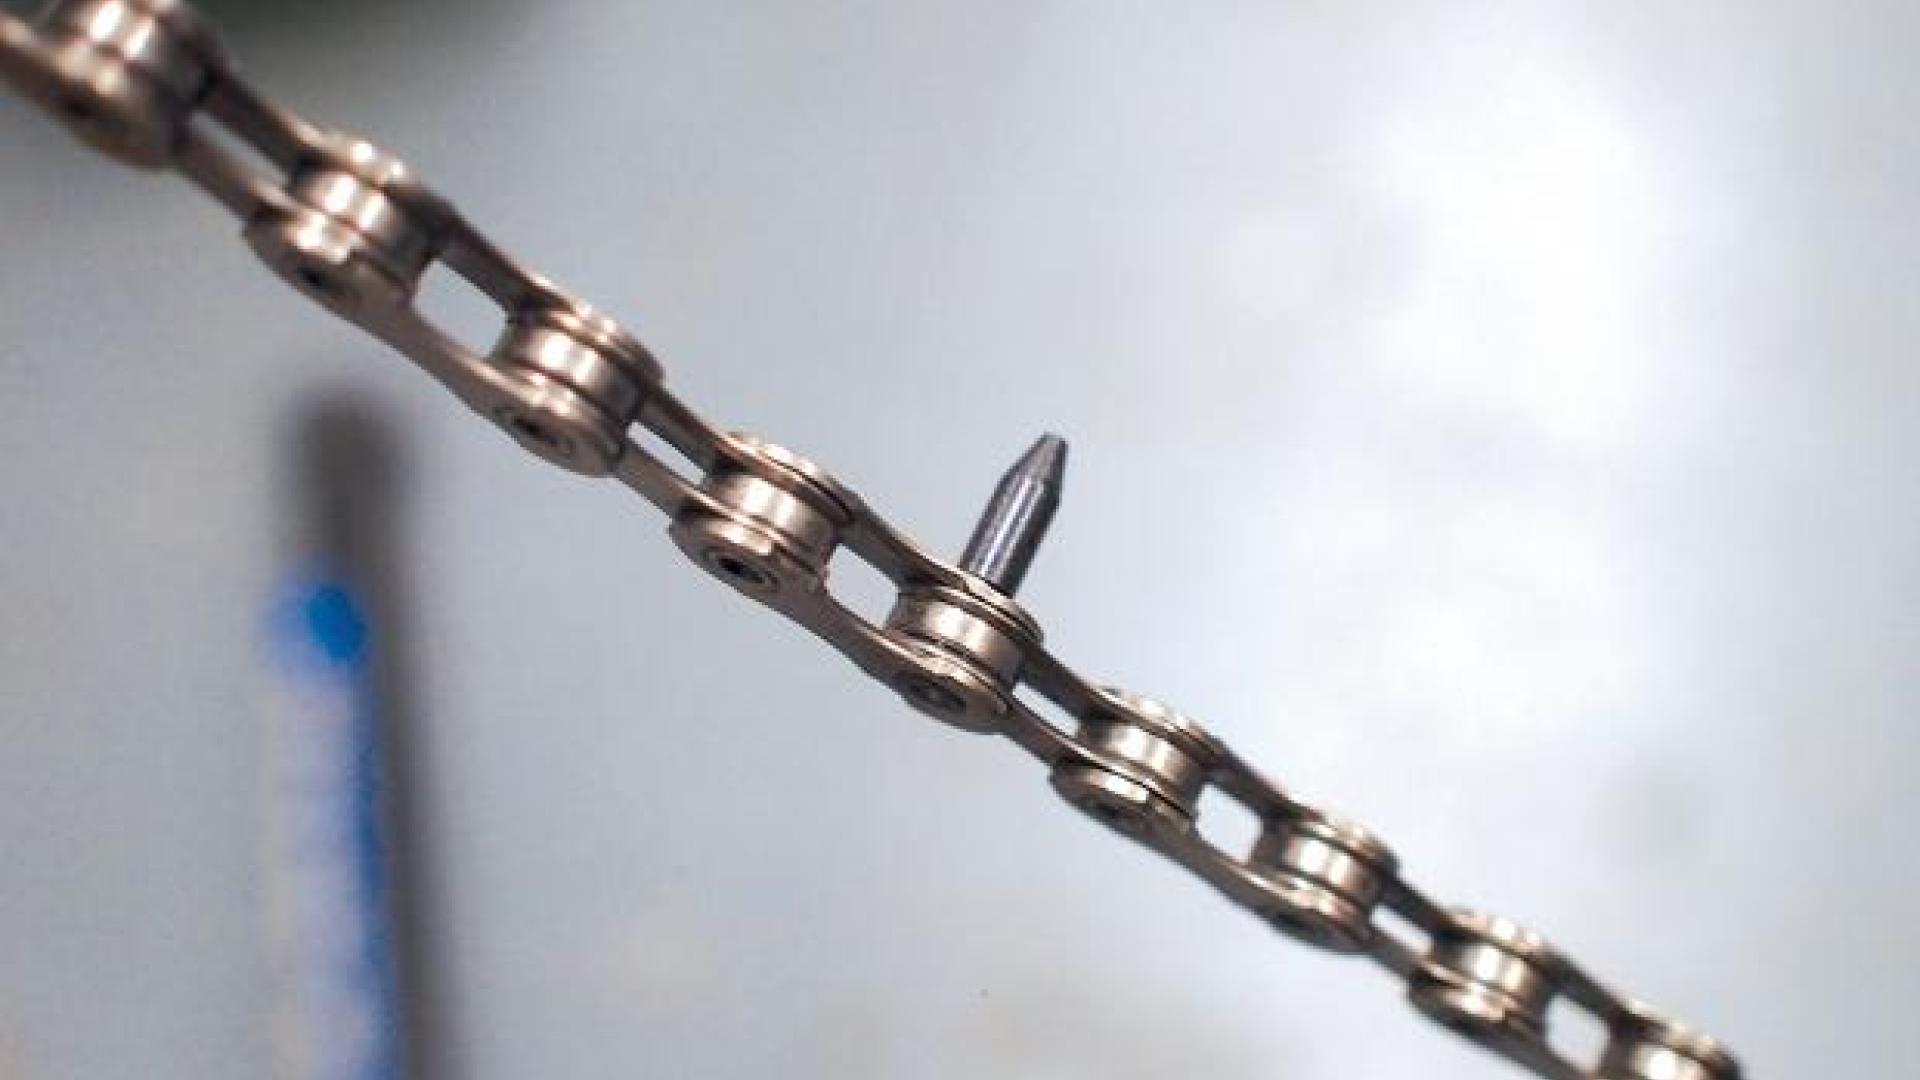
Check the link you’ve joined moves freely. If it doesn’t and the pin is protruding more than the others in the chain, reattach the chain tool and give it a little push. If it appears to be in the correct position, try flexing the chain horizontally to free it up. Once you’re happy, snap the end off the back of the pin by giving it a sharp twist using the back of the tool or pliers.
And done! What a feeling!
Did you manage to fix it?
Yes!
