Repairing a hole or tear in a tent canvas
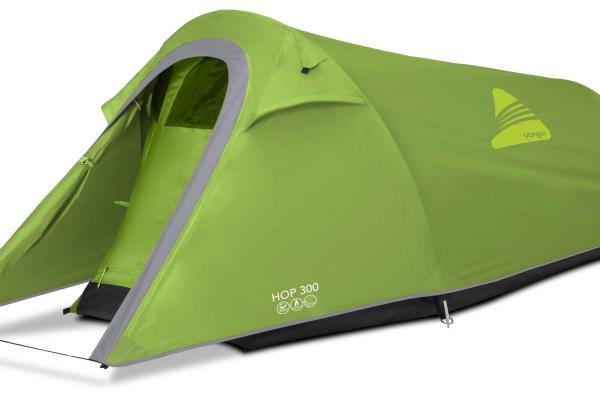
A branch falling on your tent or a tent pole piercing through the fabric: a tent can endure quite a lot. And then you might end up with a hole or tear. Here at Bever, we have excellent repair solutions for this as well. Moreover, you can easily do this repair yourself, whether you're on the go or preparing at home for your next adventure.
Supply needed
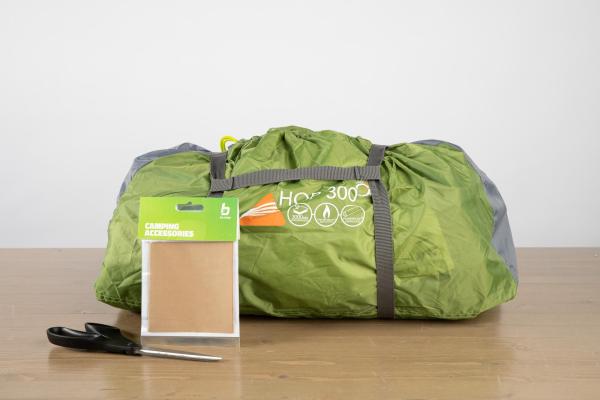
Warning: any repairs done are at your own responsibility. See terms of use.
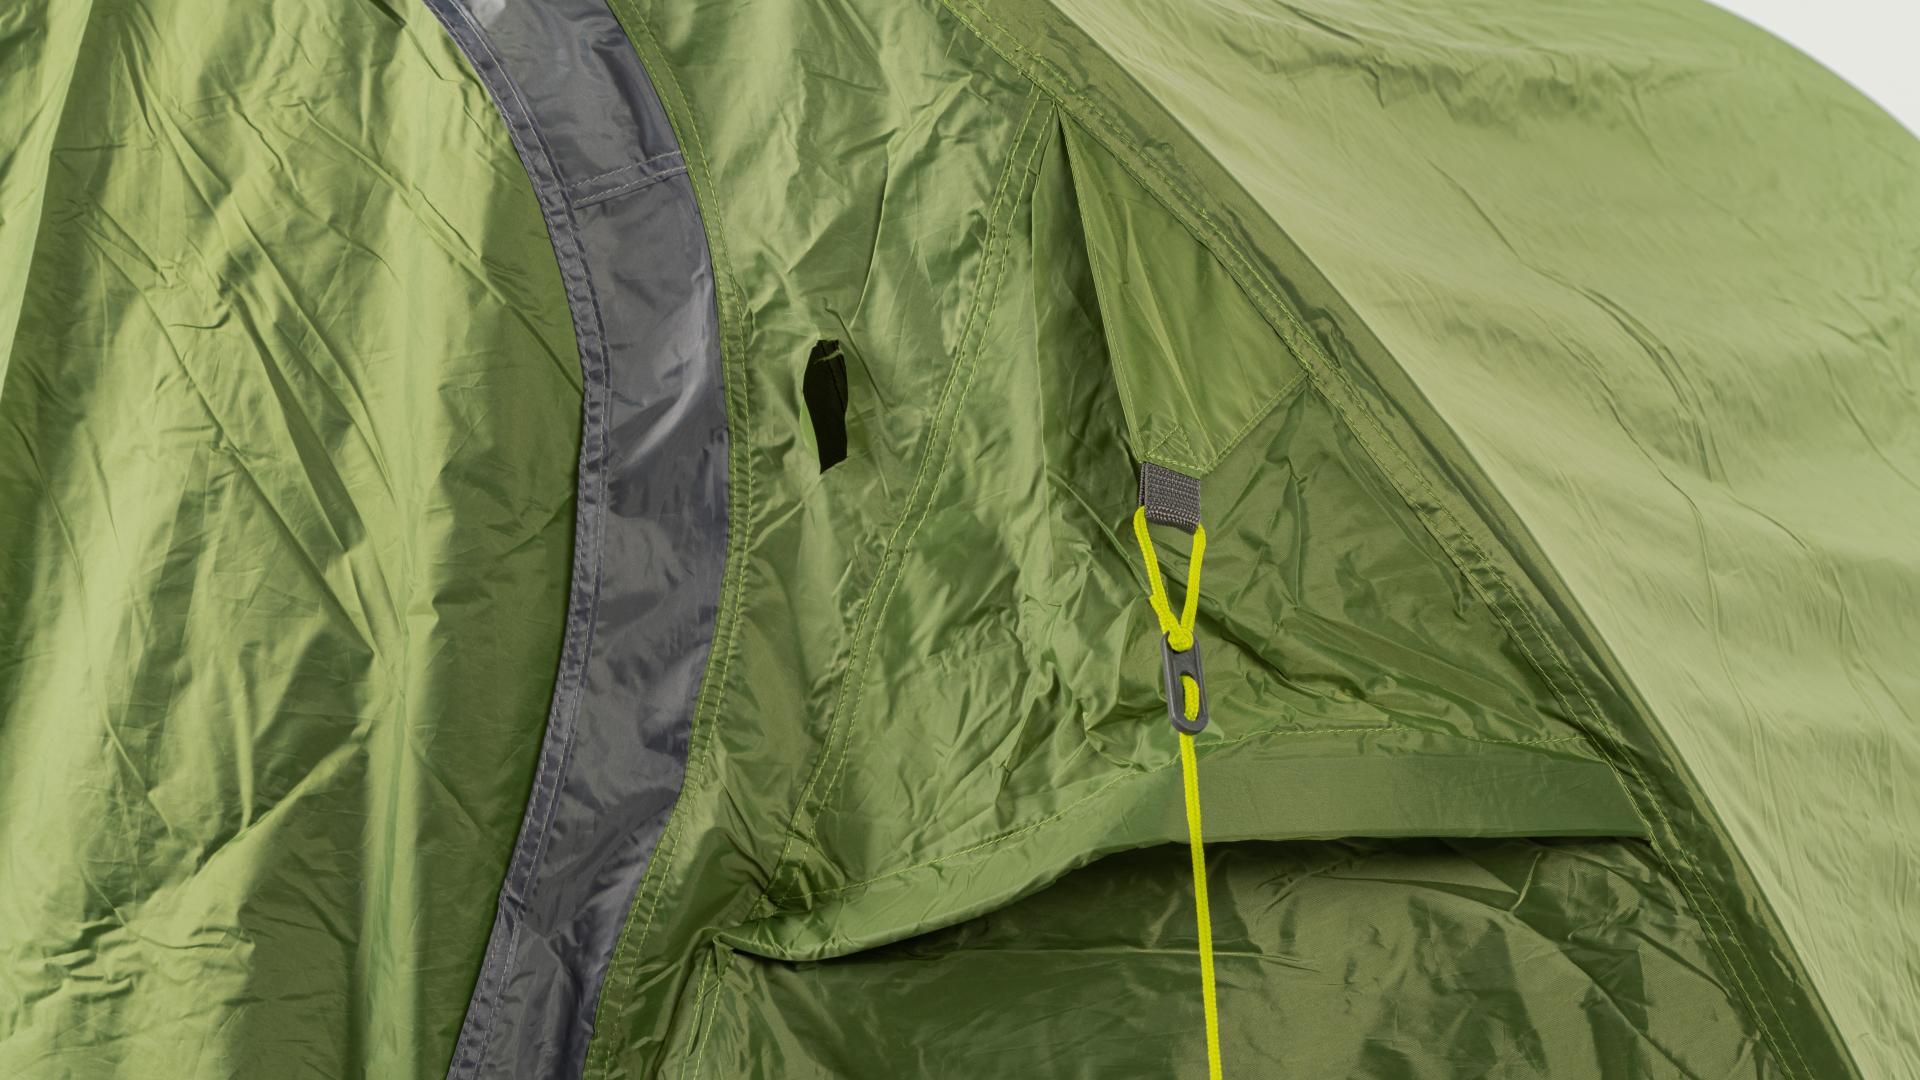
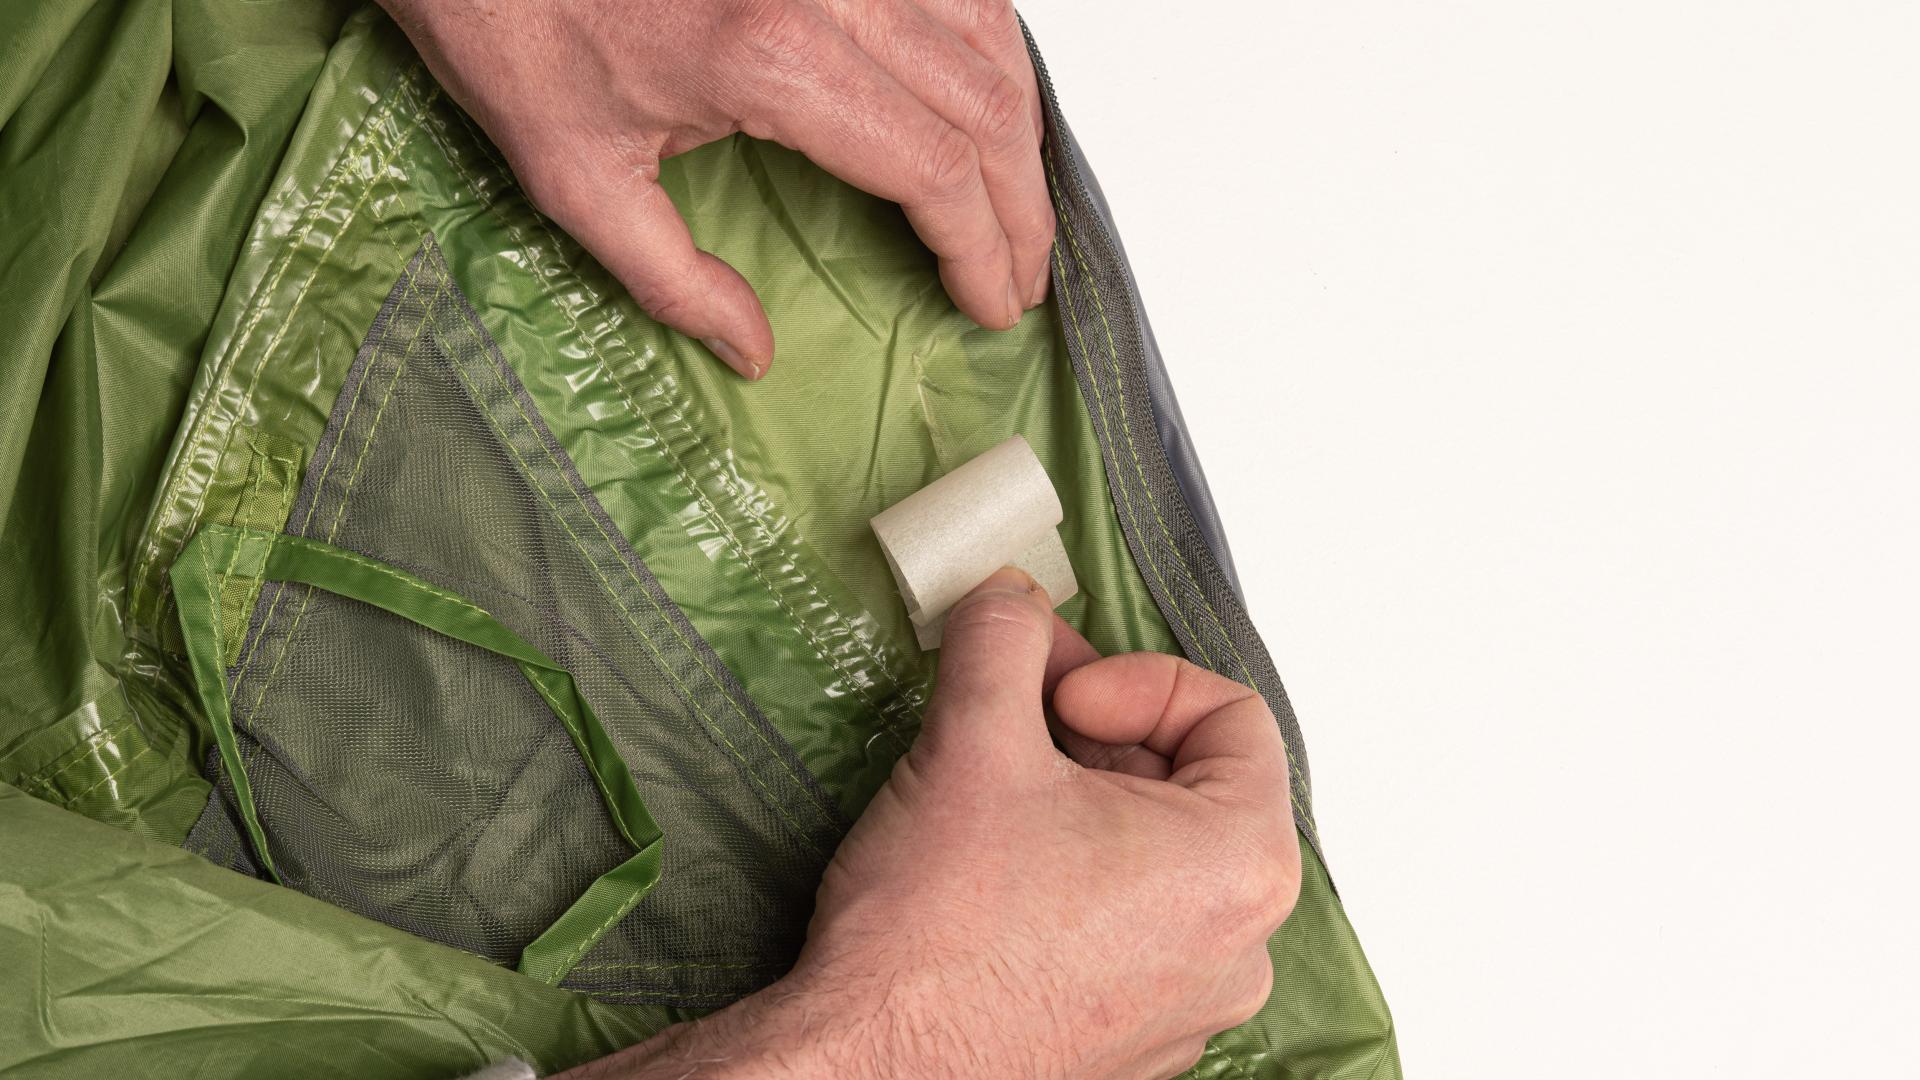
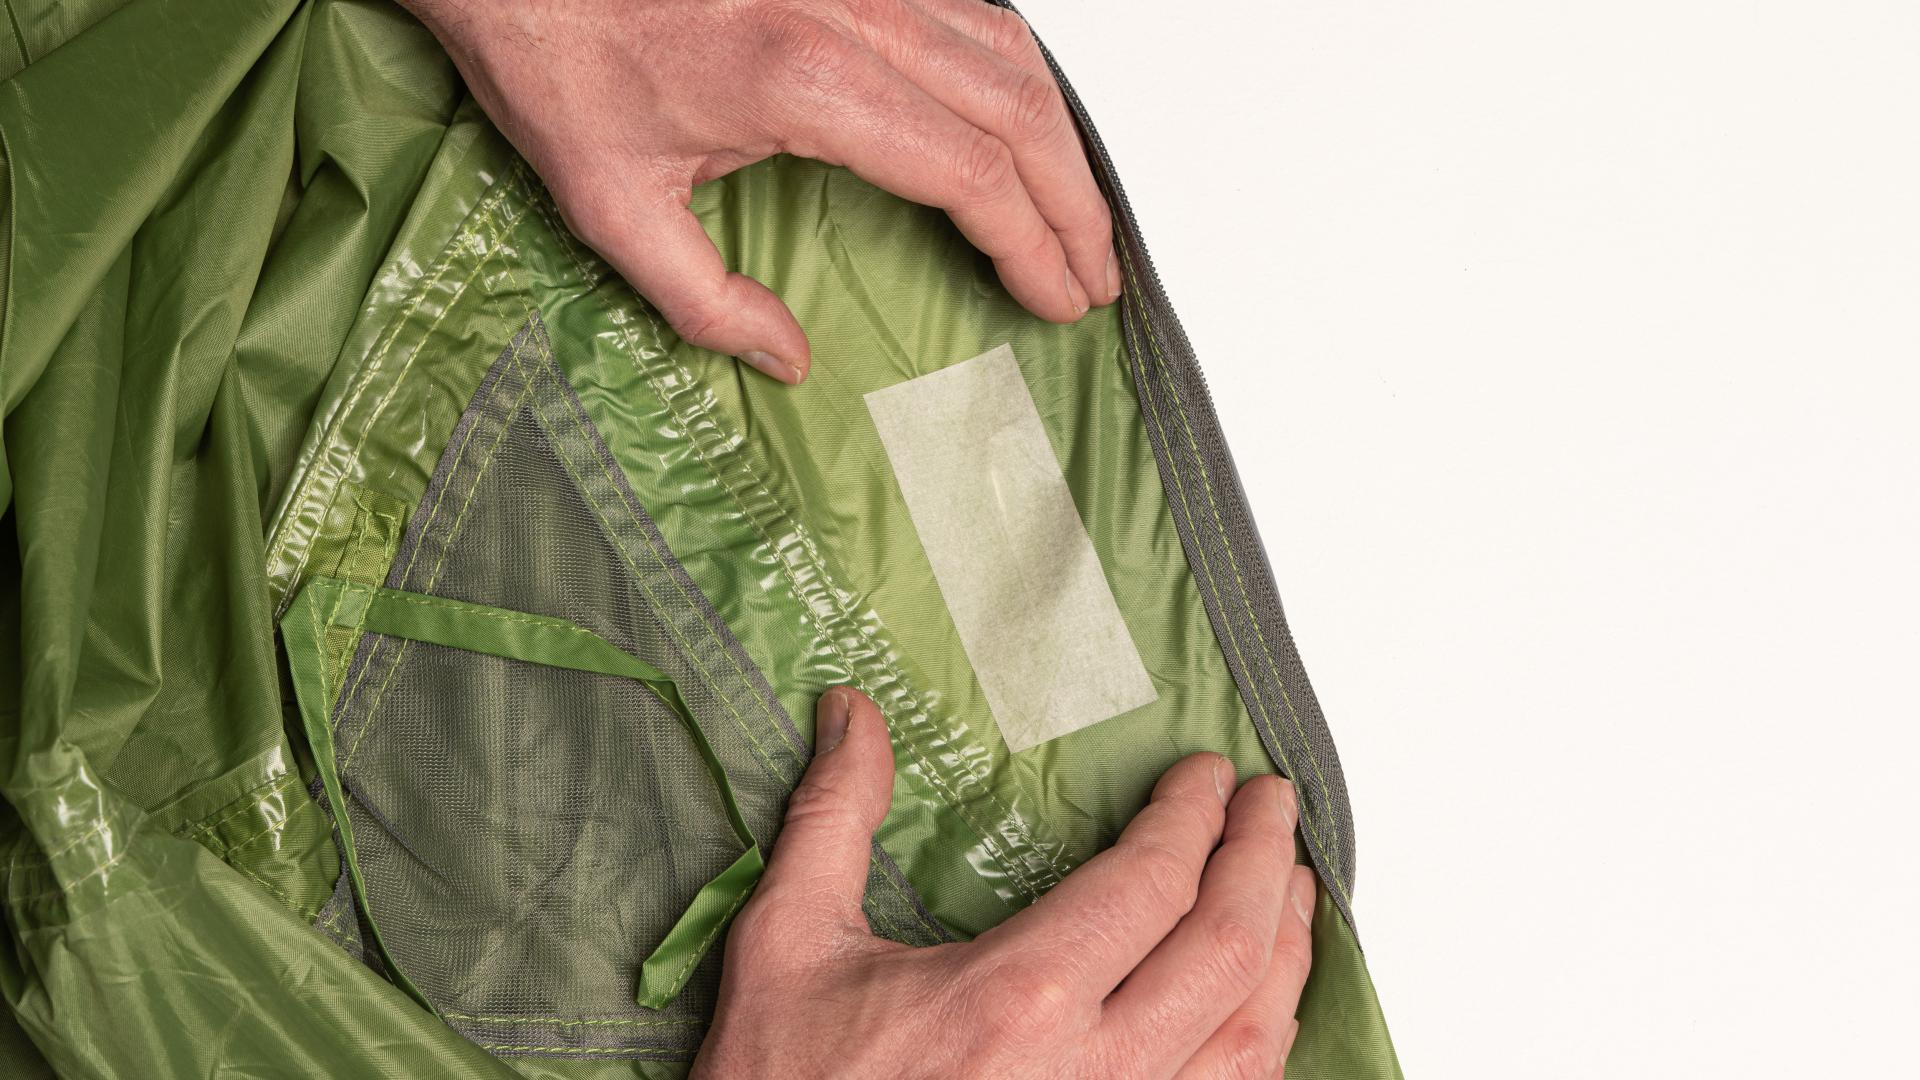
When applying the repair fabric, it's important that the edges of the tear are neatly aligned before applying the repair fabric. This can be easily done with a piece of 'repair tape' on the inside (!) of the tear. Ensure that the edges of the tear are neatly aligned, and pull the tent fabric tight. Place the piece of tape over the tear to secure it. Use painter's tape or another tape that is easy to remove and leaves no adhesive residue.
Note: Always apply the repair fabric itself on the outside of the tent fabric!
If the damage to your tent fabric is not a significant tear but rather a small hole or very small tear, then the repair tape is not necessary.
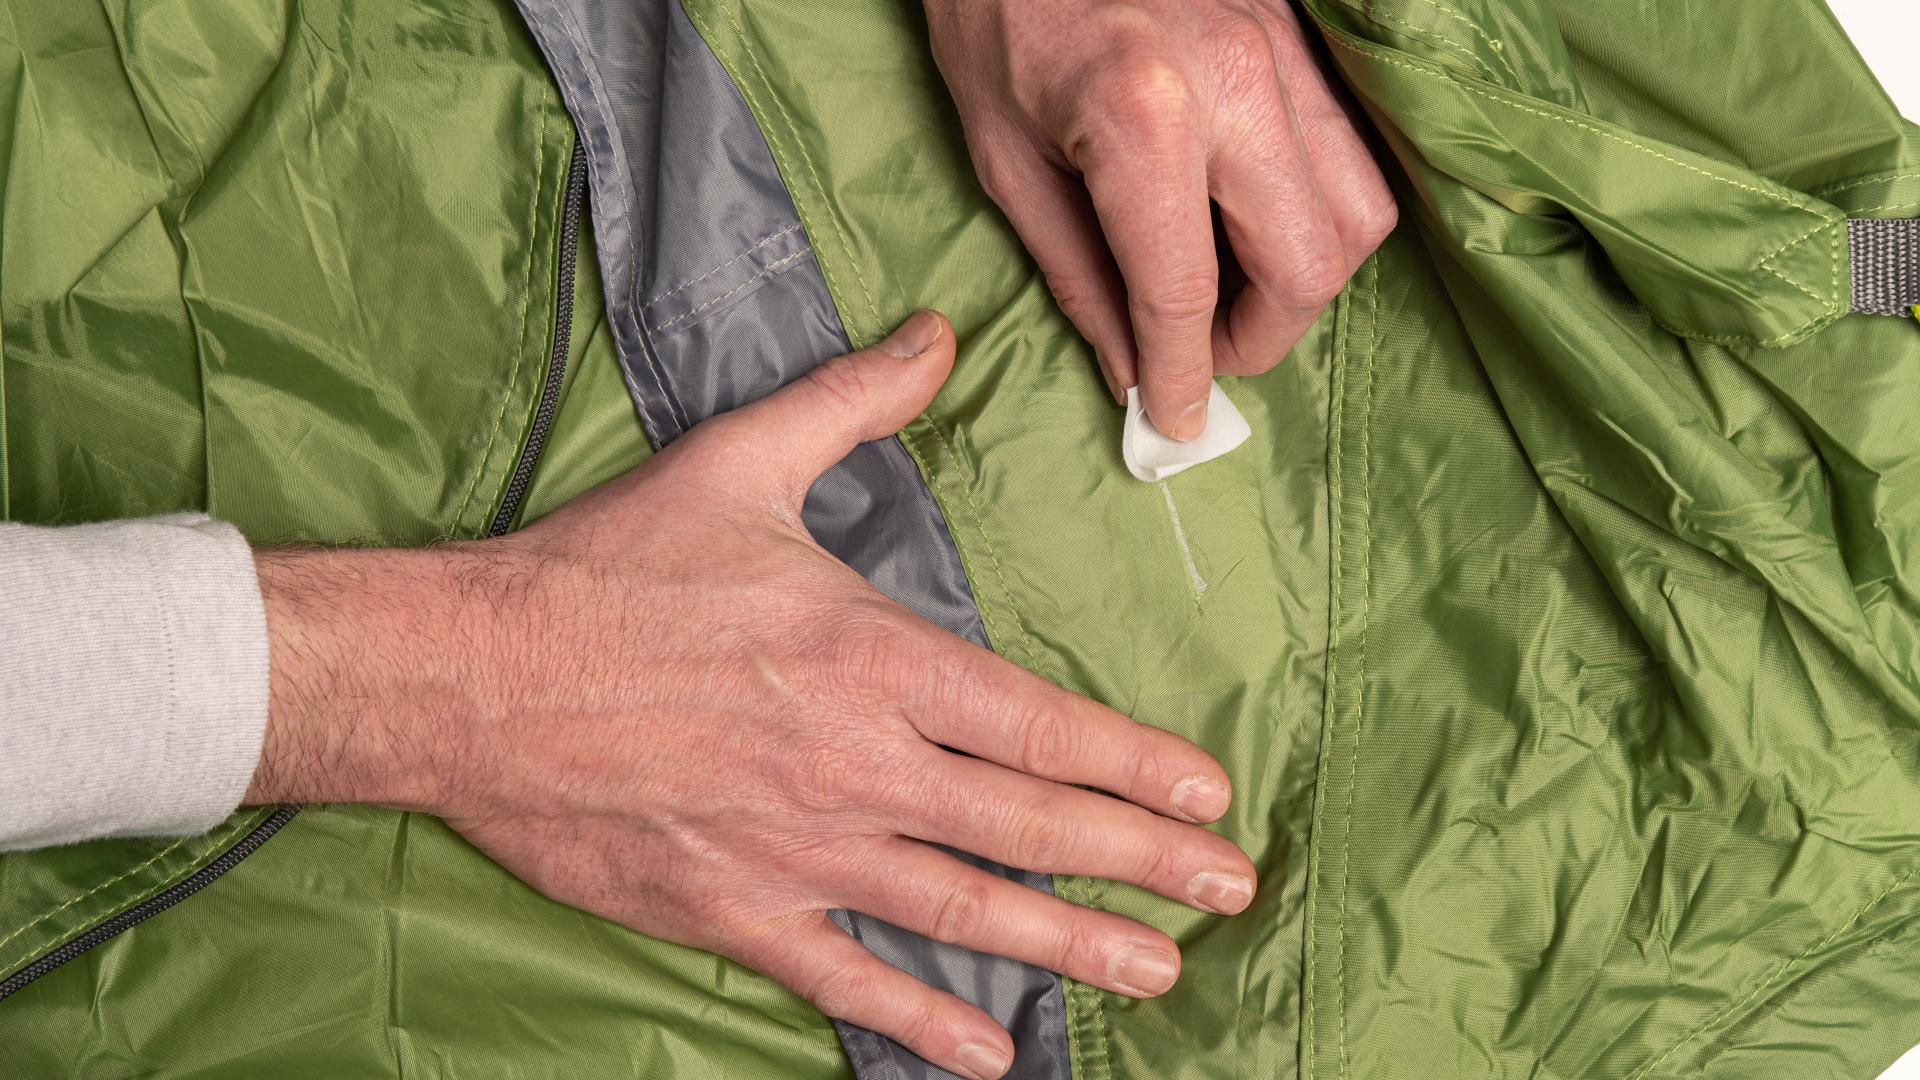
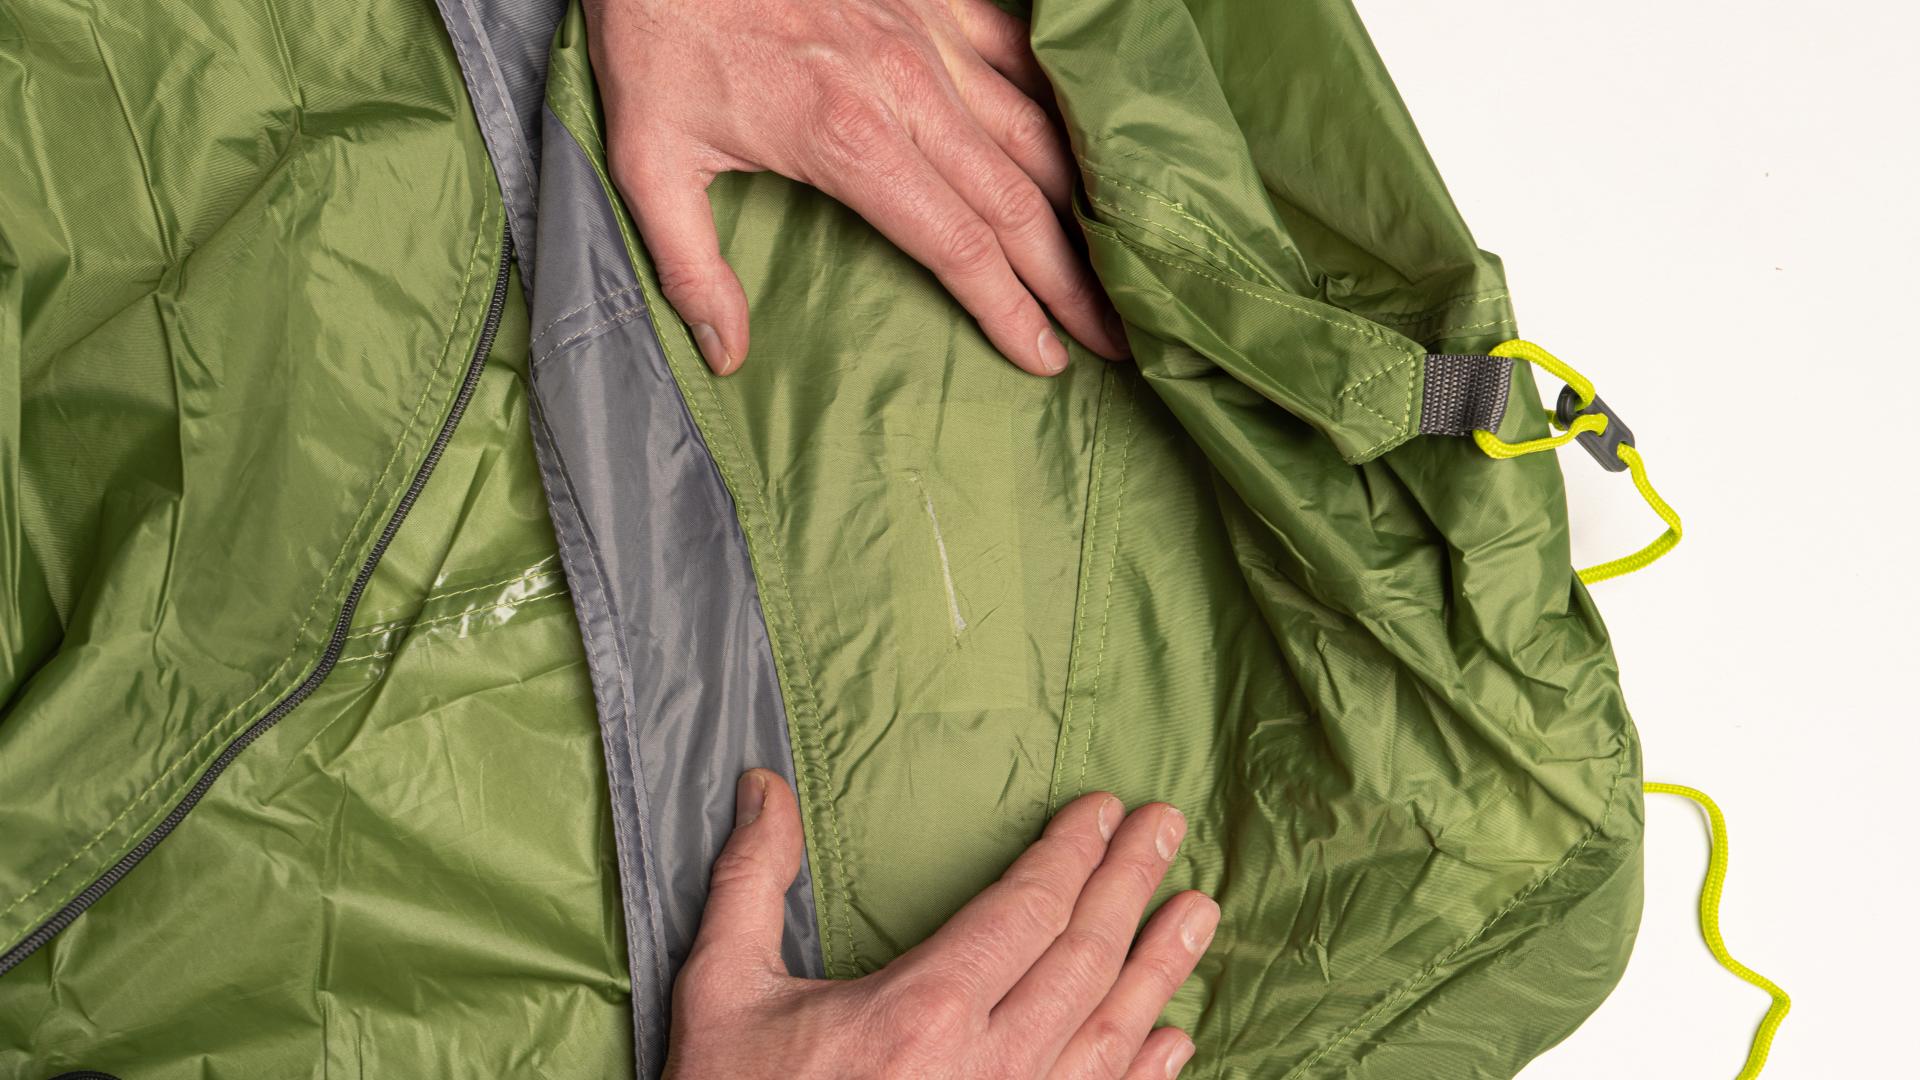
Clean the area around the hole or tear thoroughly and ensure it is dry. Use an alcohol wipe, alcohol from a bottle, or another non-aggressive degreaser for this purpose.
Wait for the next step until the tent fabric around the repair area is completely dry.
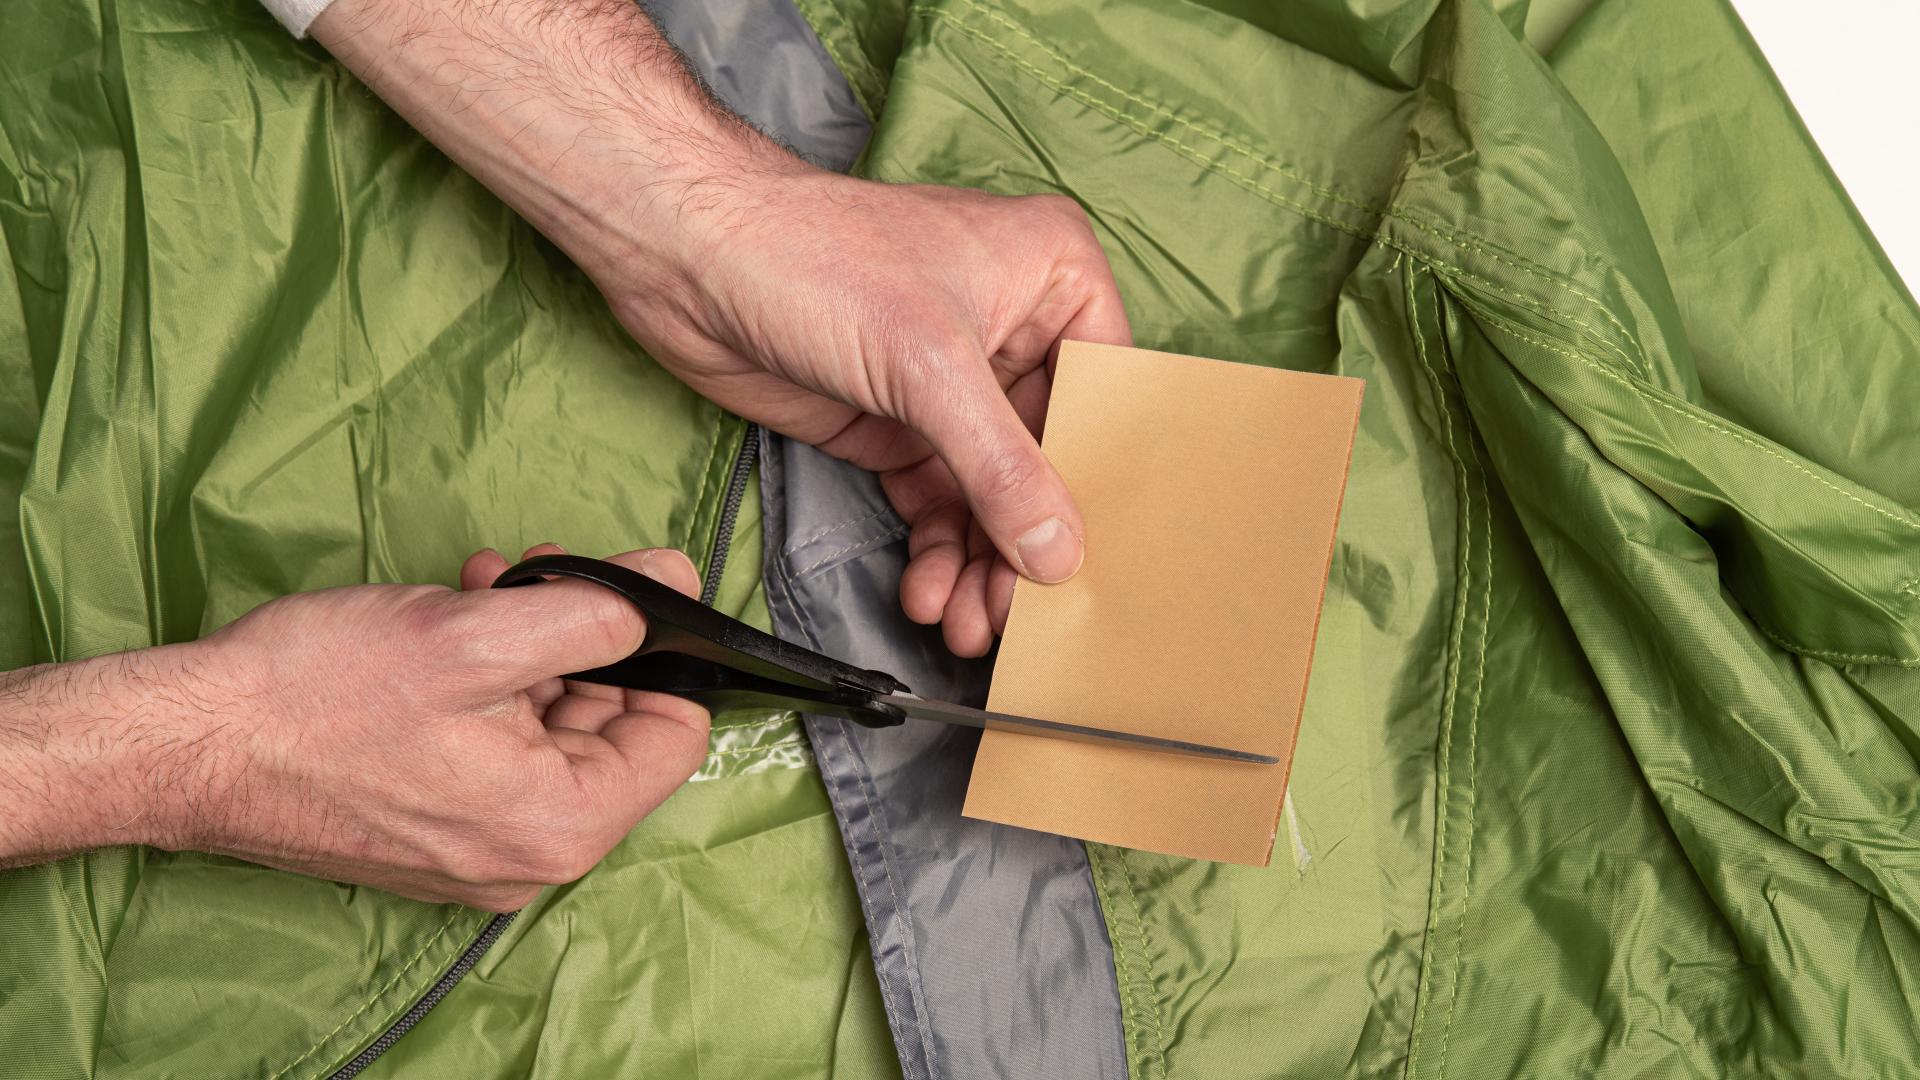
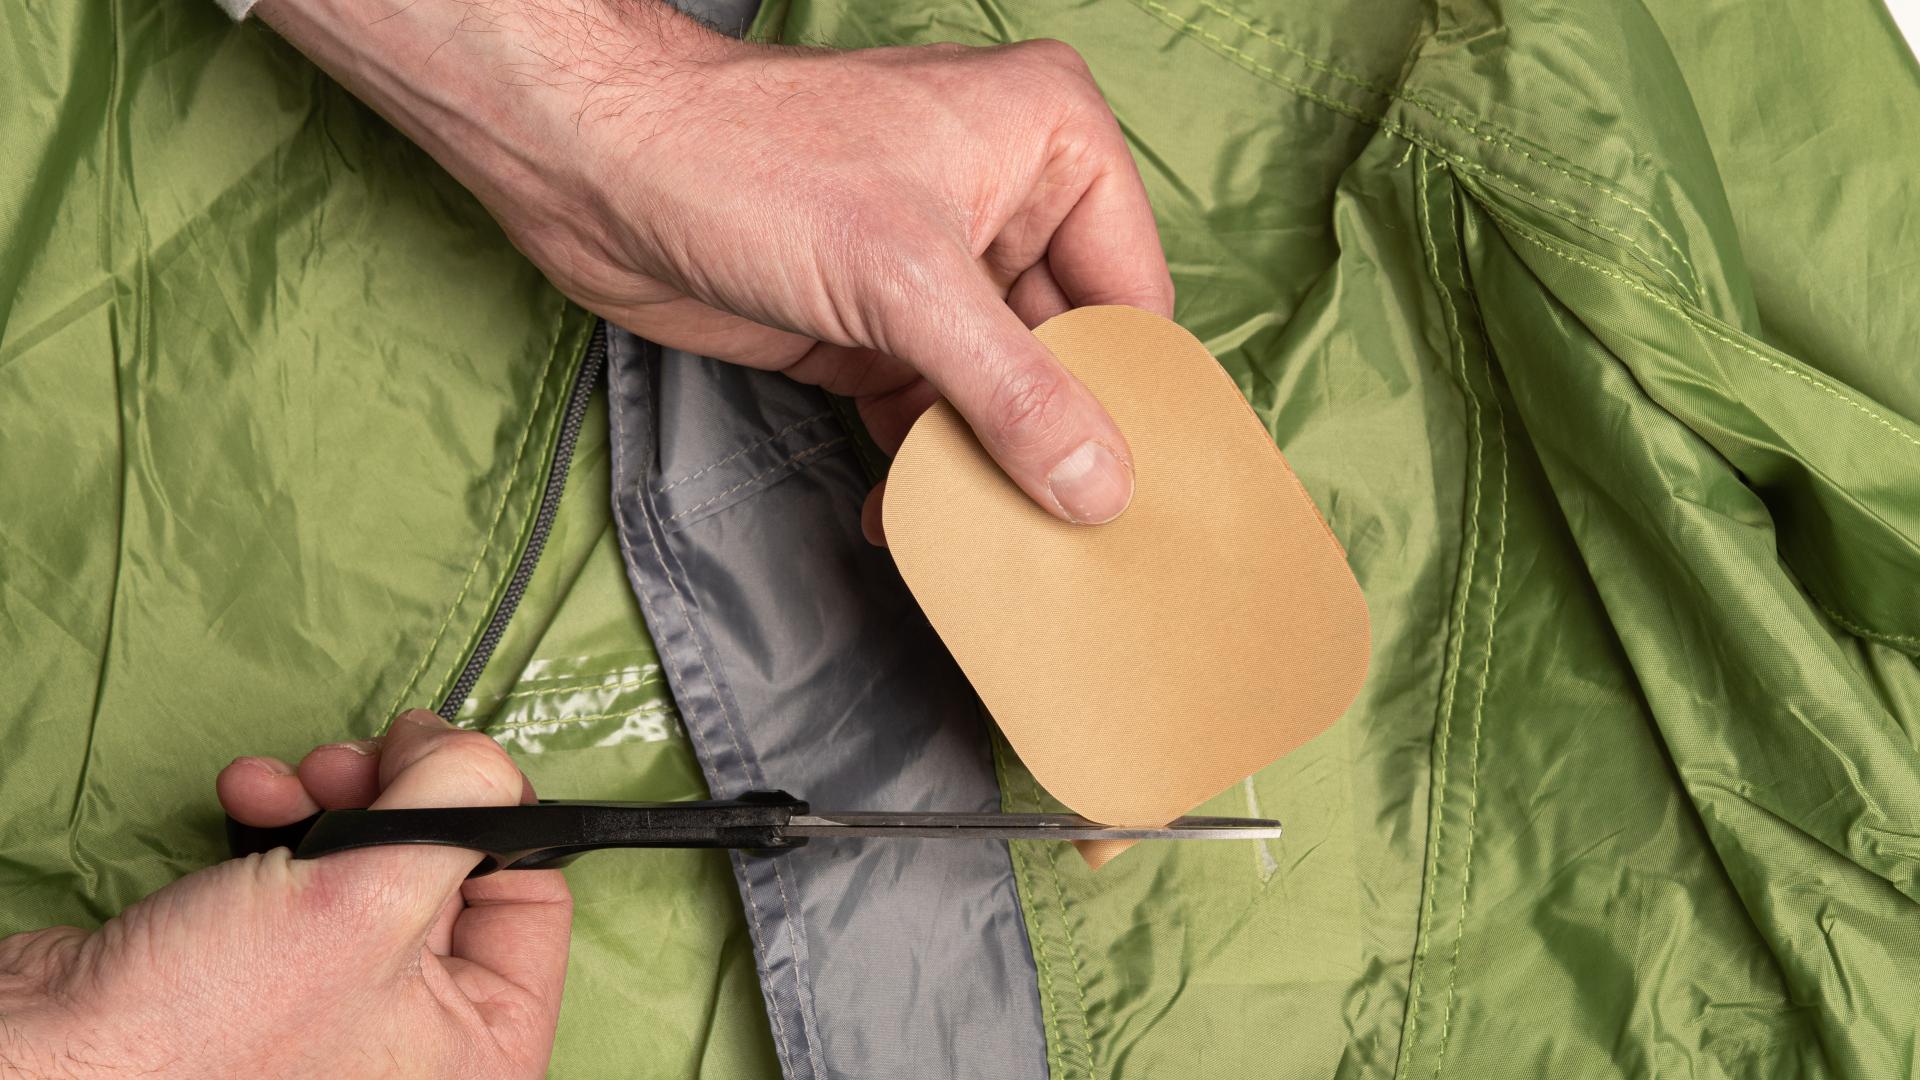
Now, turn the tent fabric over so that the repair tape is at the bottom. Ensure a flat, sturdy surface.
Place the repair fabric over the hole or tear with the protective film still on and measure how large the repair fabric needs to be. Add an extra 2.5 cm of material on all sides of the hole or tear. Then, cut the repair fabric to size. Make sure to round the corners of the repair fabric. Sharp corners are more vulnerable to damage or detachment.
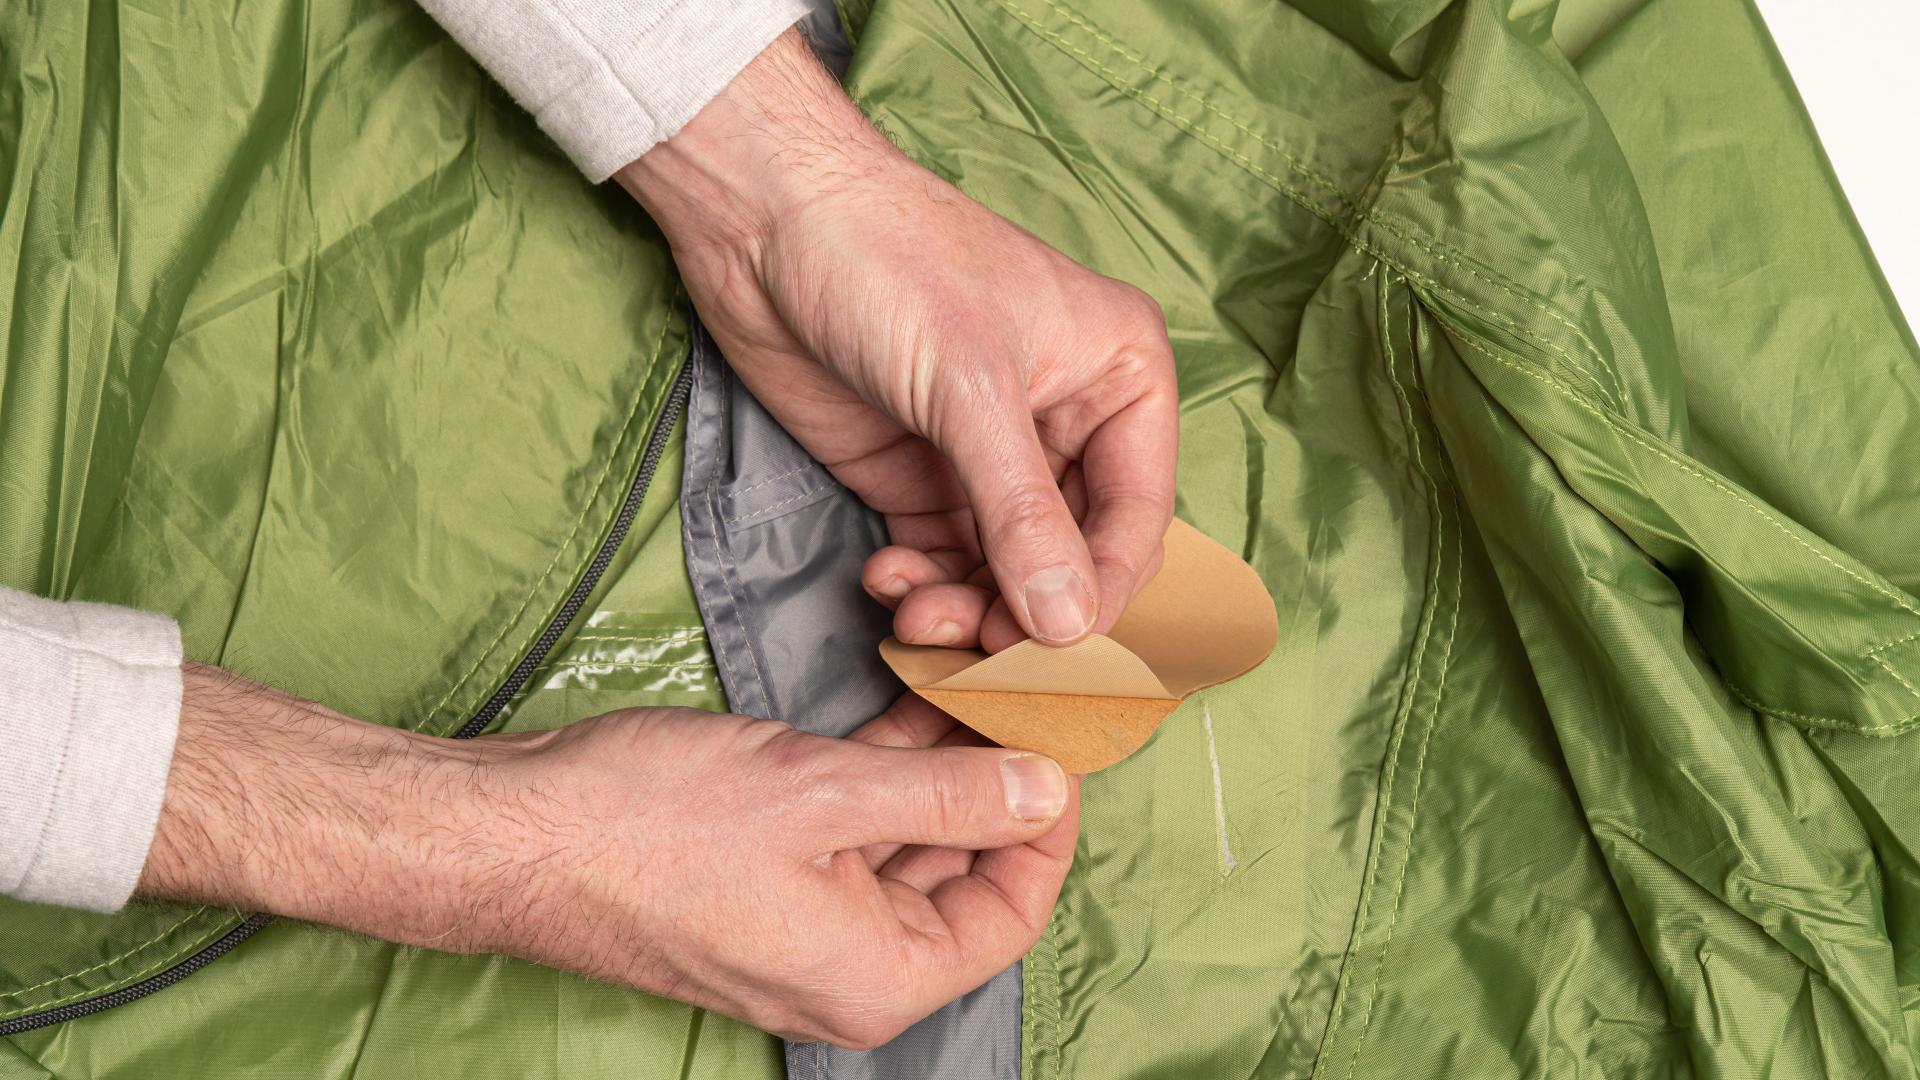
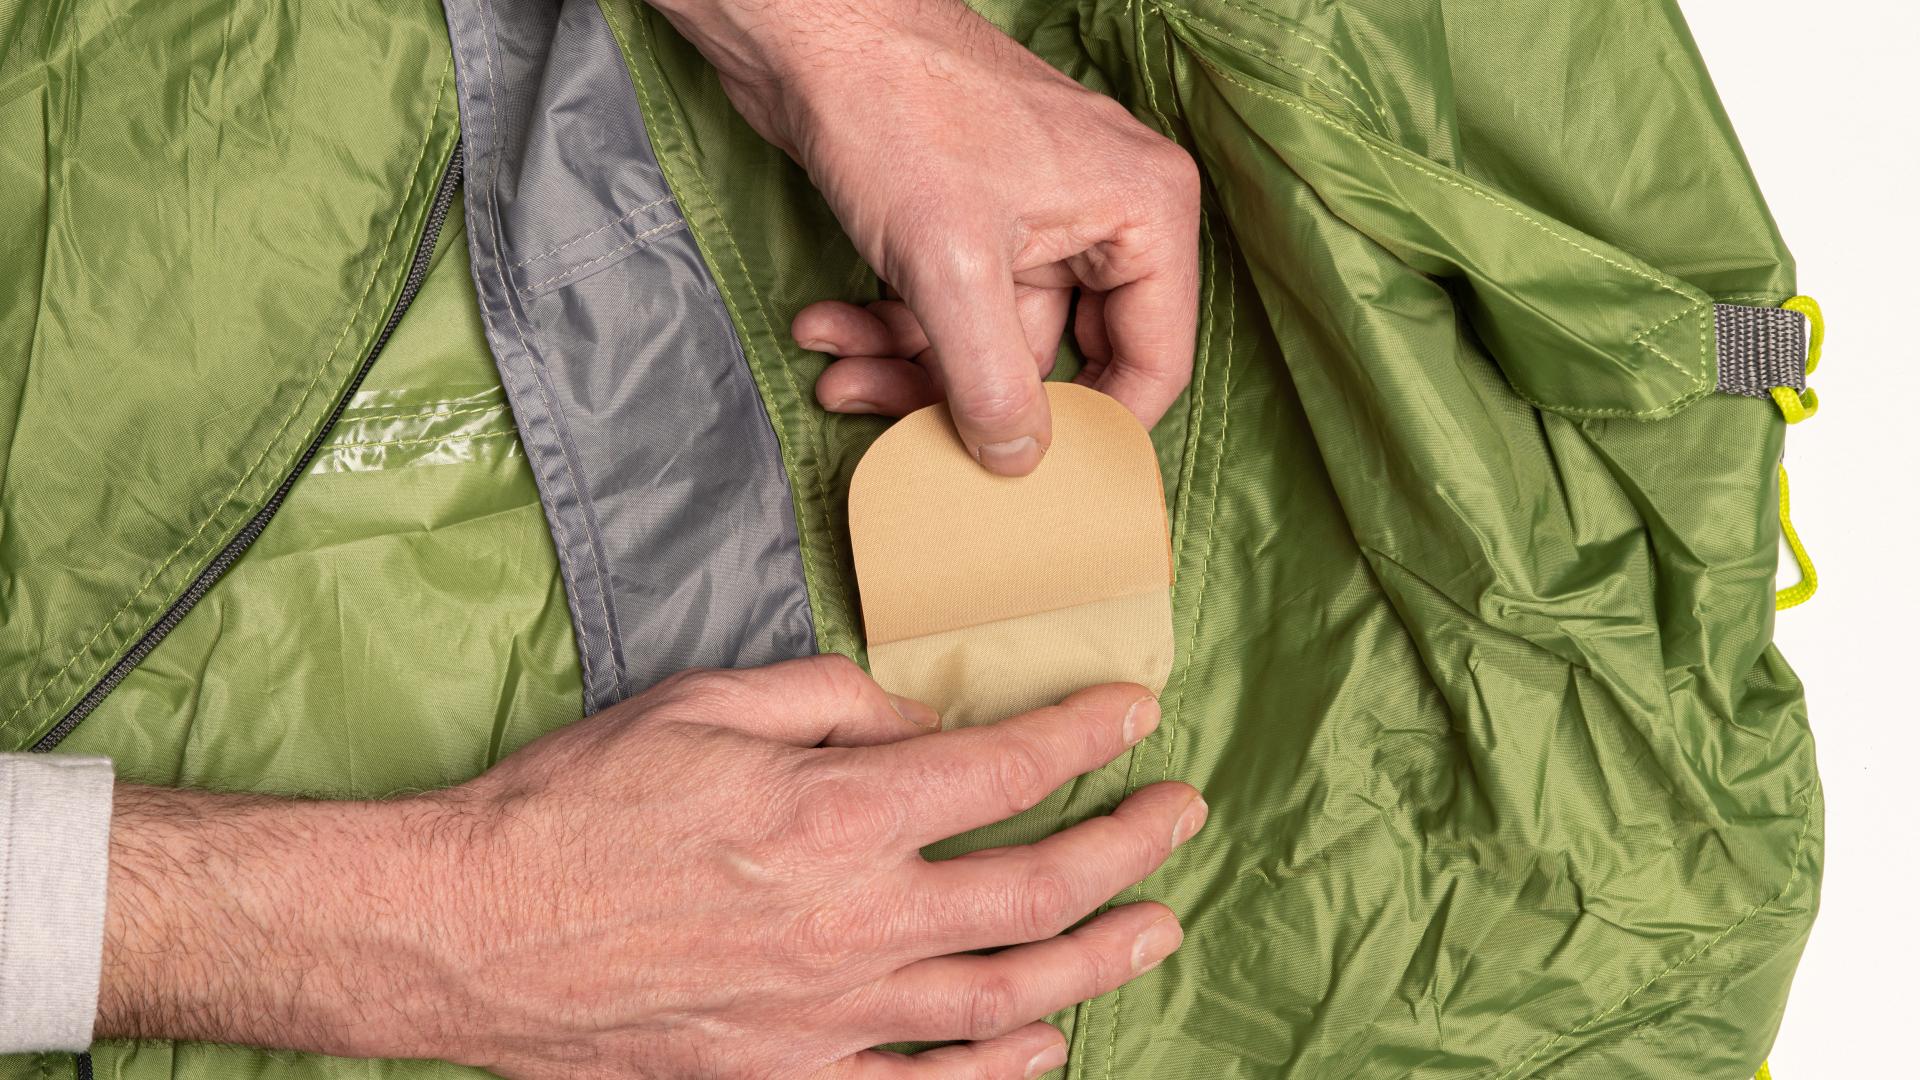
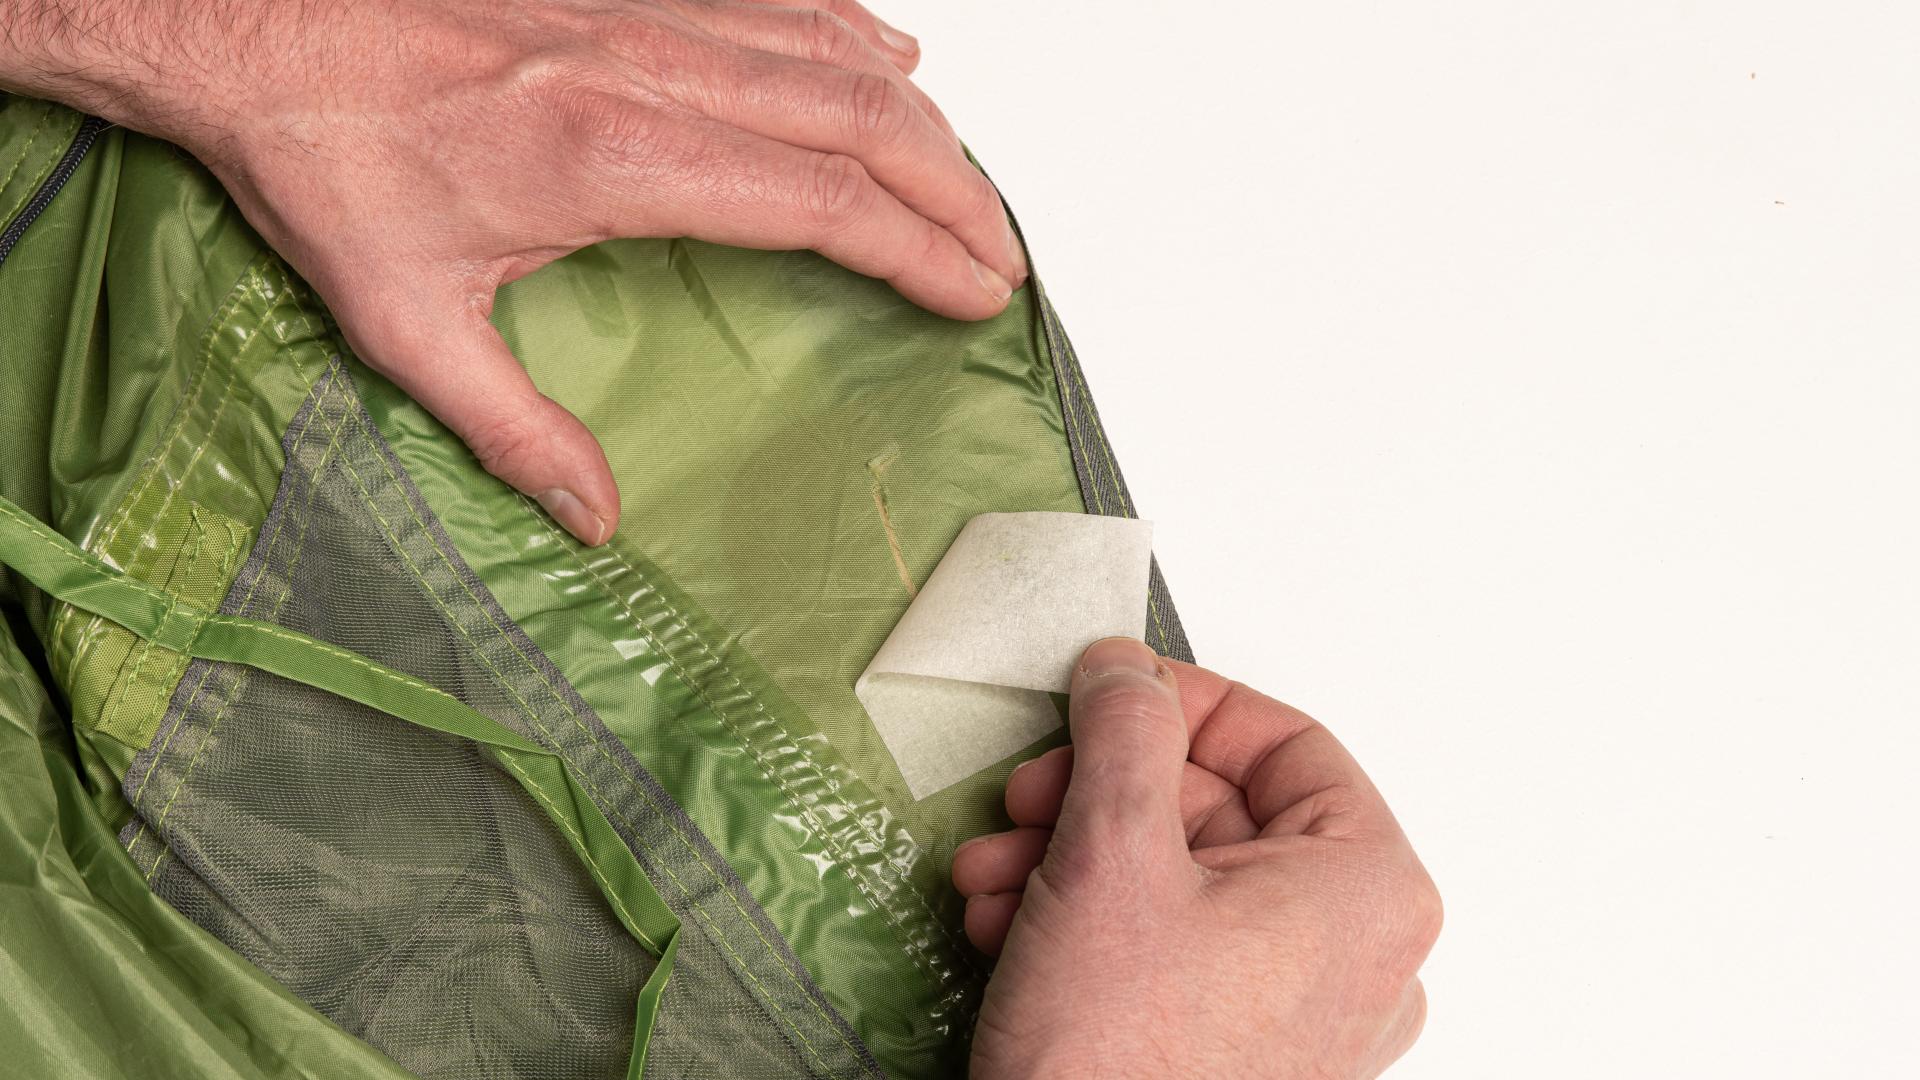
Carefully peel off about one centimeter of the protective film from the repair fabric. You may use tweezers for this. Avoid touching the adhesive side of the repair fabric with your fingers, as this may cause the fabric to come loose in those areas over time.
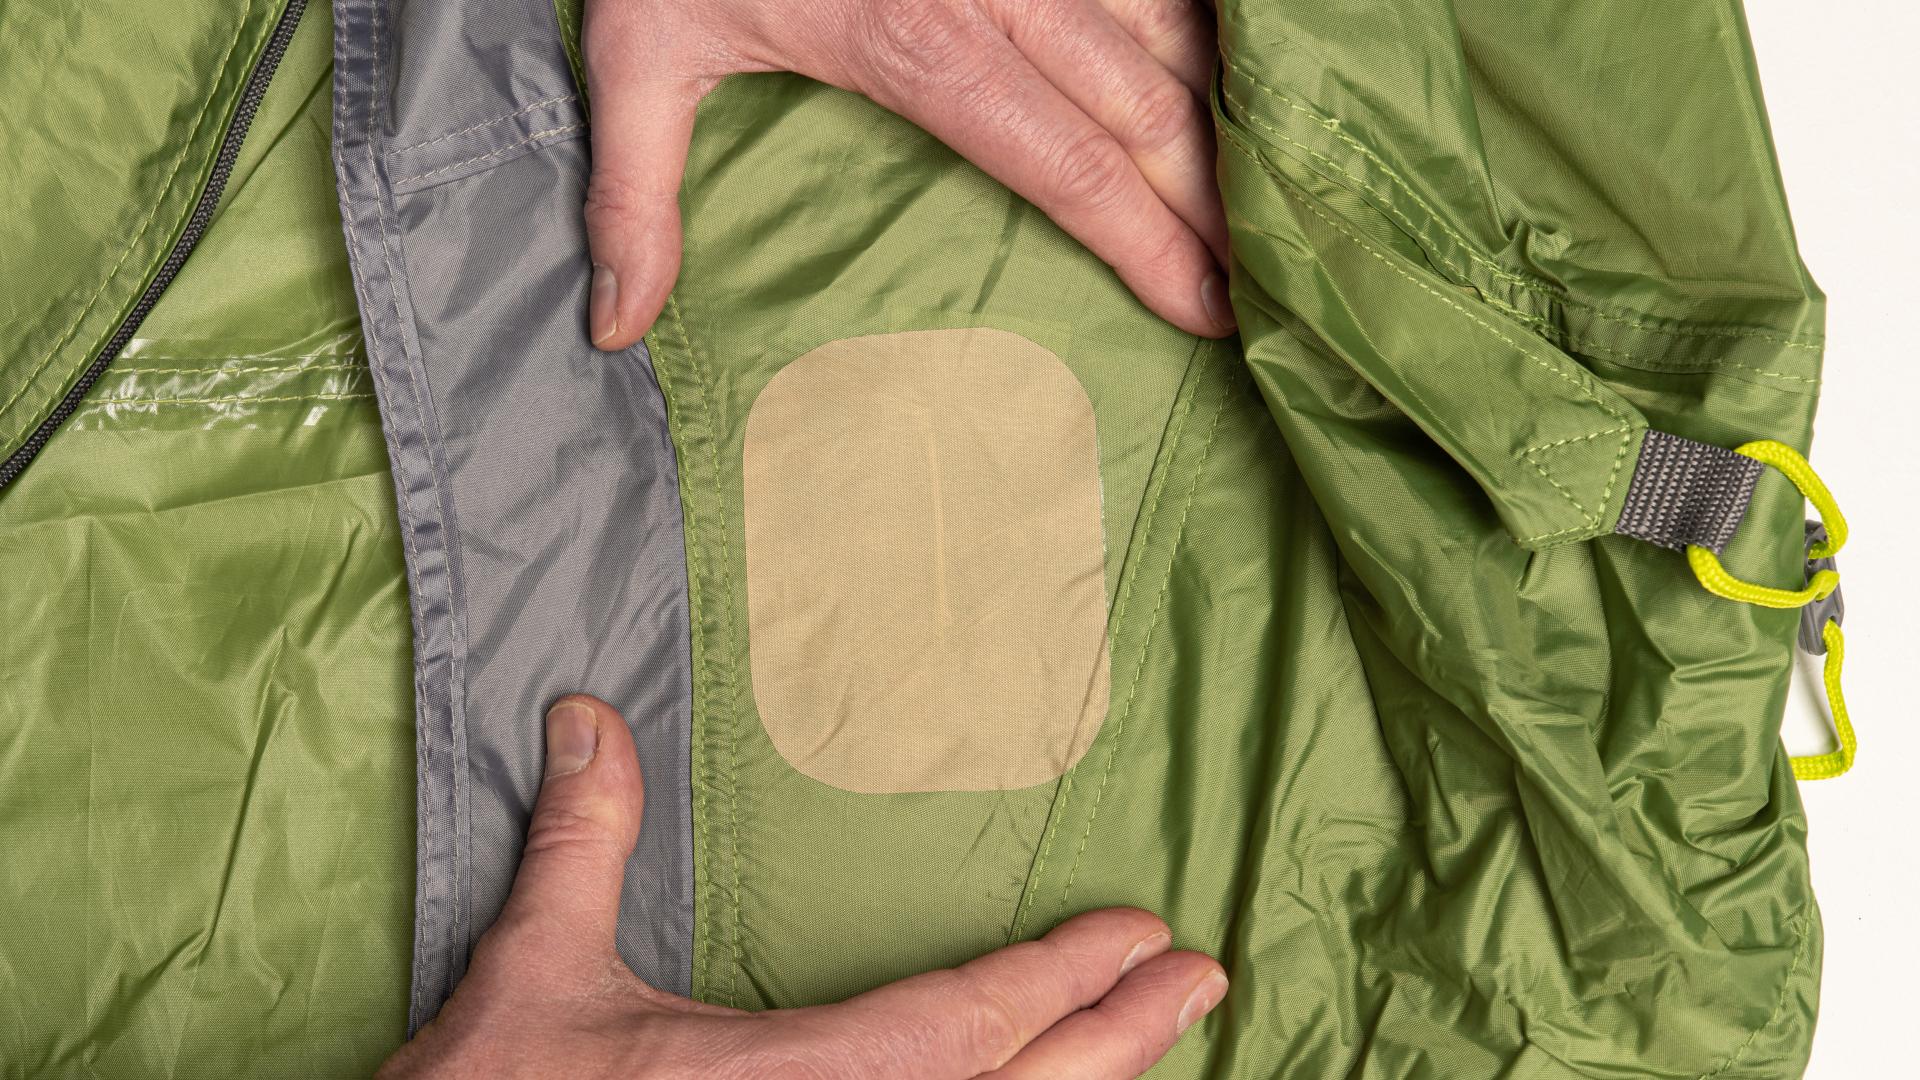
Place the exposed section of the repair fabric onto the tent fabric, making sure the tear is in the middle of the repair fabric. Now, remove the rest of the protective film while simultaneously rubbing the repair fabric over the tent fabric. Be attentive to prevent any air bubbles from forming under the repair fabric.
Press or rub the repair fabric firmly onto the tent fabric, for example, using the back of a spoon.
You can now remove the repair tape from the inside of the tent fabric.
Result
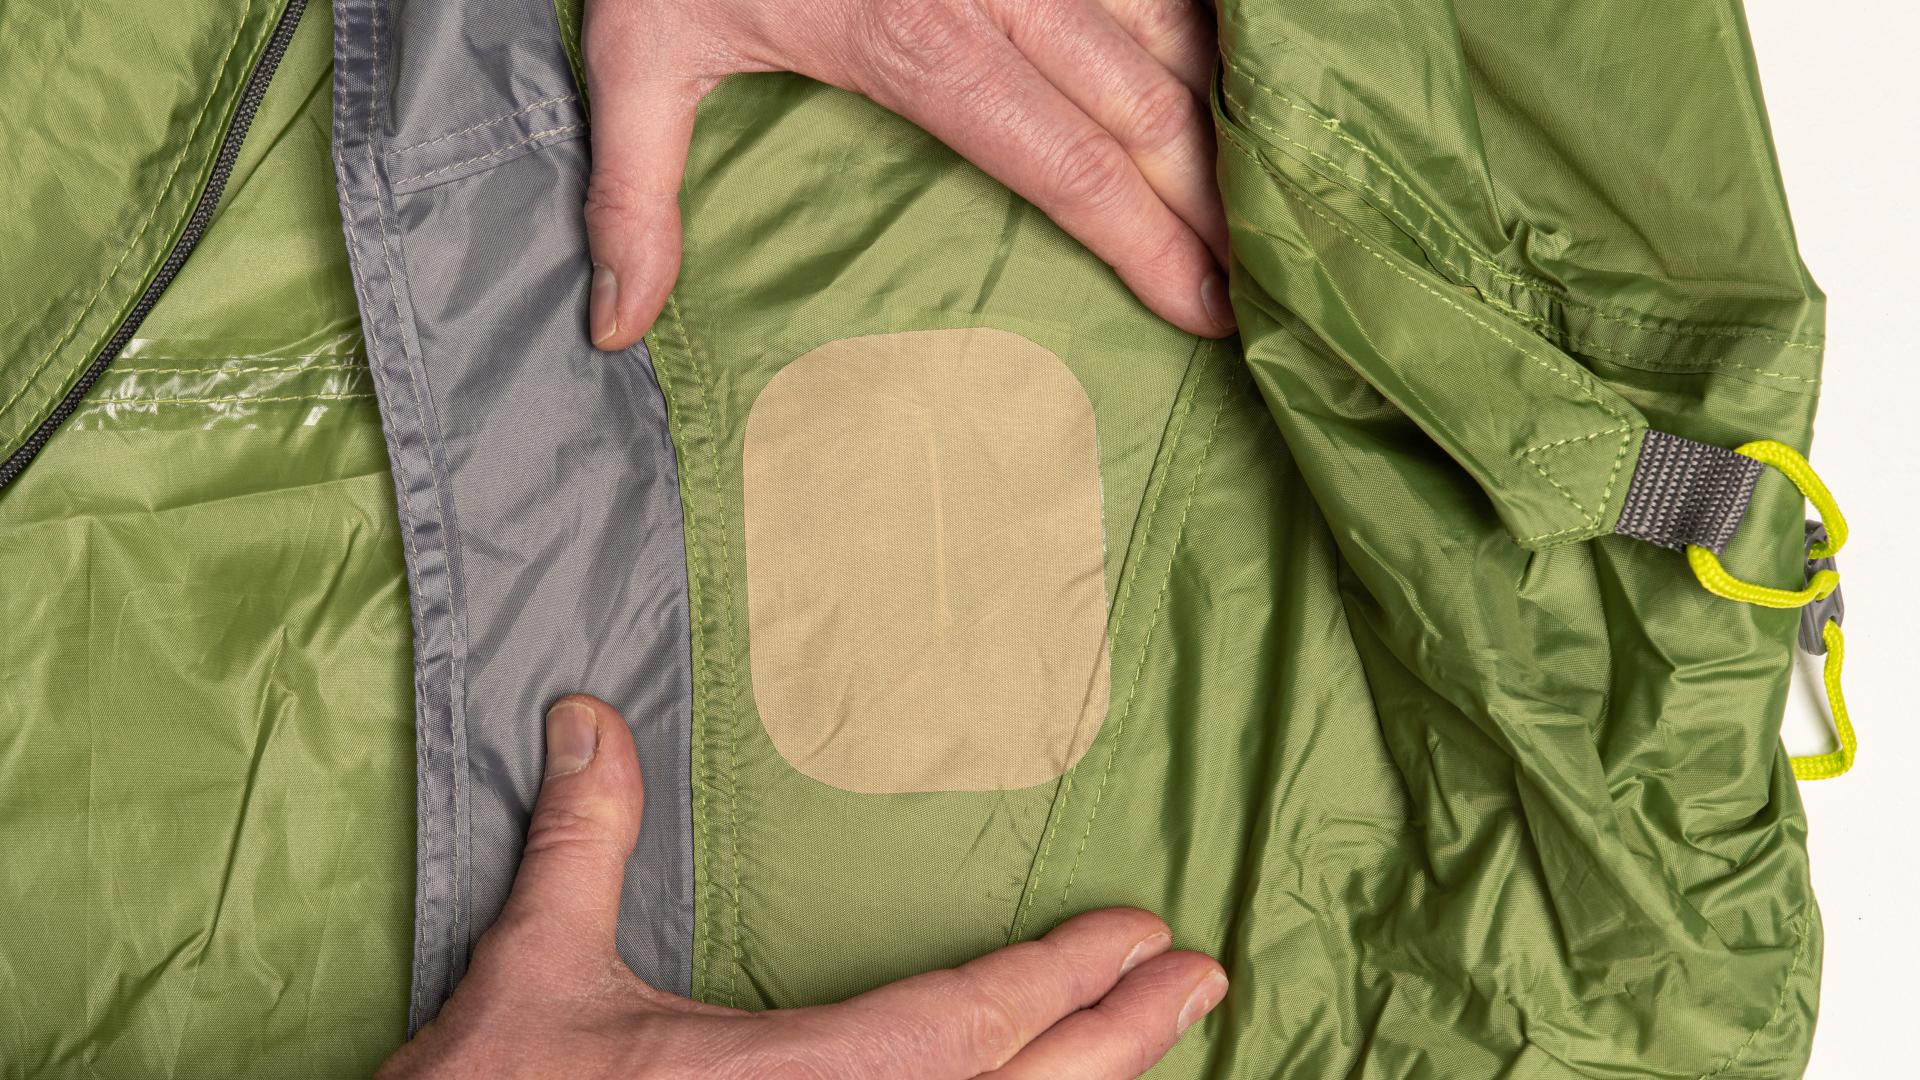
Your tent is now as sturdy as it was before the damage, and, of course, it is once again wind and waterproof at the repaired spot. By repairing your tent (yourself), you not only save money but also contribute to sustainability. Every repair extends the lifespan of products, saving a lot of raw materials and energy.
If you are having trouble or find that doing the repair yourself is not feasible, come to one of our Bever stores, and our outdoor experts will assist you further.
And done! What a feeling!
Did you manage to fix it?
Yes!

