Replacing a broken or worn buckle
In this repair guide, we will explain how to replace the broken or worn buckle of a backpack.
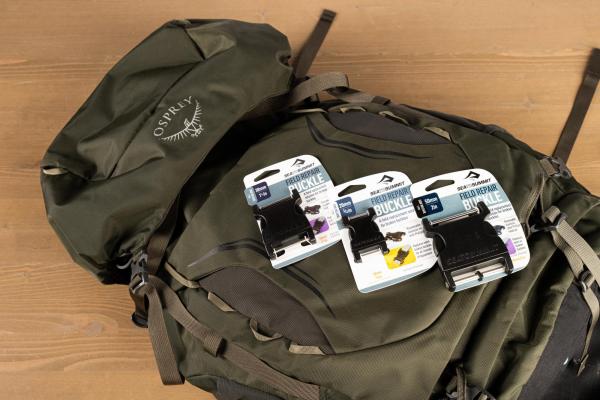
Although a buckle is not likely to break easily, it may seem like a part that is challenging to replace. Some buckles are attached to a loop, while others are stitched in place. However, you don't necessarily need a sewing machine to repair a broken buckle. Sea to Summit offers buckles that you can easily mount with a stainless steel pin.
The buckles come in various sizes. After the repair, you won't need to replace the buckle with a 'regular' one, as Sea to Summit buckles are designed for permanent use.
Supply needed

Warning: any repairs done are at your own responsibility. See terms of use.
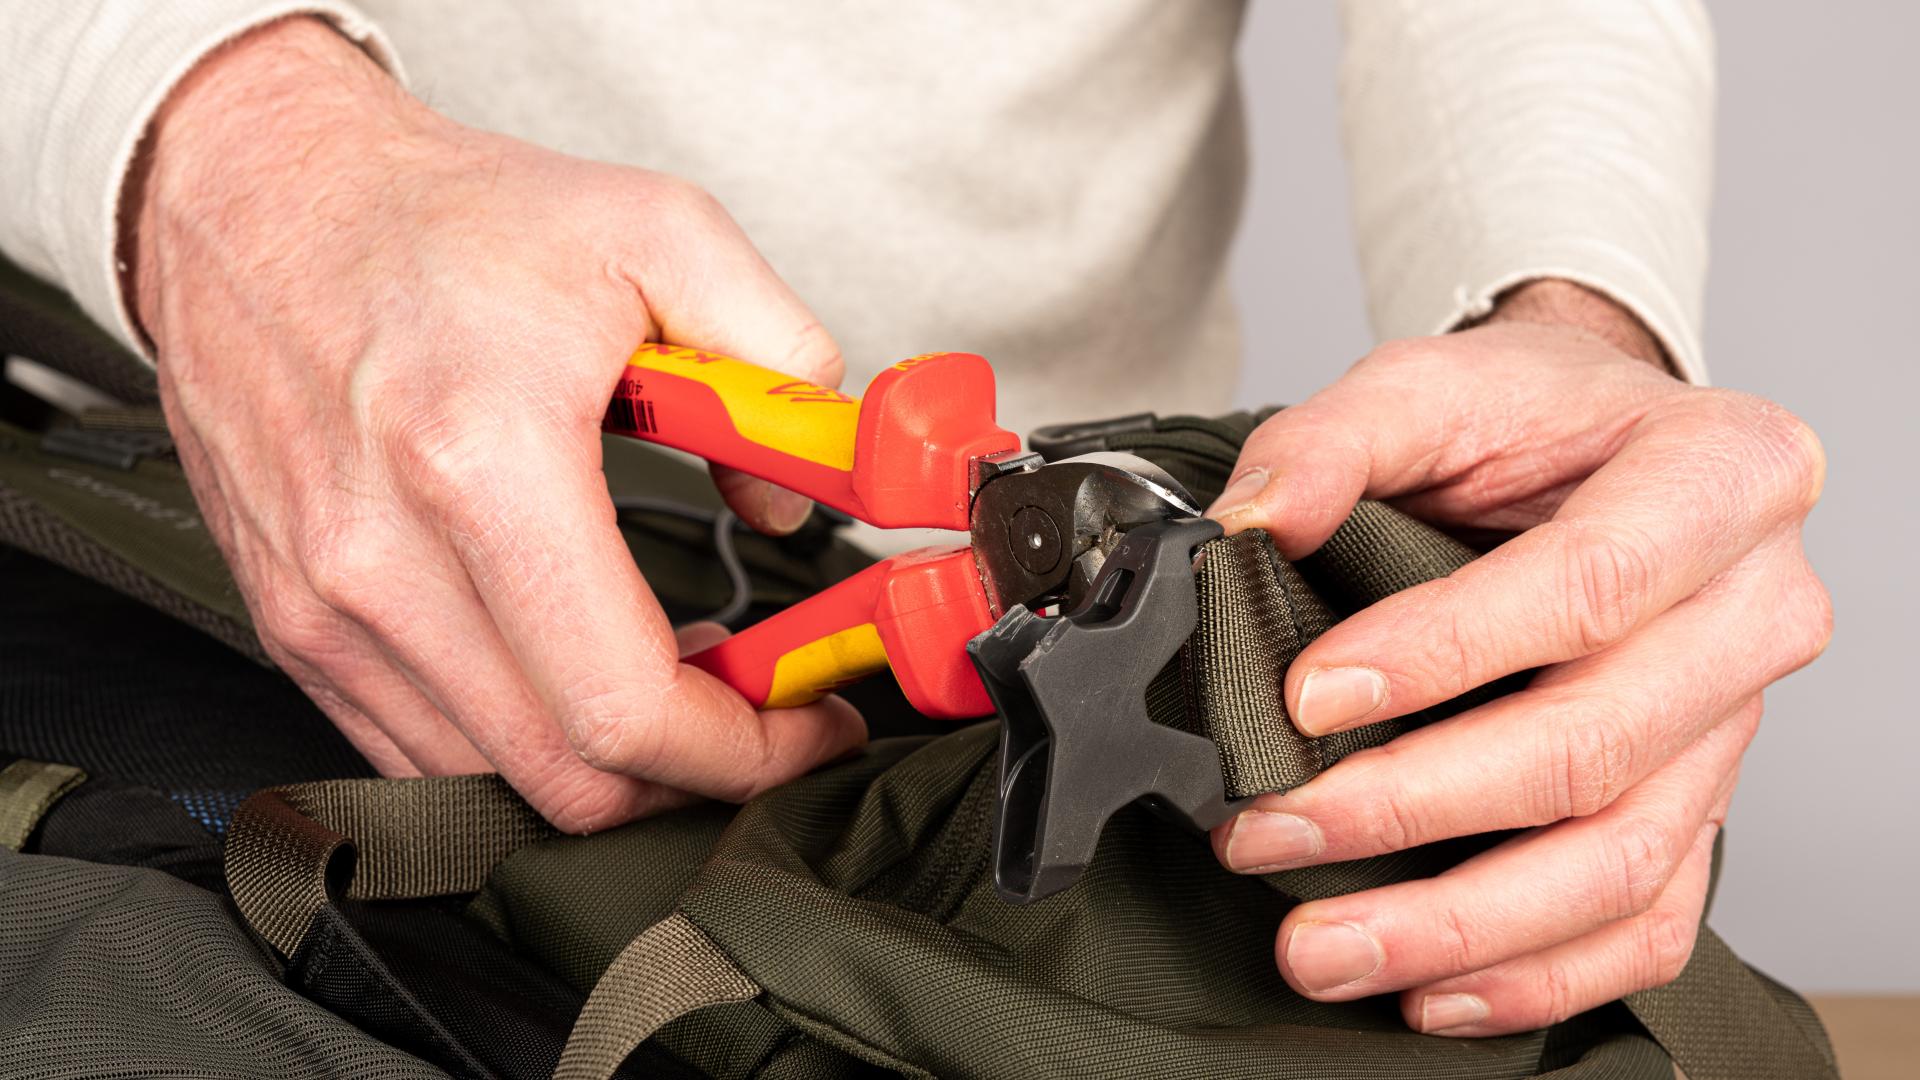

Use a pair of cutting pliers to carefully remove the old buckle from the strap by cutting through it. Be careful not to cut into the loop where the old buckle is mounted.
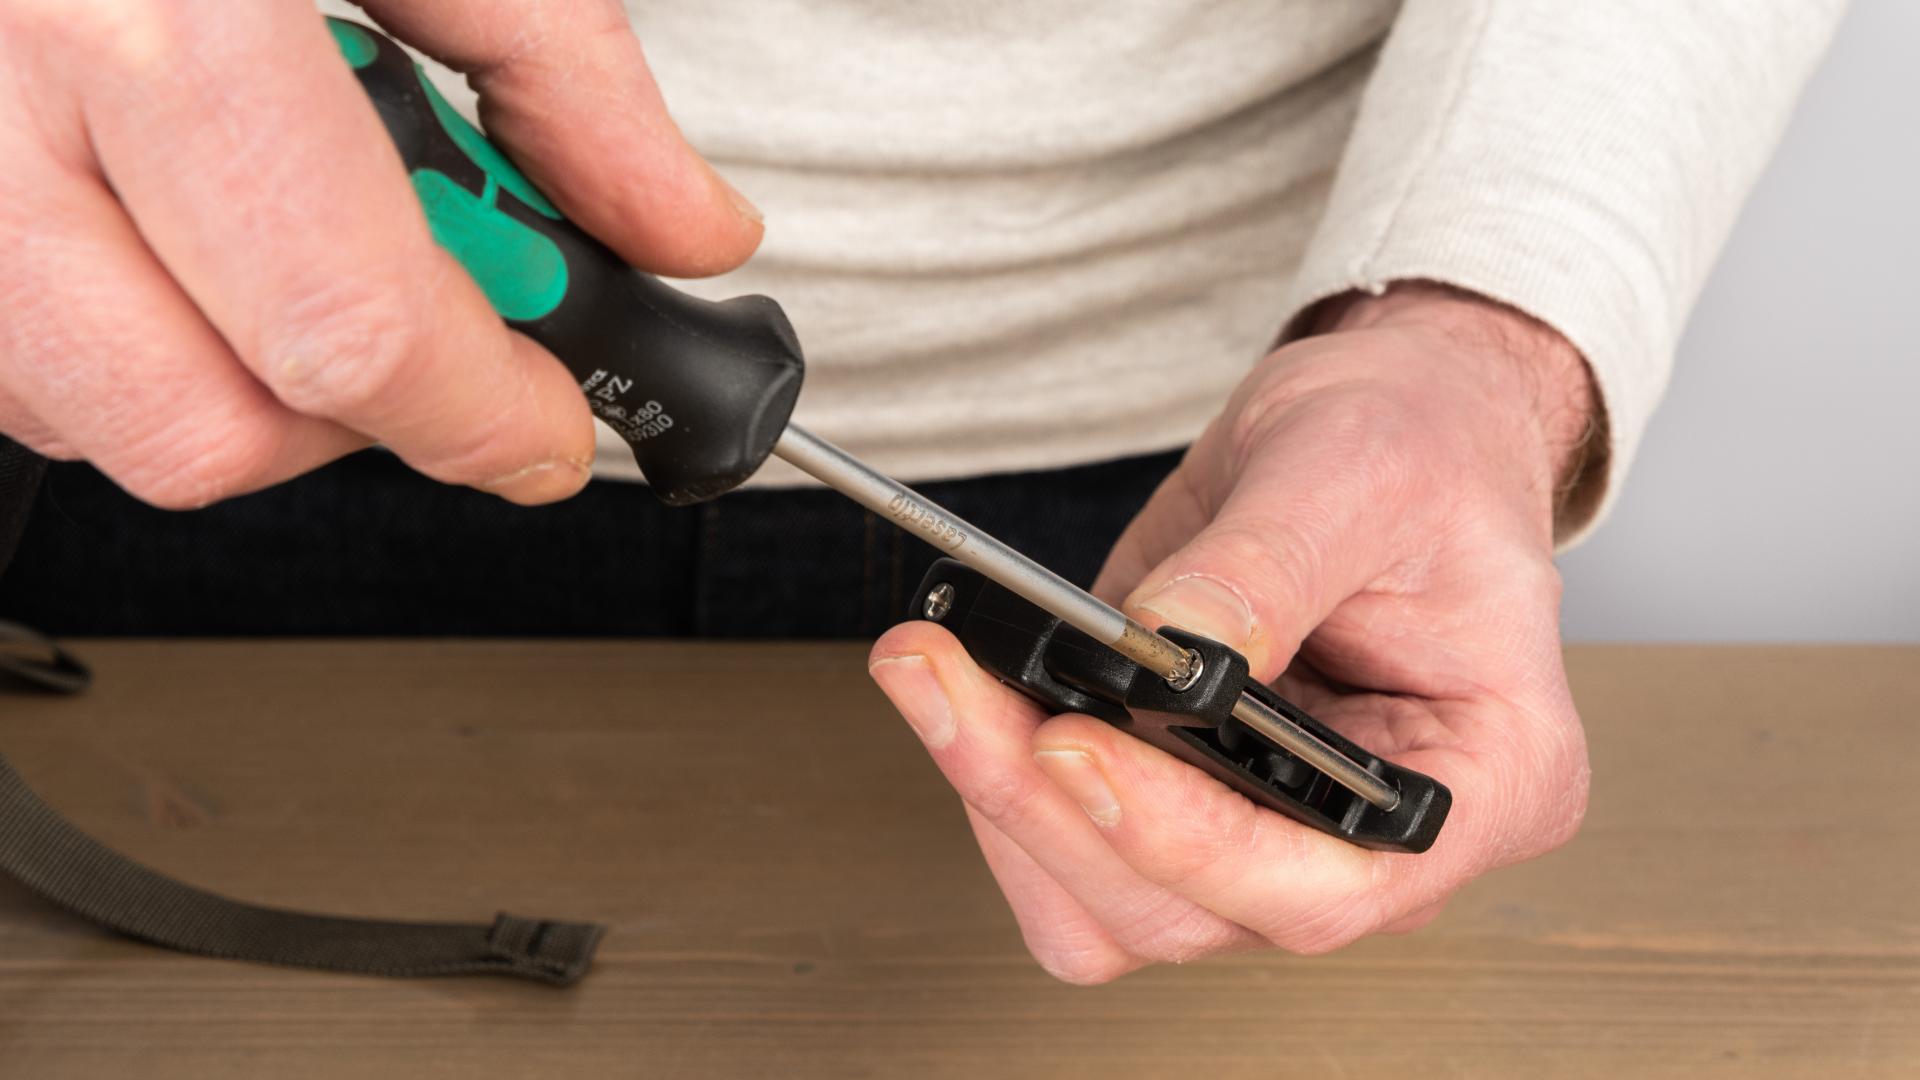
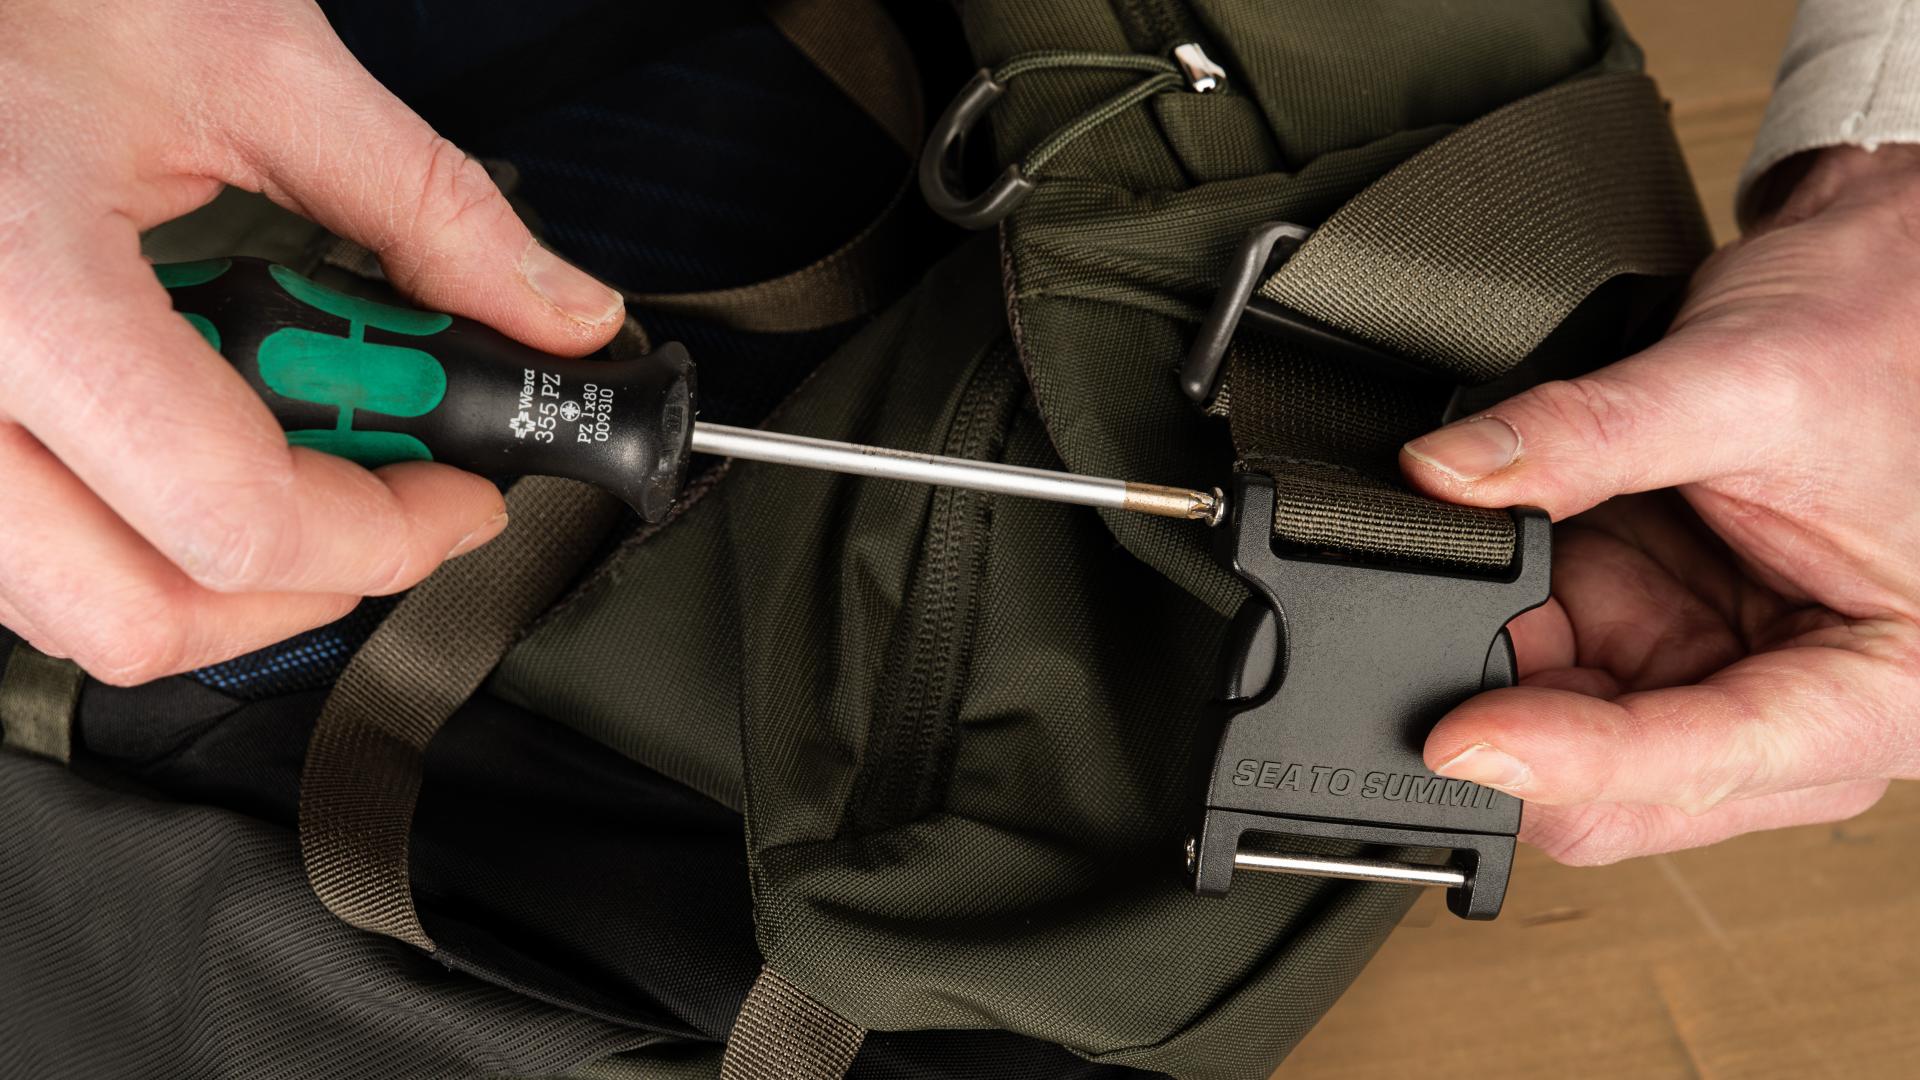
Unscrew the steel pin of the new Sea to Summit buckle counterclockwise using the screwdriver. Remove the pin from the buckle.
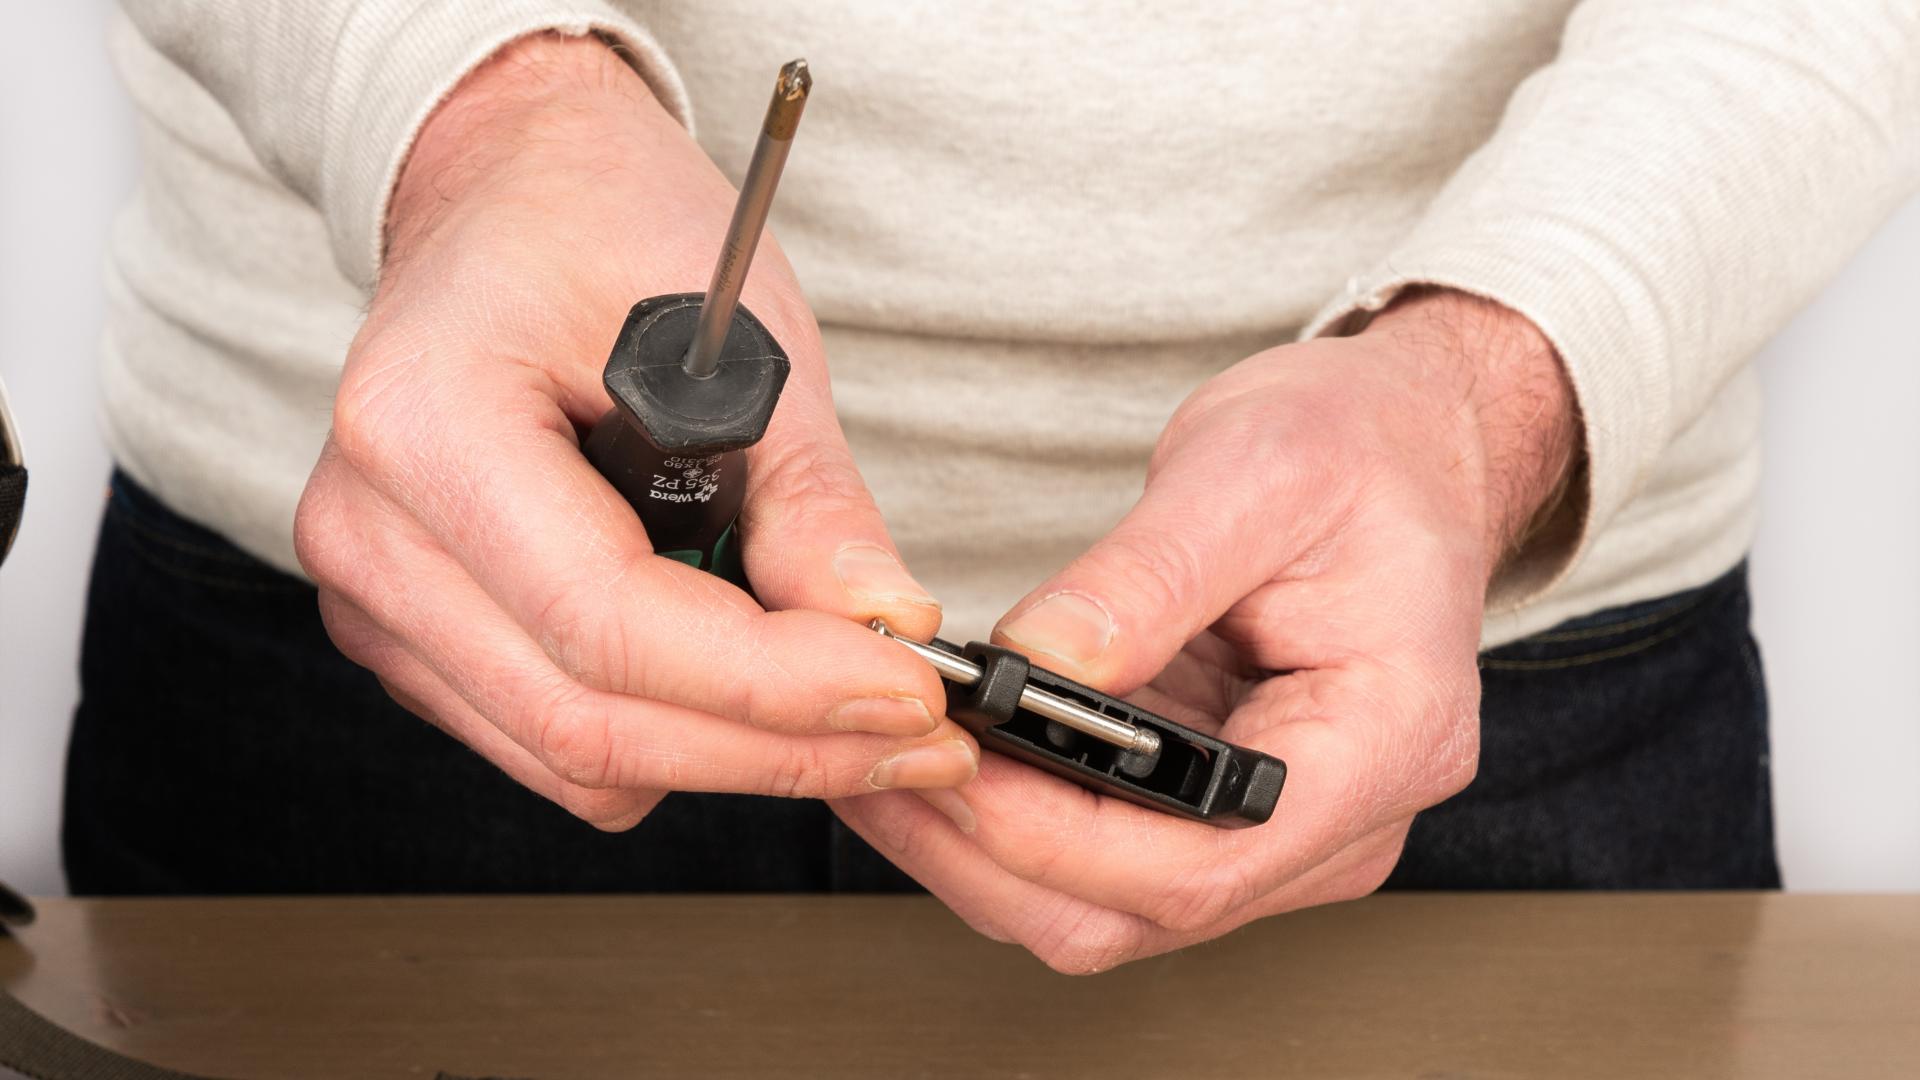
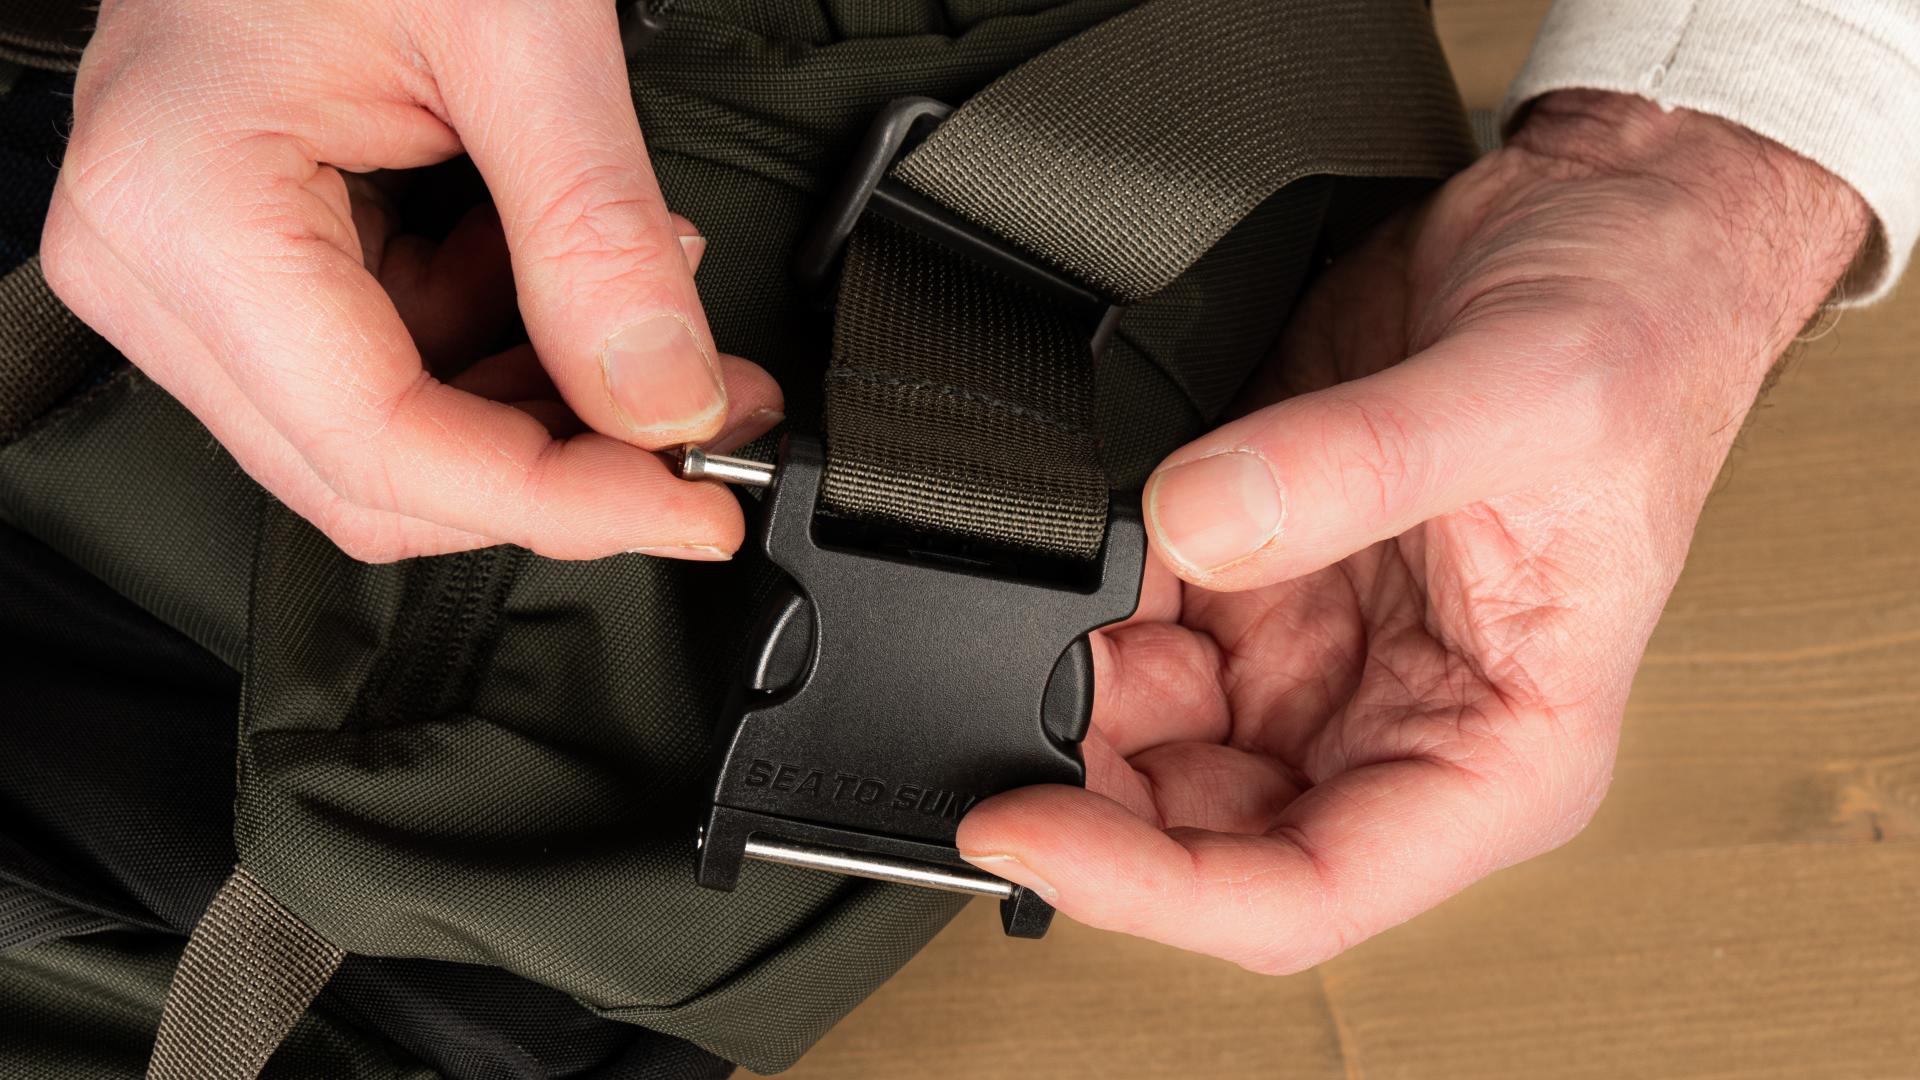
Insert the loop where the buckle should go between the tabs of the new buckle. Now, insert the steel pin through the tabs and the loop and tighten it by hand for the first few turns.
Then, further tighten the pin with the screwdriver.
Do not tighten the pin too hard. There is a risk of damaging the thread of the buckle.
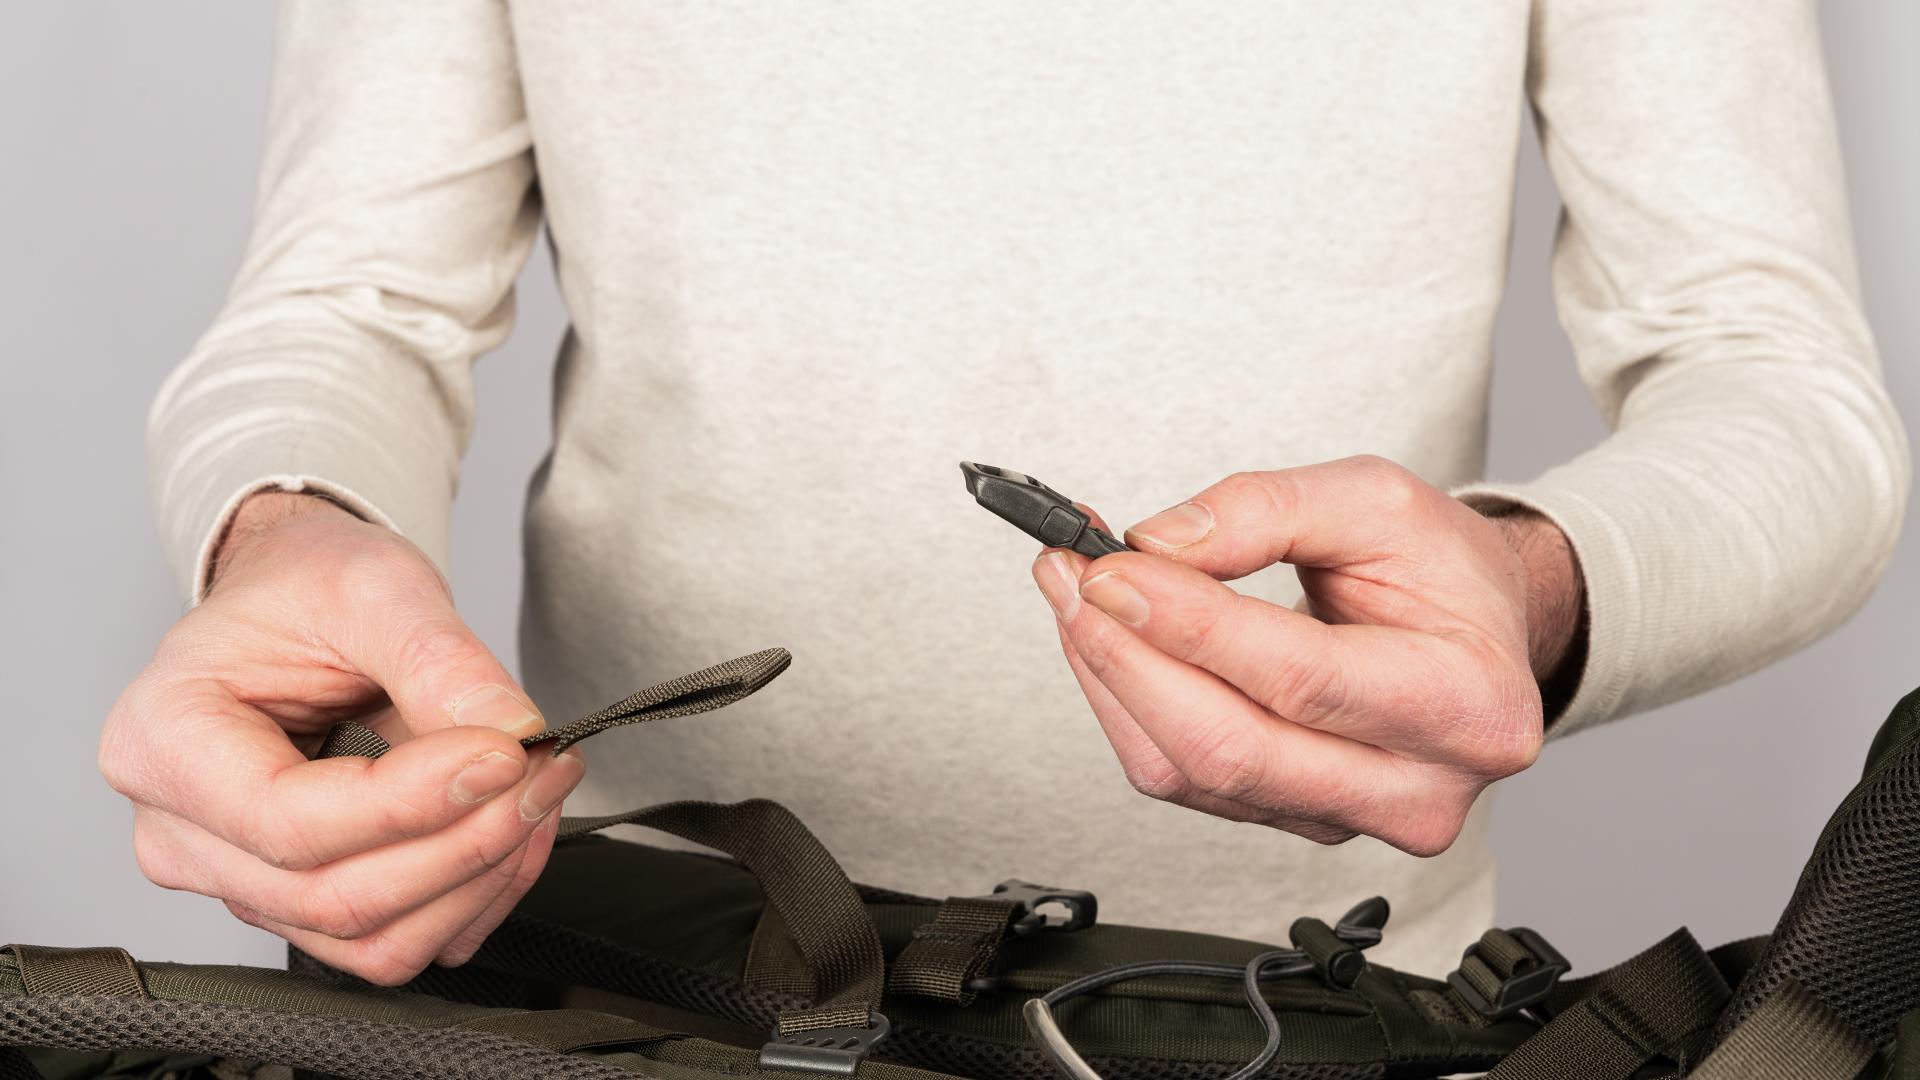
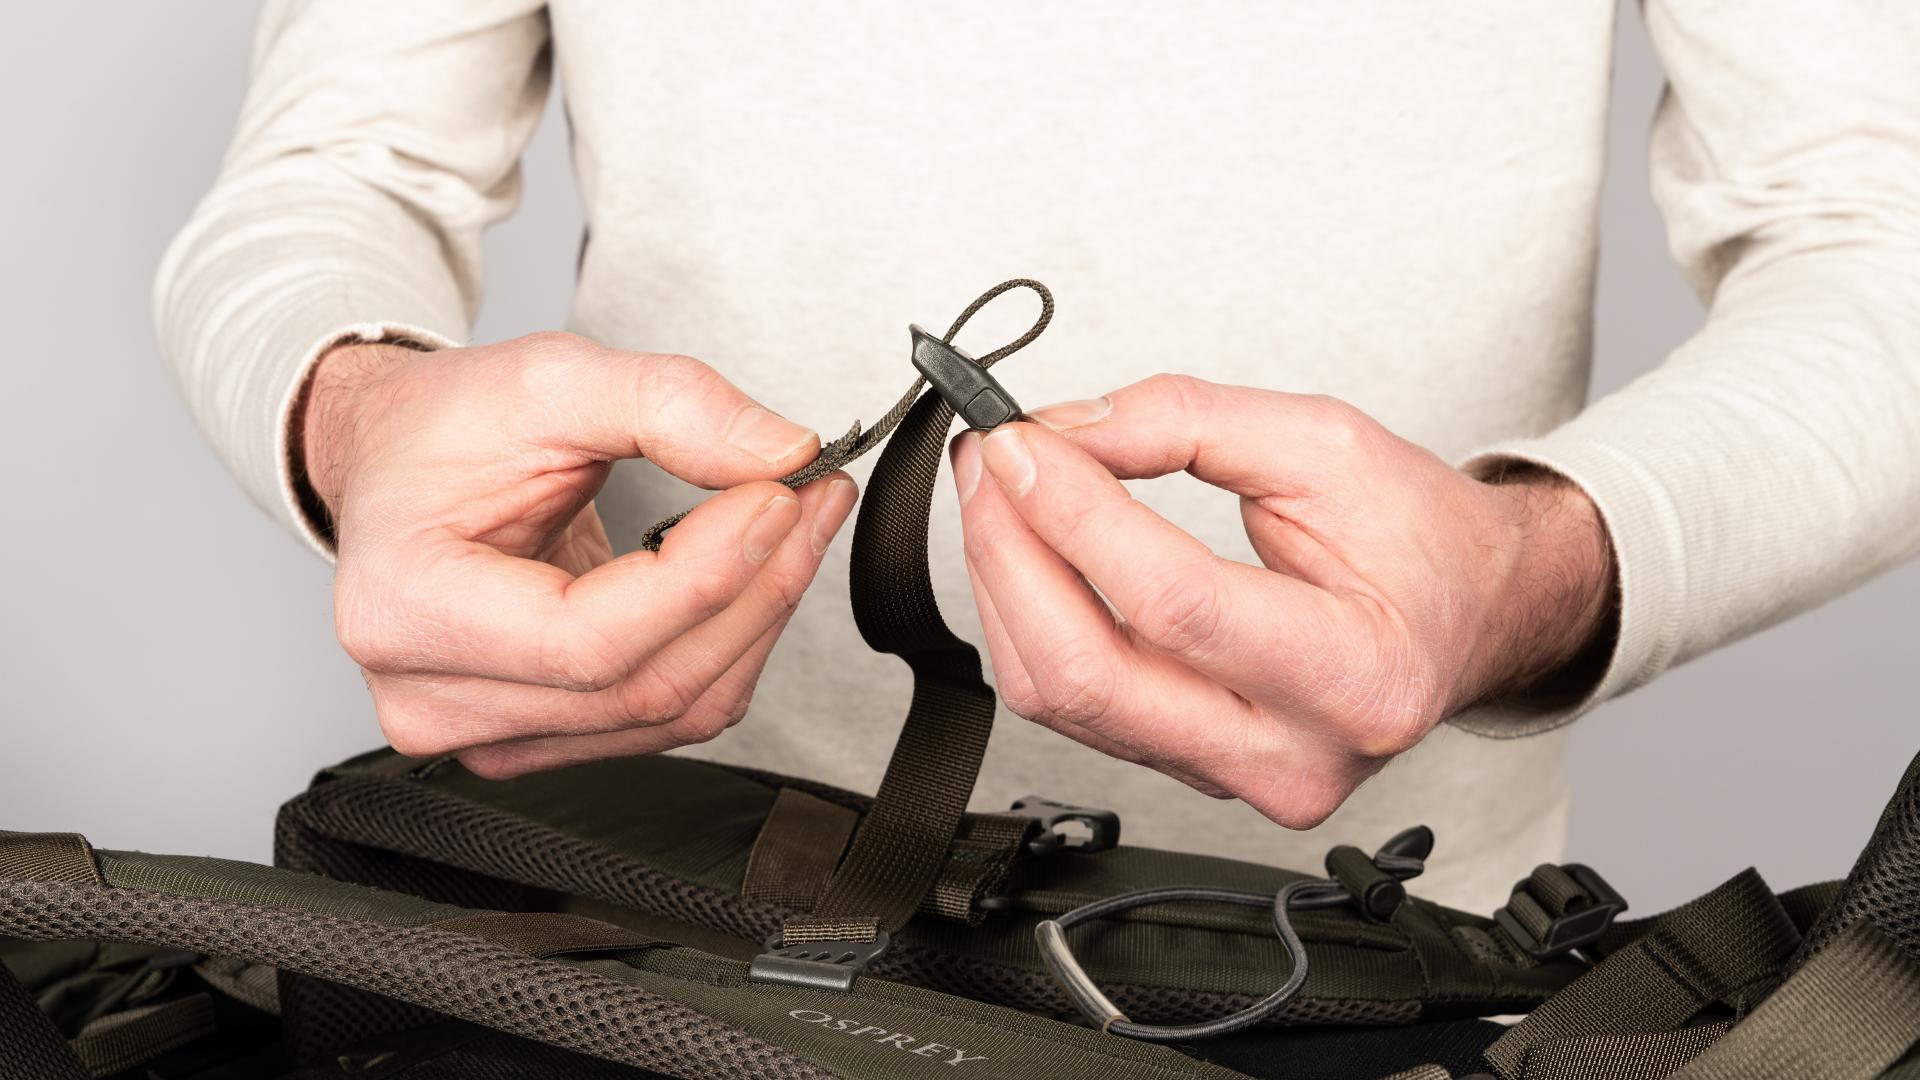

If one of the sides of the buckle is not stitched but has a loop, you can simply thread the loop through the buckle. Make sure to purchase a new buckle with a loop system on one side and a steel pin on the other.
Result:
Effortlessly and without the need for a sewing machine, you have a new buckle on your backpack.
And done! What a feeling!
Did you manage to fix it?
Yes!
