Fixing paper-jam HP CM2320/CP2025 printer (replace Pick-Up roller)
In this tutorial we are going to replace the Pick-Up roller for the HP CM2320/CP2025 printer.
The issue was that the printer was suffering from paper jams. This is often caused by the fact the pick-up roller is worn out. The layer of rubber around this plastic part overtime gets too smooth, preventing paper from feeding properly into the printer.
This fix is not really hard, will take no more than half an hour and costs around 10,- (Euro or Dollar).
It looks like a whole bunch of steps, but that's only because this is a detailed tutorial.
You can order a new pick-up roller via the link next to the tutorial.
Turn the printer
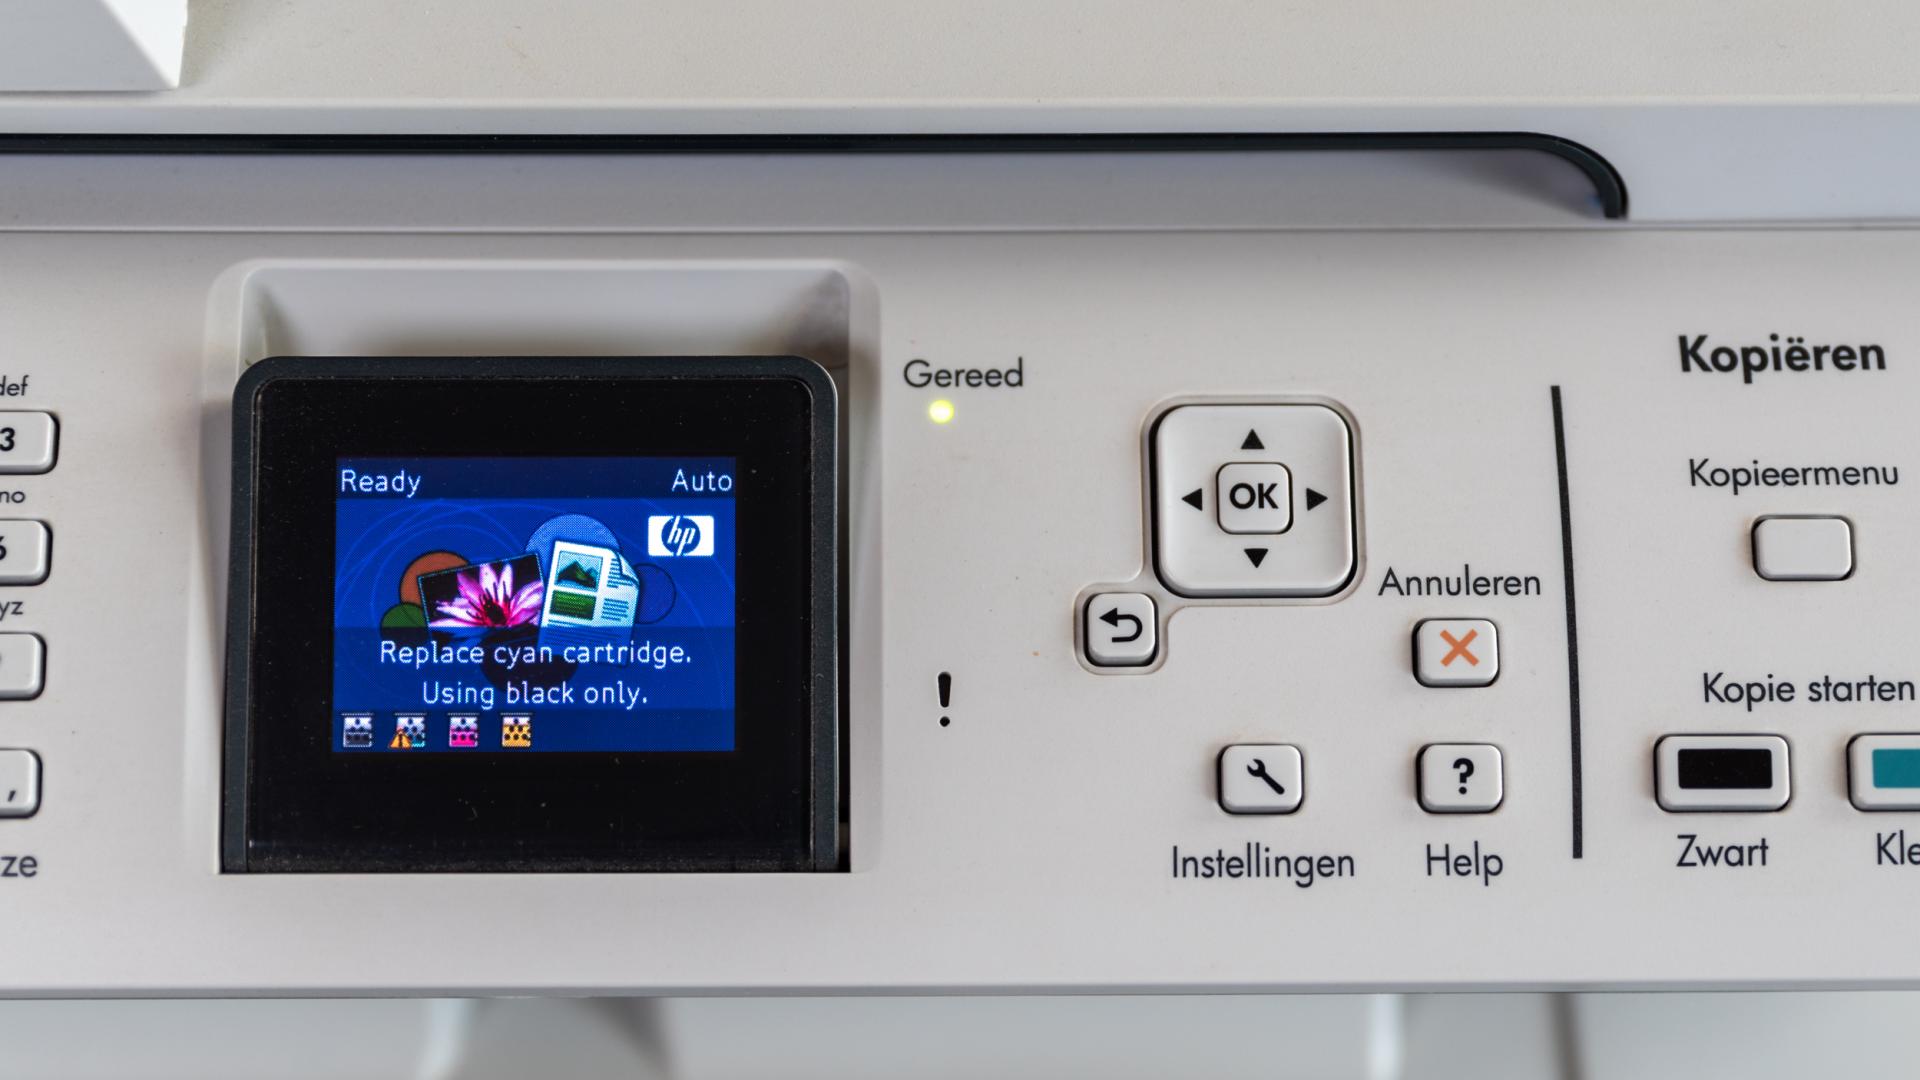
Turn the printer on and wait for it to go to a ready mode. The display should look like this. Apart from the fact that I need to replace the cyan toner :-)

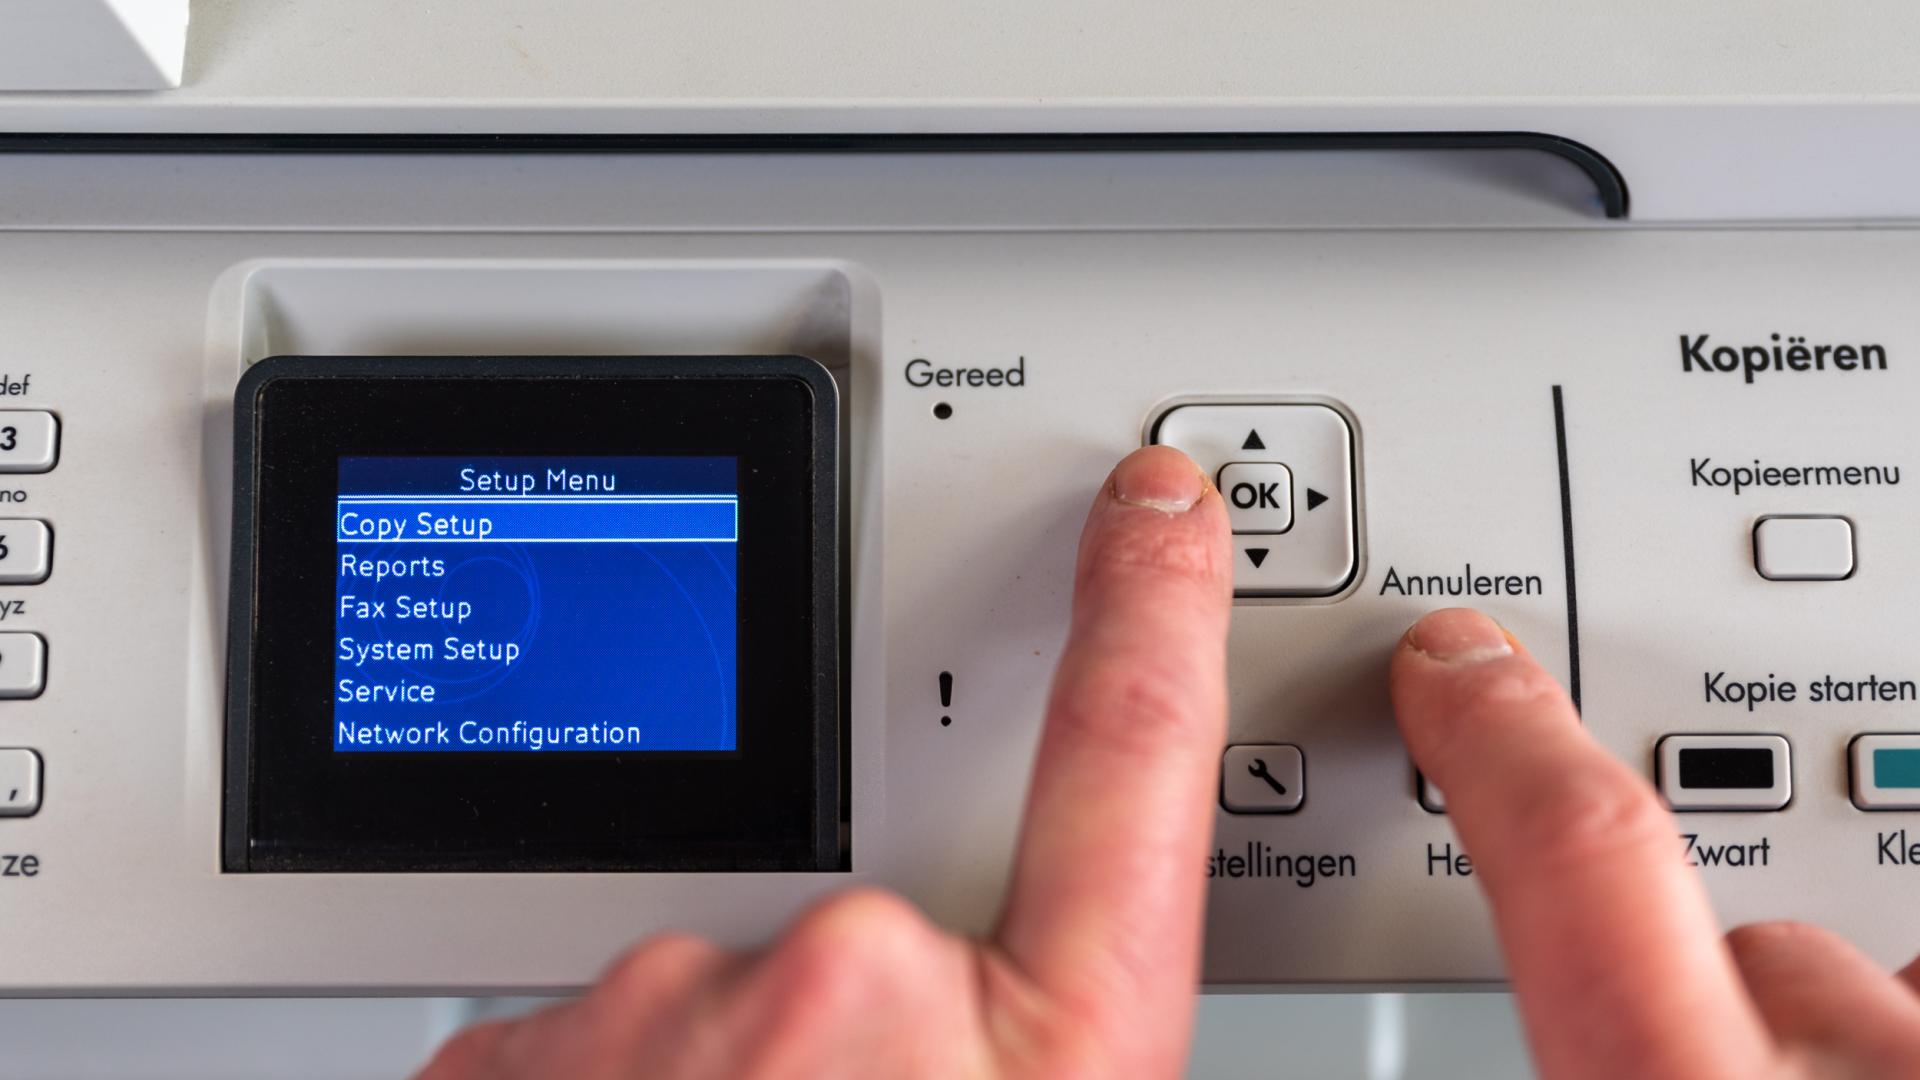
Open the secondary service menu by simultaneously pressing the left arrow [<] and Cancel buttons. At first you go back from the menu to the basic display. No worries! Check the next step.

Press the settings button again. Now you will see a new menu item on top called '2ndary Service'
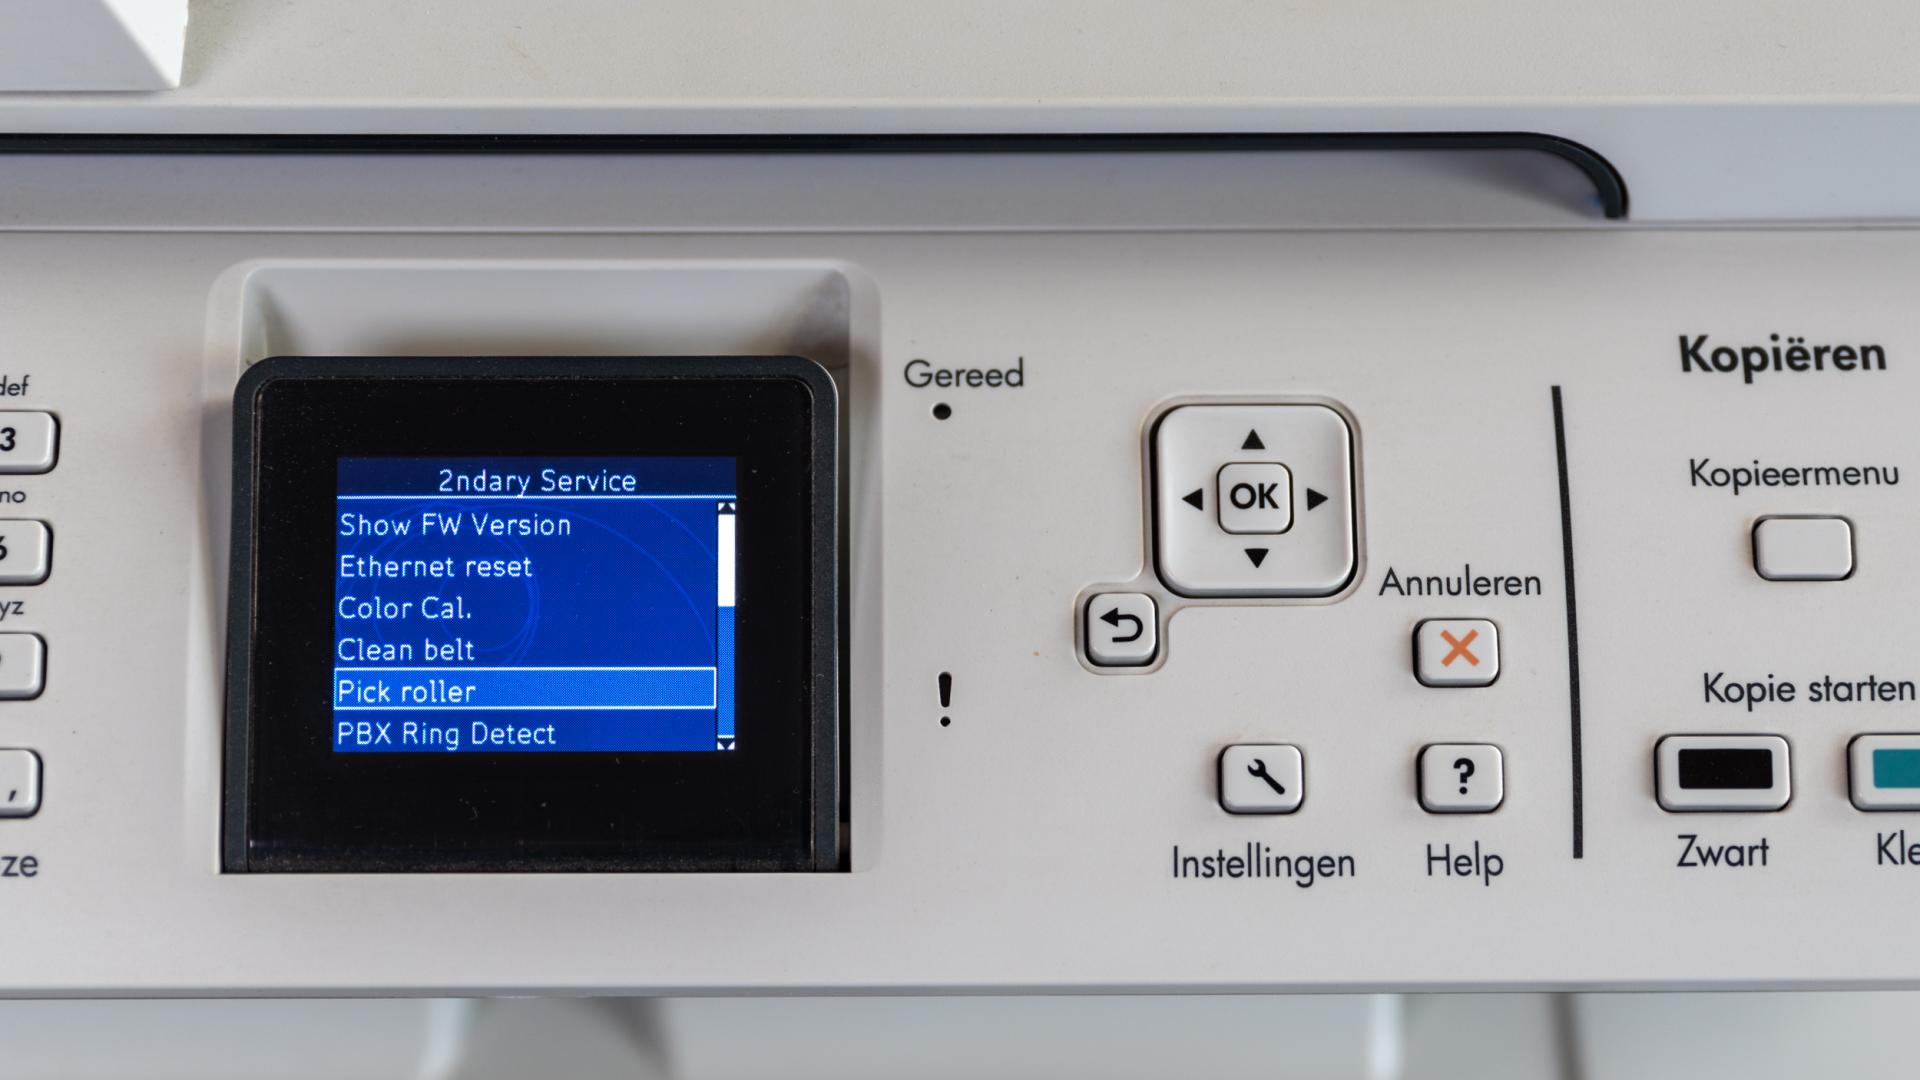

Puss the OK button the rotate the pick-up roller. By activating the option 'rotate pick roller' inside the printer the pick-up roller wil turn 180 degrees. This way it can be removed and replaced by a new one. The display wil show the progress in three steps. Wait until the display states 'replace roller, turn off then on'.
Turn of the printer
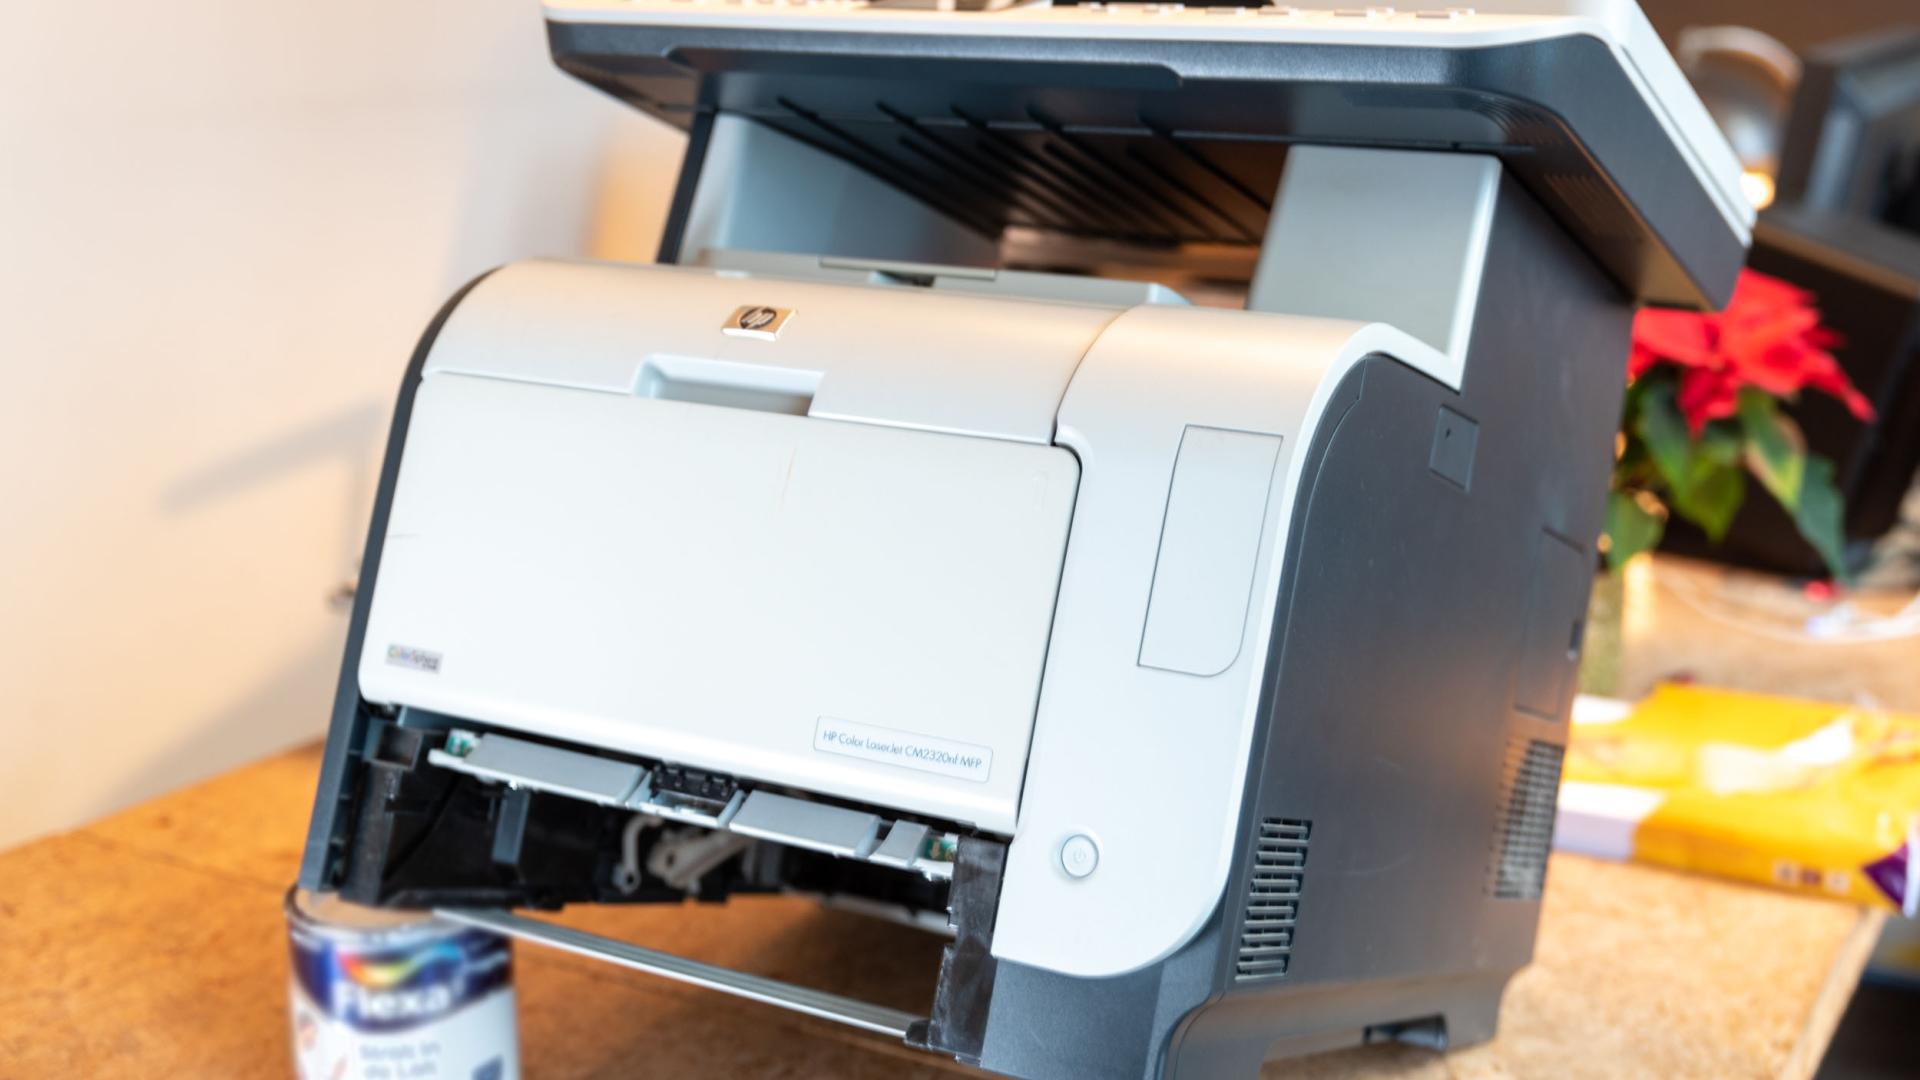
Power off the printer, unplug the power cord and remove the cassette tray. The carefully place an object under the corner of the printer so that you can reach the bottom of the printer.
Caution! When raising the front of the print, do not allow it to rest on the rear door/cover. Doing so may cause excess toner to spill into the laser scanner assembly and contaminate the mirrors. The laser scanner assembly is not a replaceable part. In addition, the ADF and scanner cover are not latched, and may open when the printer’s front end is elevated.

Remove the pick-up roller by releasing the 2 locking tabs (inside the red circle) and care pulling the roller towards you. Use your fingers or - if necessary - a tool to release the tabs. But be careful, the tabs are from plastic and are fragile.
When you attache the new pick-up roller, make sure you don't touch the surface. Greasy fingers will make it less effective; you could use gloves to prevent this.
Slide in the new roller until you hear a click.
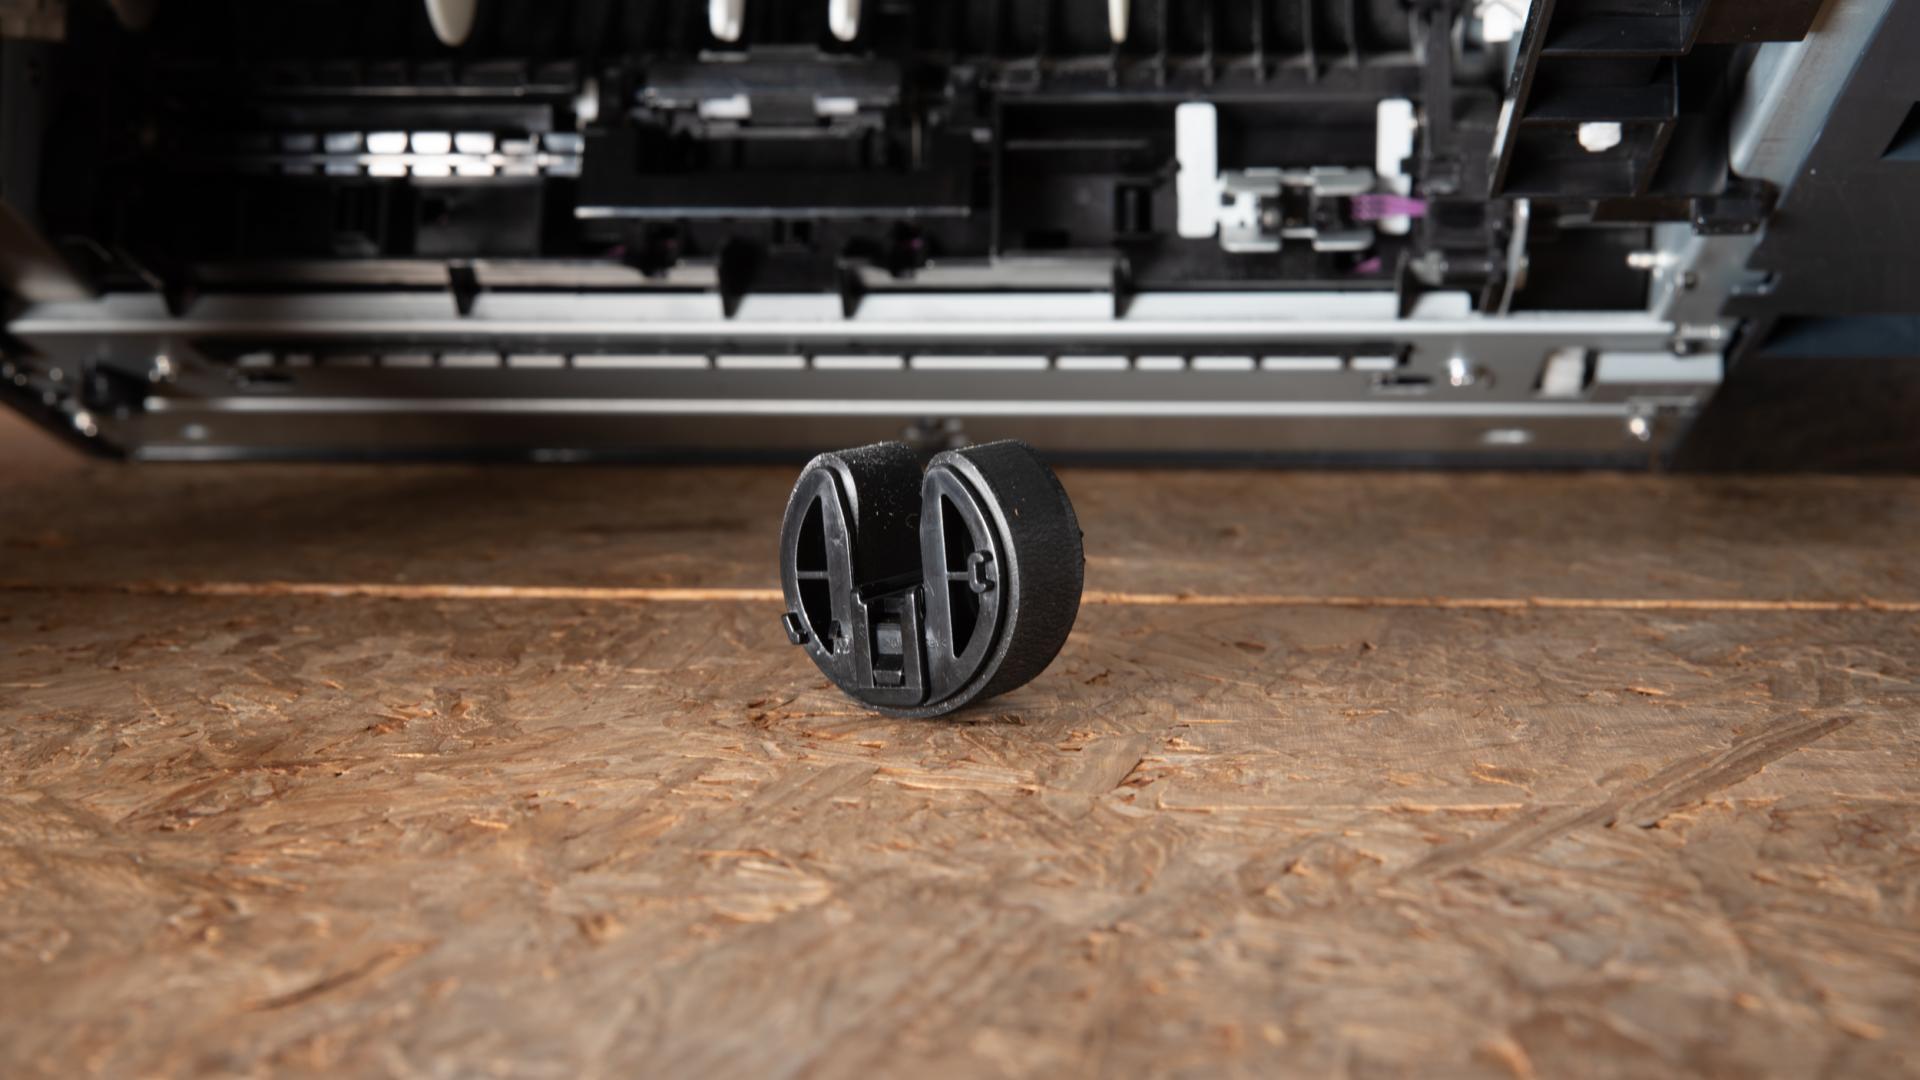
This is how the pick-up roller looks like. Order a new one via the link next to the tutorial.
Al you have to do now is put the cassette tray back in and attach the power cord. Done! Good as new.
And done! What a feeling!
Did you manage to fix it?
Yes!

Meer tutorials van Sieds Wijnja

Reacties
Joor Boe wrote 3 years 5 months ago:
dank!