Patching a hole or tear in a sleeping bag
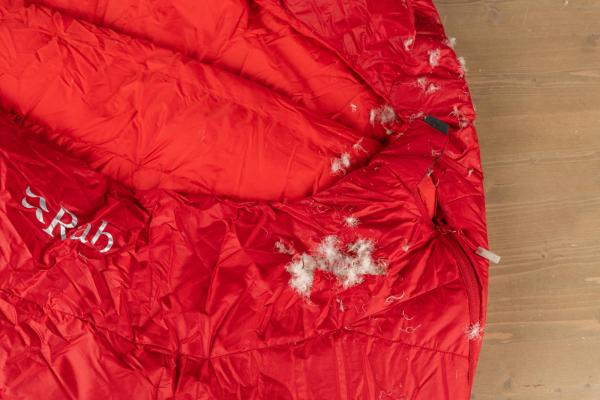
A good night's sleep is half the battle for a successful next outdoor adventure. And well… it's also nice to have a good night's sleep. For this you need a warm sleeping bag. Sleeping bags rarely break, but have you been out and about and discovered a hole in your sleeping bag? With this manual you can repair your sleeping bag in no time, whether you are at home or on the road.
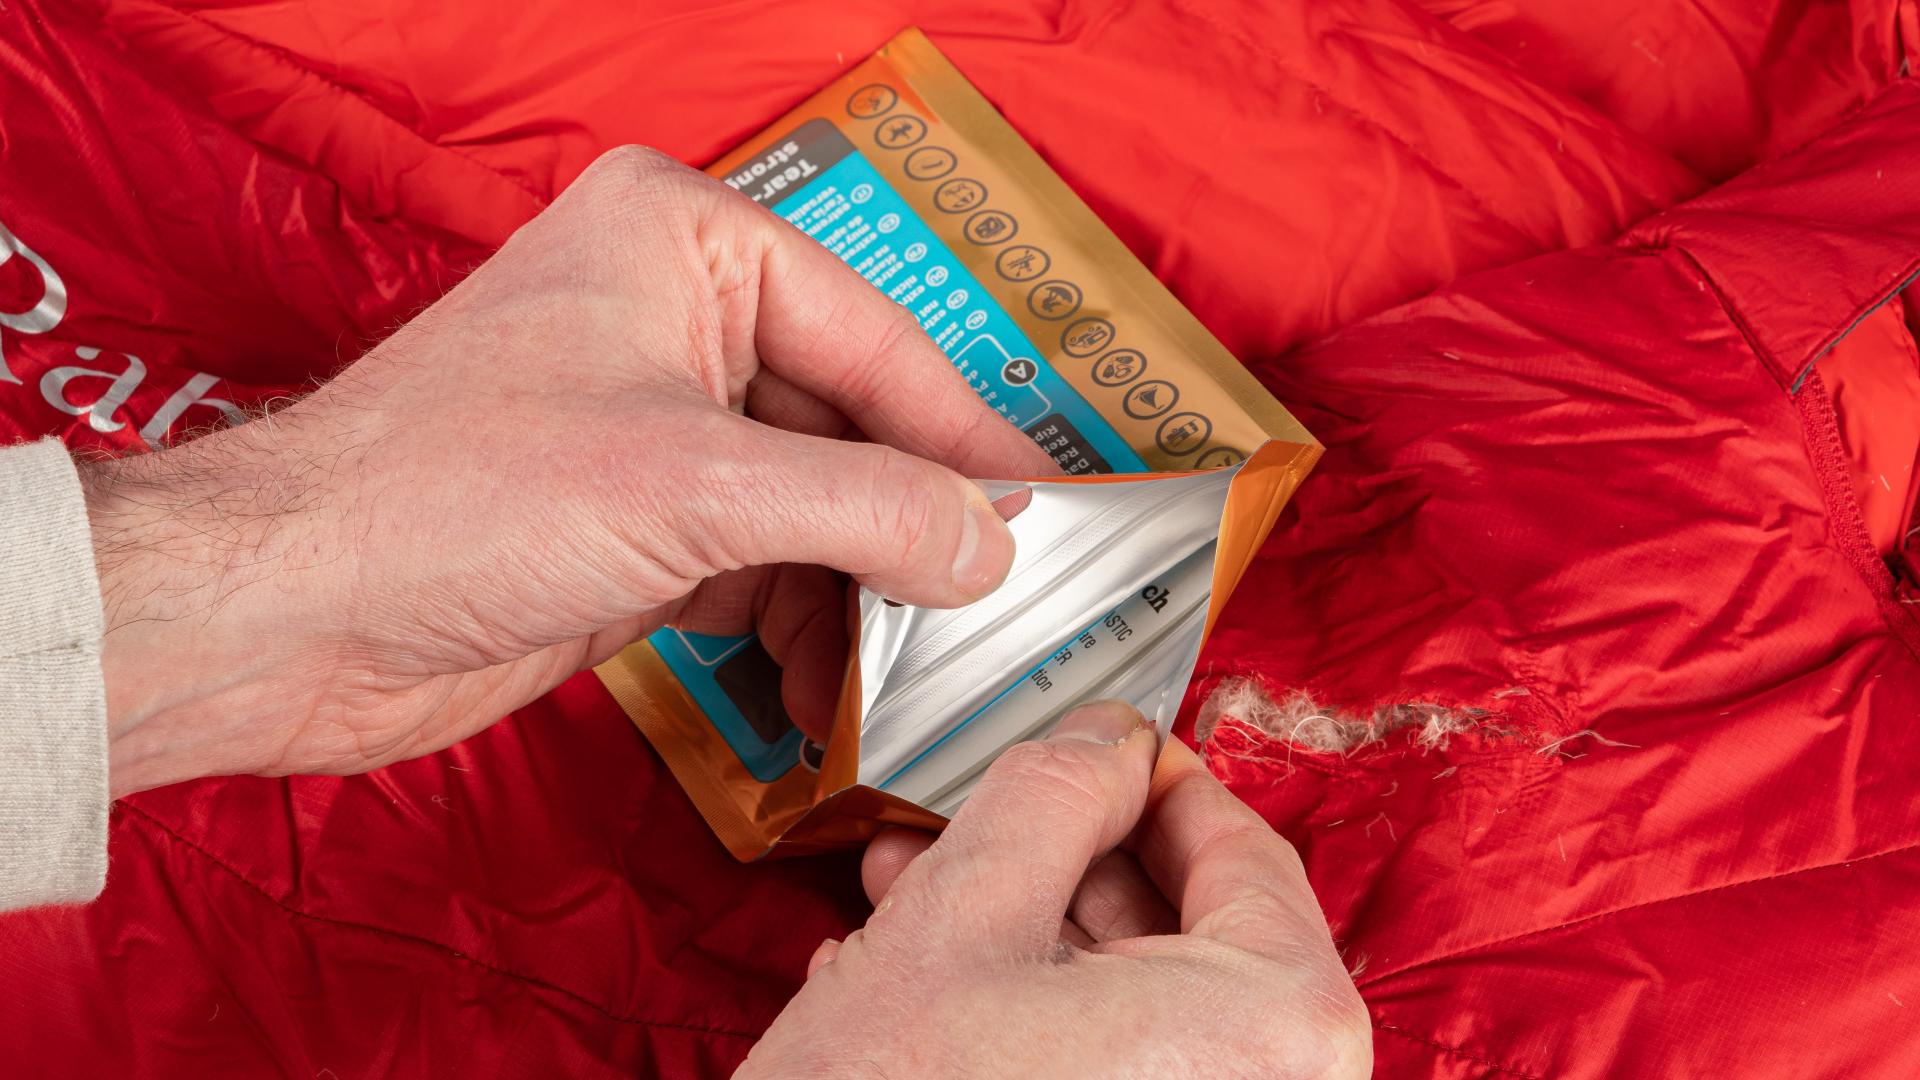
Supply needed

Warning: any repairs done are at your own responsibility. See terms of use.
Measuring the patch
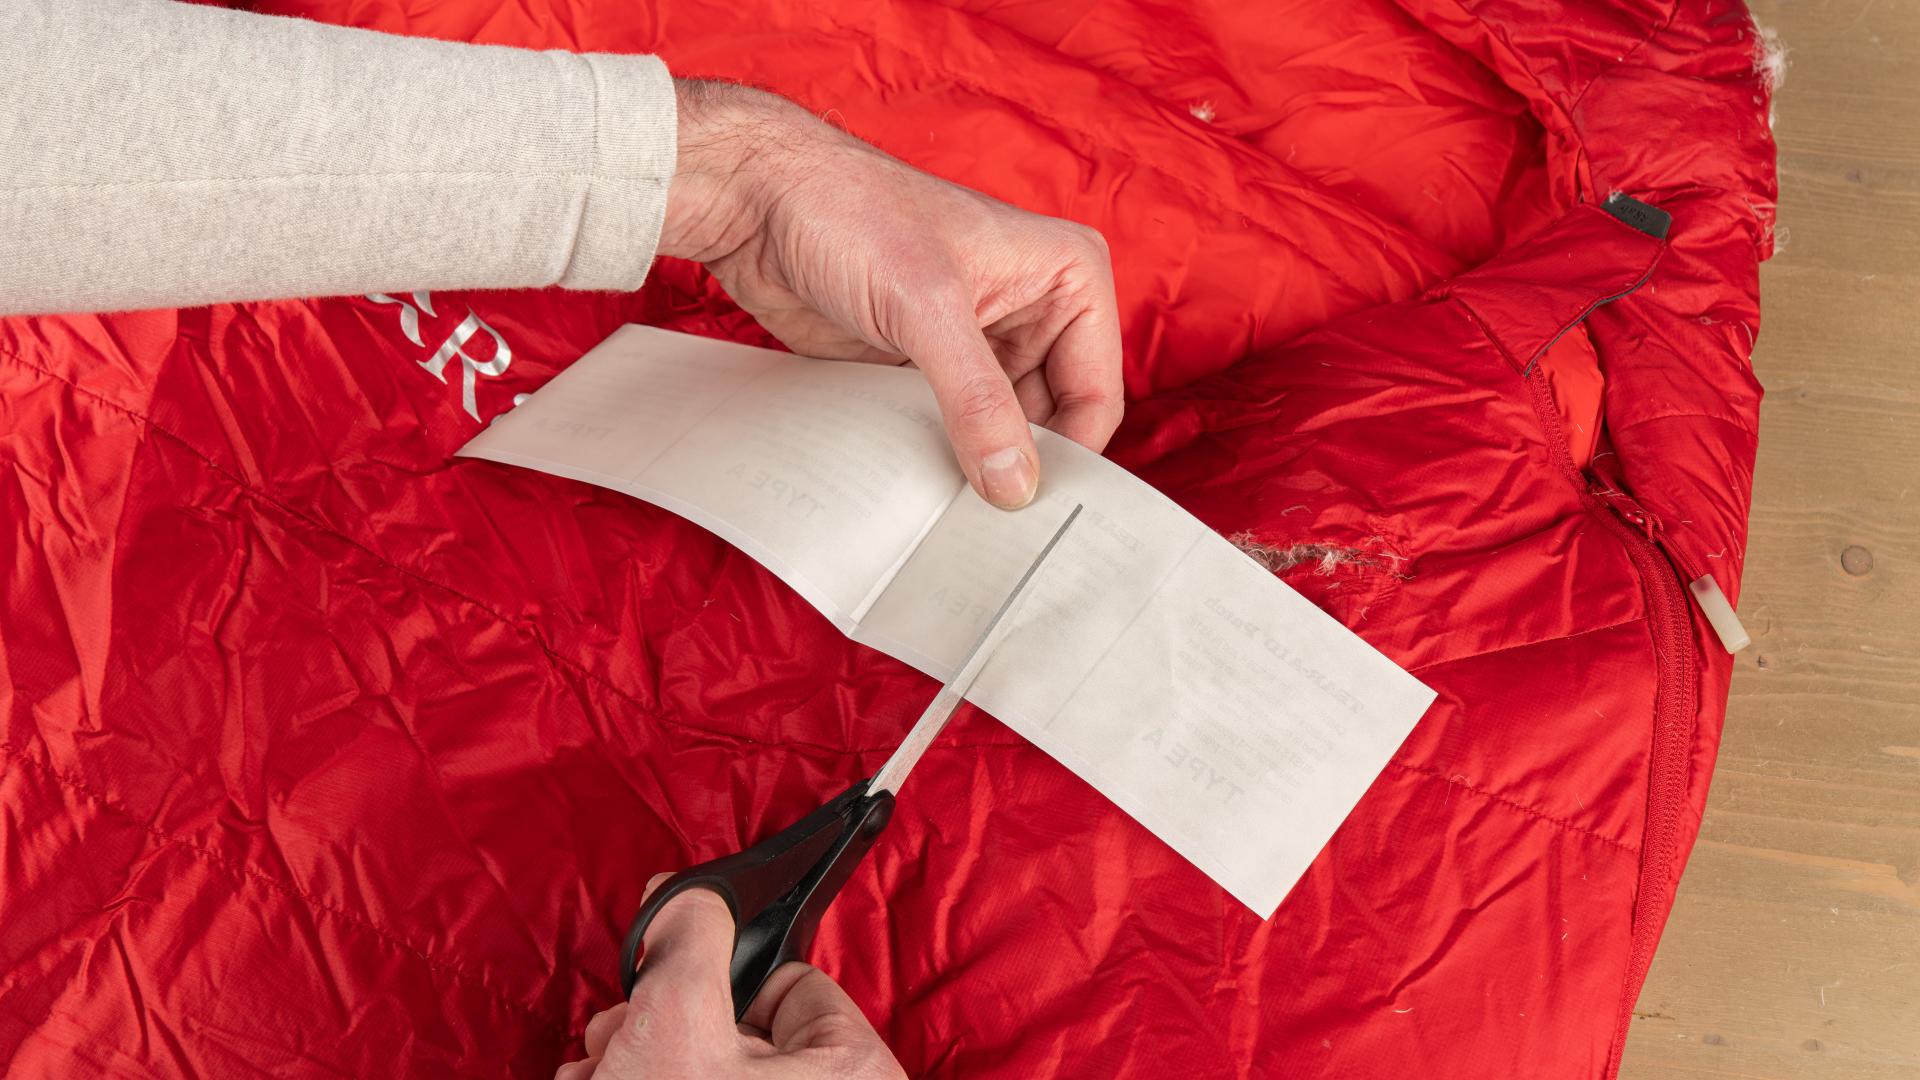
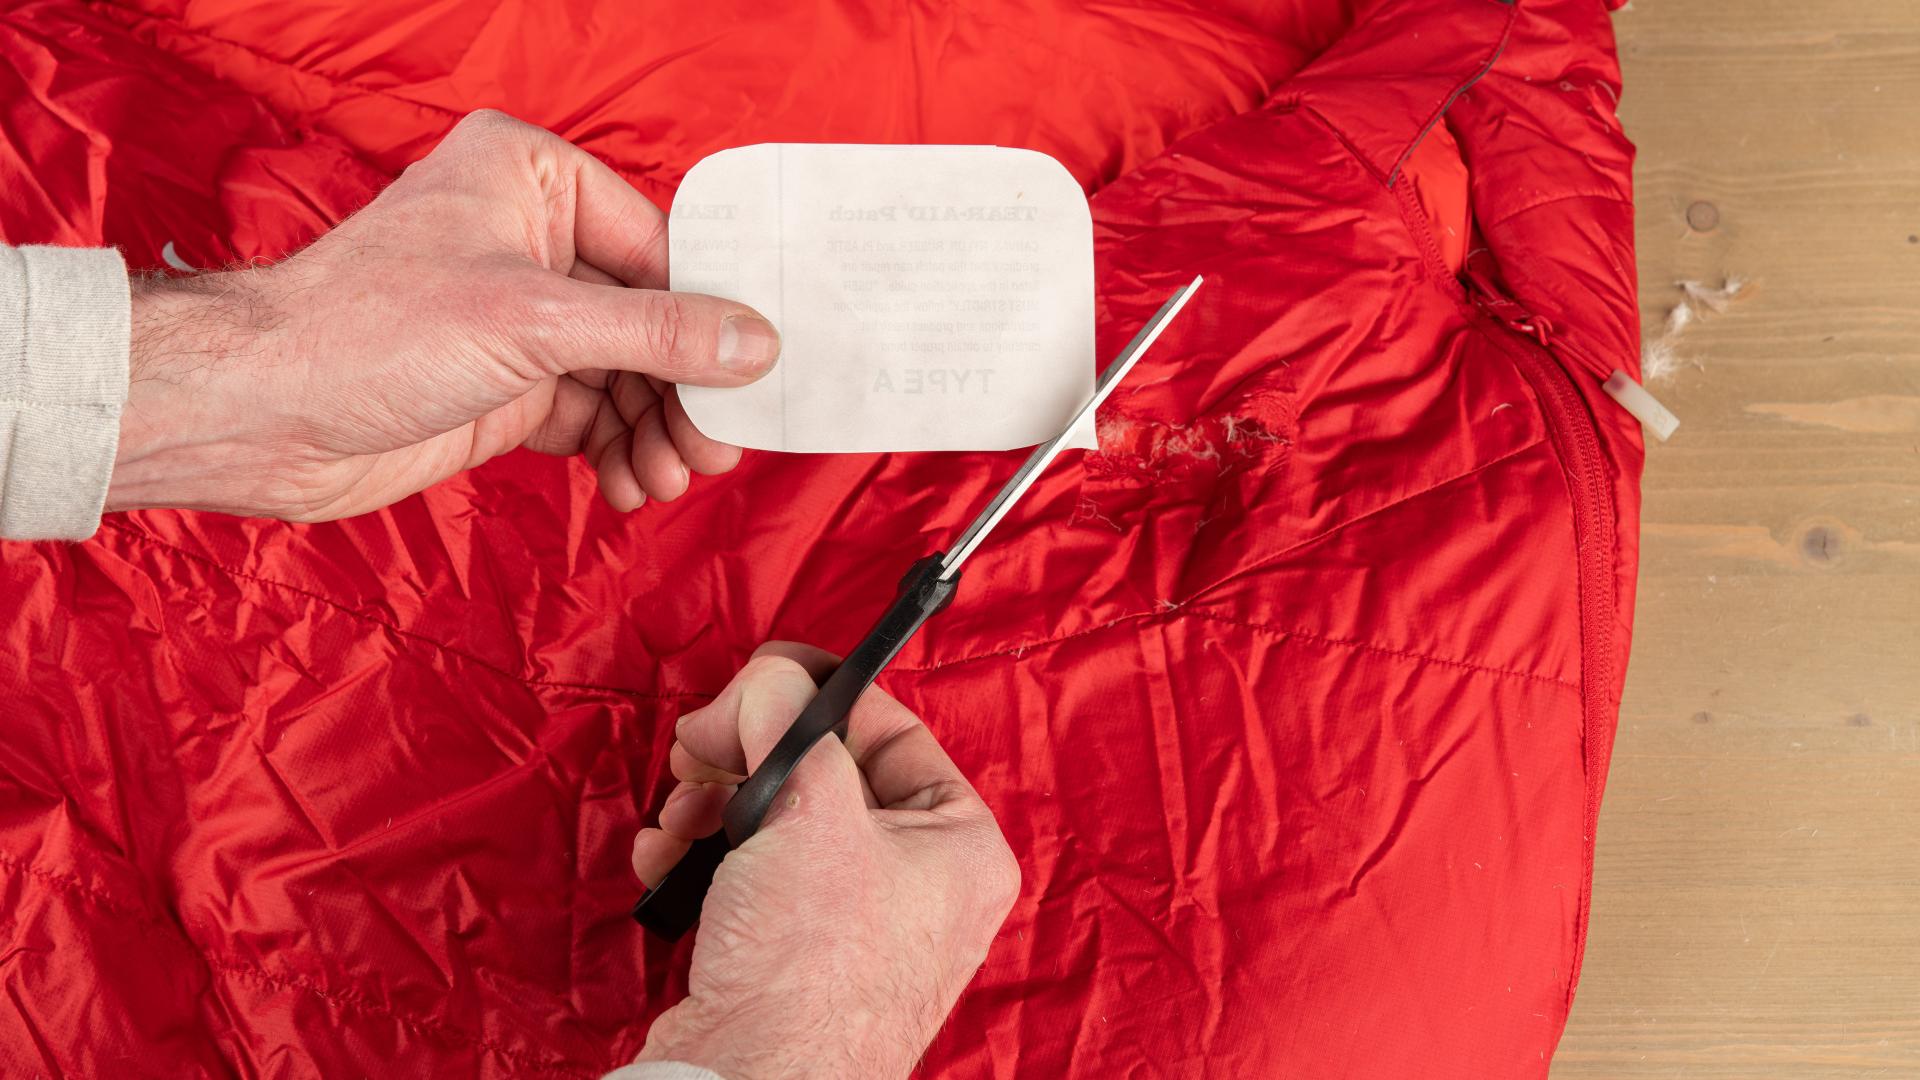
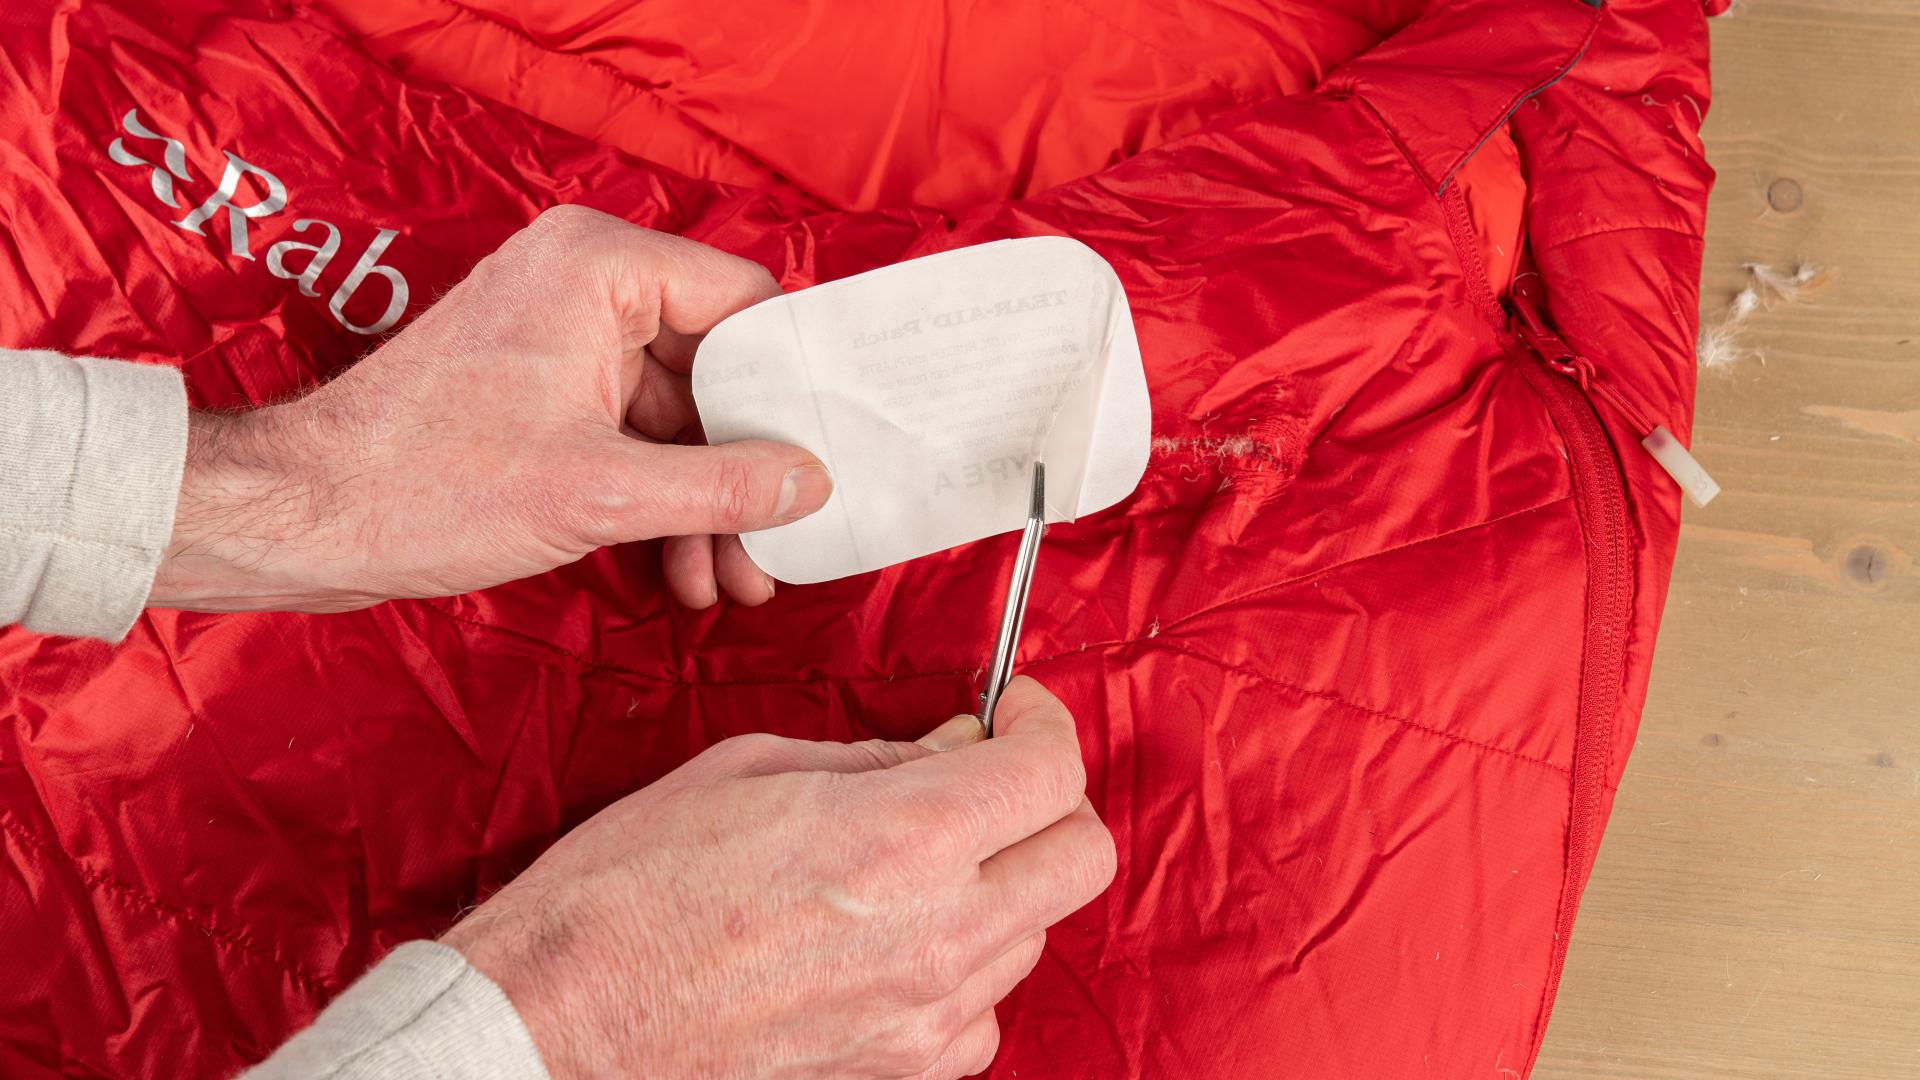
Place the repair patch over the tear with the protective film still on it and measure how large your repair patch should be. Use approximately 2 to 2.5 cm of additional patching material on all sides of the hole or tear. Then cut the repair patch to size. Be sure to cut the corners of the patch rounded, as straight corners are more vulnerable to peeling.
Sewing up the tear

Depending on the material with which the sleeping bag is filled, it may be useful to first sew the tear closed with a few stitches. For example, when your sleeping bag is filled with down. The stitches prevent the down from sticking out and the repair patch from sticking properly. Moreover, the fabric fits together neatly and that often results in a nicer repair. Make sure you cut any loose threads around the tear.
Clean and dry the area around the tear thoroughly. Use the alcohol wipe from the repair kit. You can also use bottled alcohol or another non-aggressive degreaser.
After cleaning with alcohol, wait until the material around the tear is completely dry before continuing with step 2.
Pasting the patch

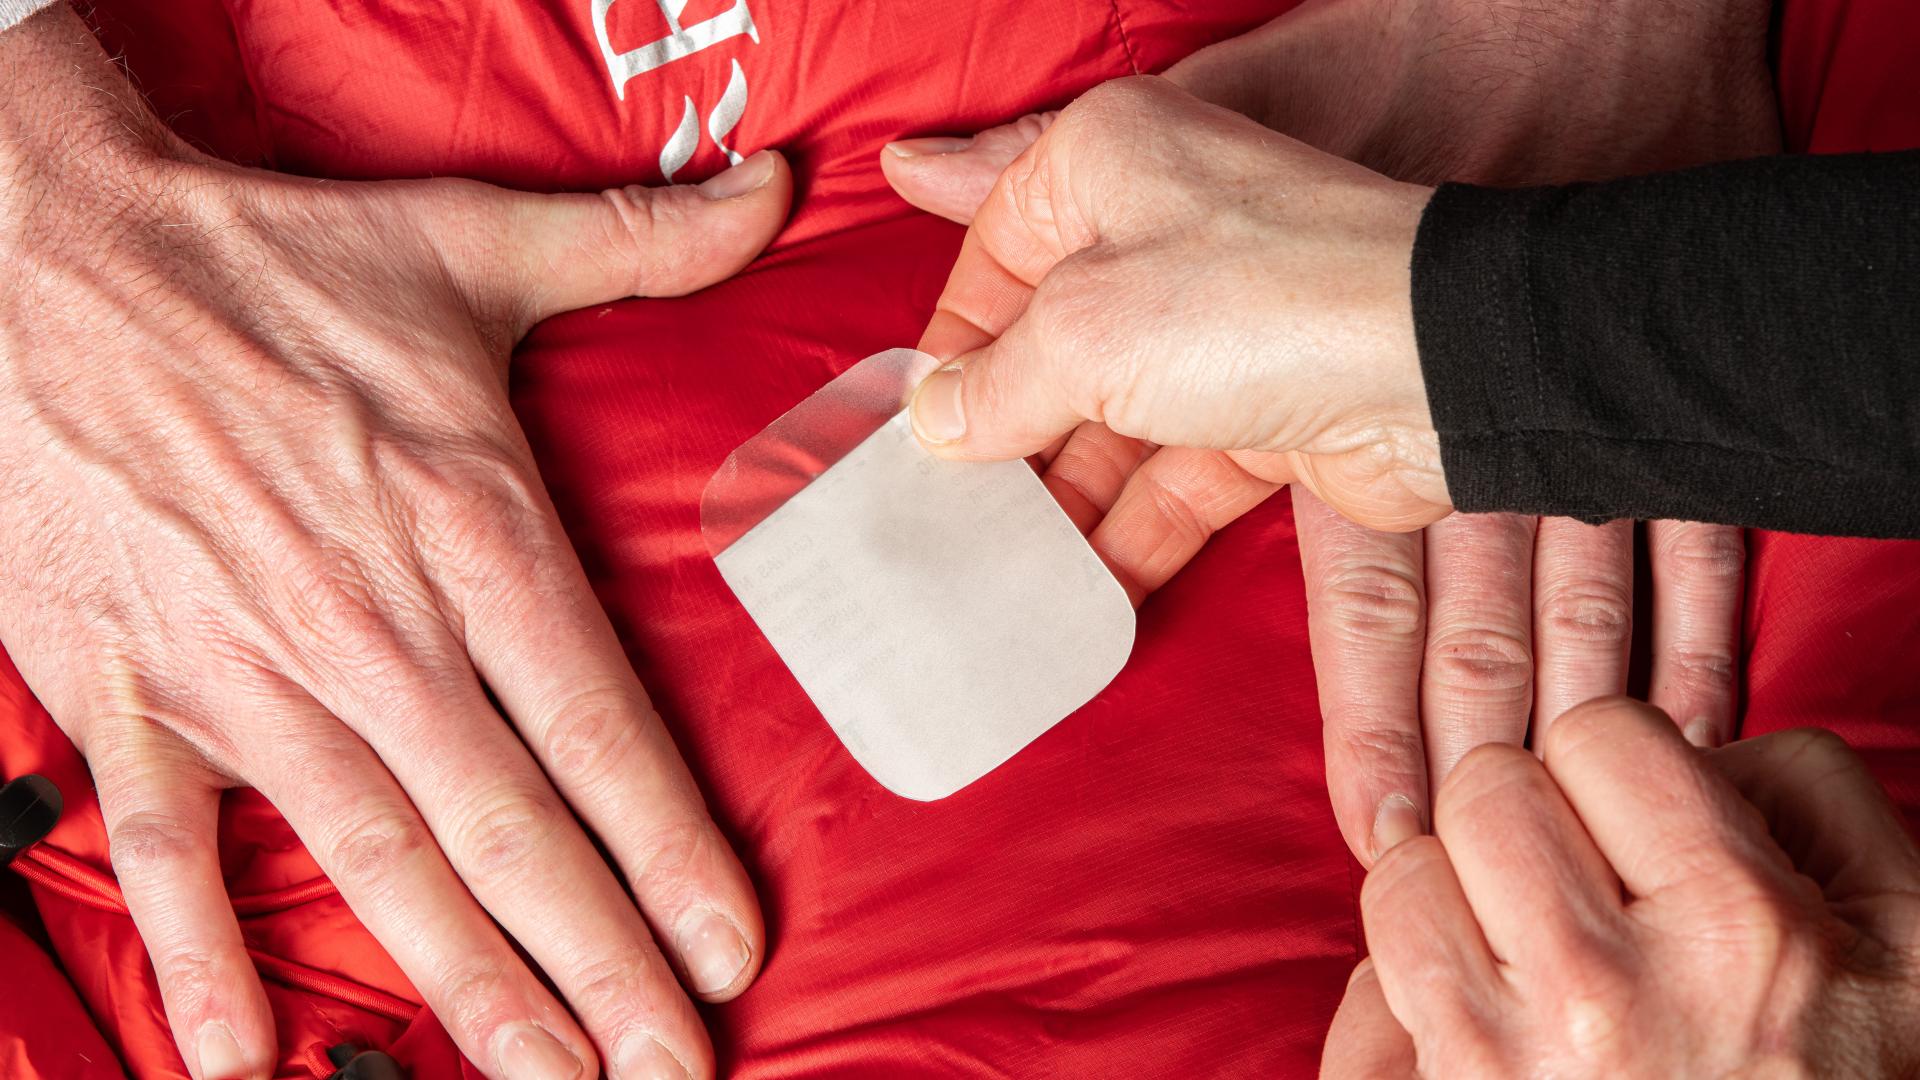
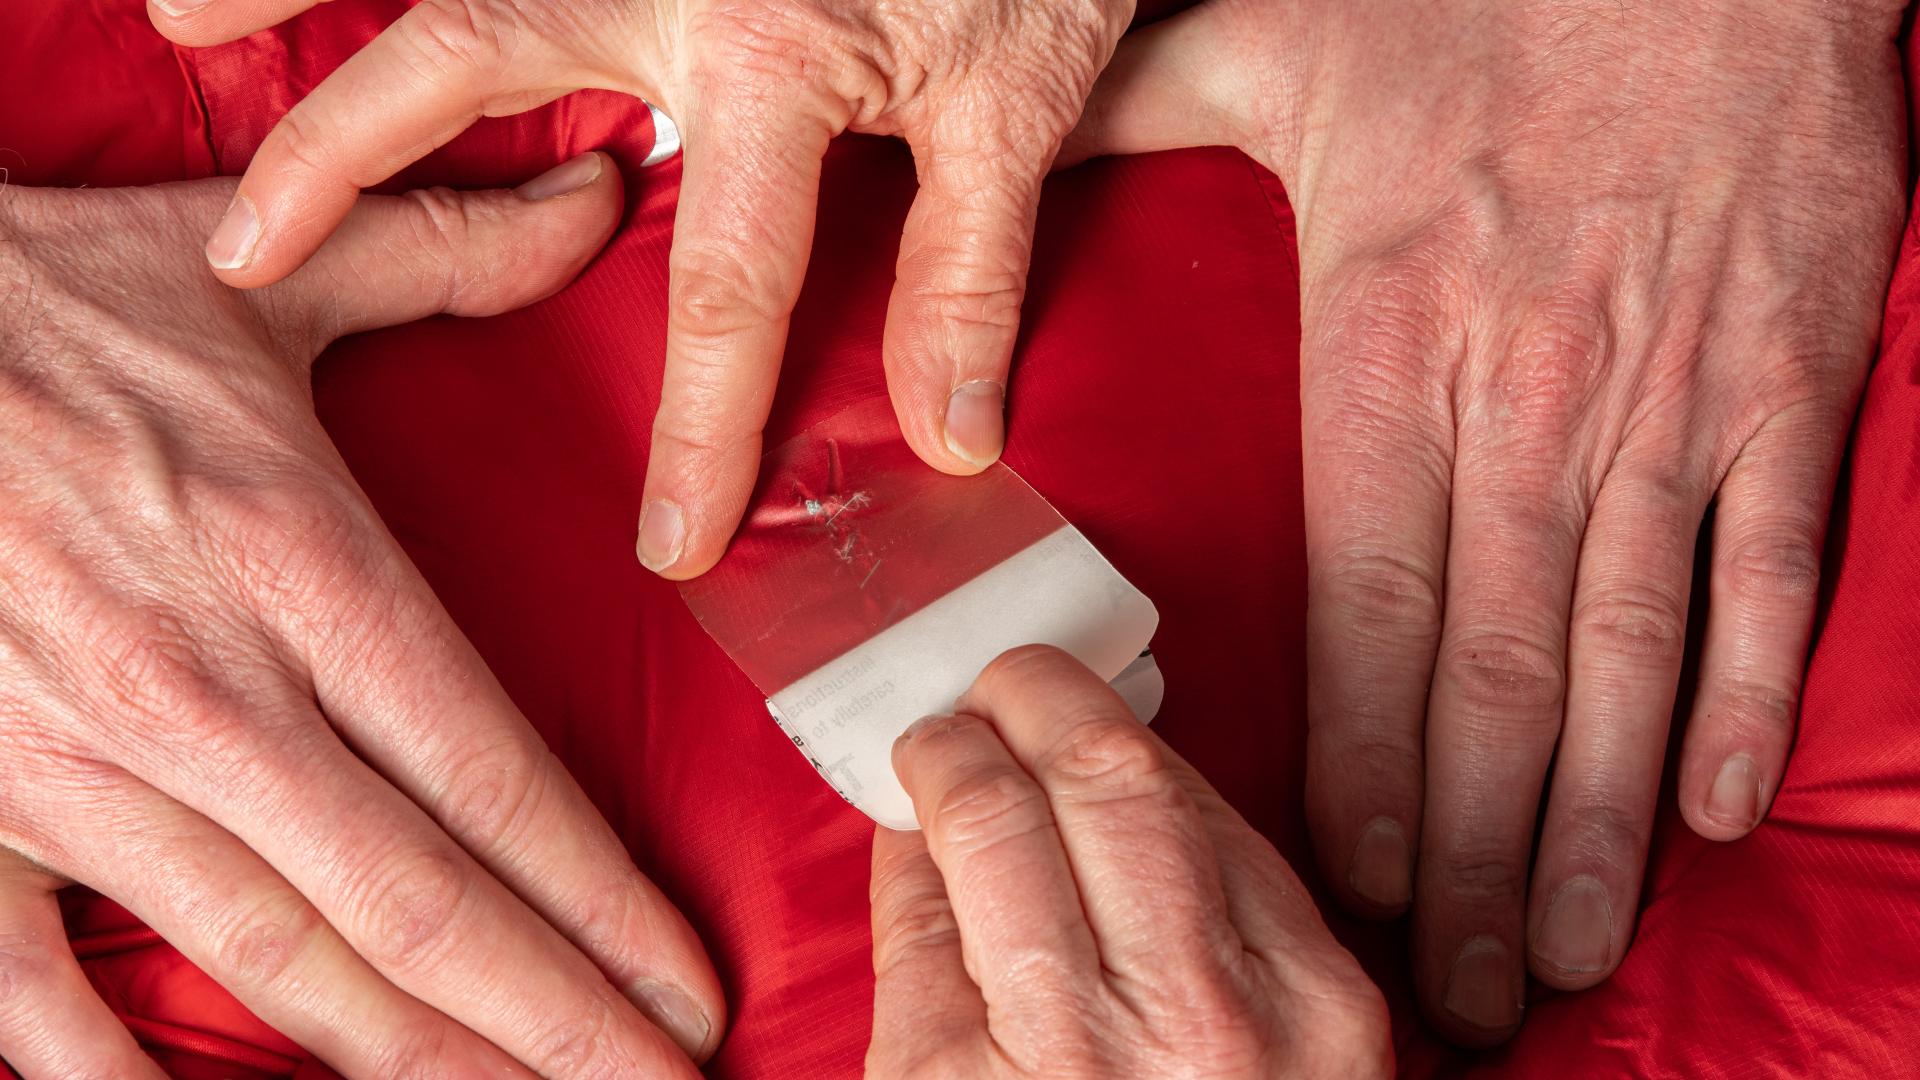
Carefully peel off a piece of approximately 1 centimeter of the protective film from the patch. Preferably use tweezers for this. If you don't have one at hand, avoid touching the adhesive side of the patch with your fingers. Otherwise you run the risk of the patch coming loose on that part over time.
Apply the freed piece of Tear-Aid to the sleeping bag, making sure the tear is centered on the patch. Now remove the rest of the protective film while simultaneously sticking the rest of the patch onto the material. Be careful not to get air bubbles under the patch.
If there is someone around to help you, they can tighten and smooth the area to be repaired while you apply the patch. This prevents the material of the sleeping bag from becoming wrinkled under the patch.
Pressing the patch

Now rub the Tear-Aid thoroughly with the rounded side of a spoon. Your sleeping bag is repaired and ready for use again. Immediately after applying the Tear-Aid, the adhesion of the patch is 90% and after one hour it is 100%.
Result
The sleeping bag is ready again for a warm overnight stay and new outdoor adventures! Does closing a hole sound a bit too difficult to you? Then have your sleeping bag professionally repaired by Bever. Hand it in at a Bever store and the Bever Outdoor Experts will help you!
And done! What a feeling!
Did you manage to fix it?
Yes!
